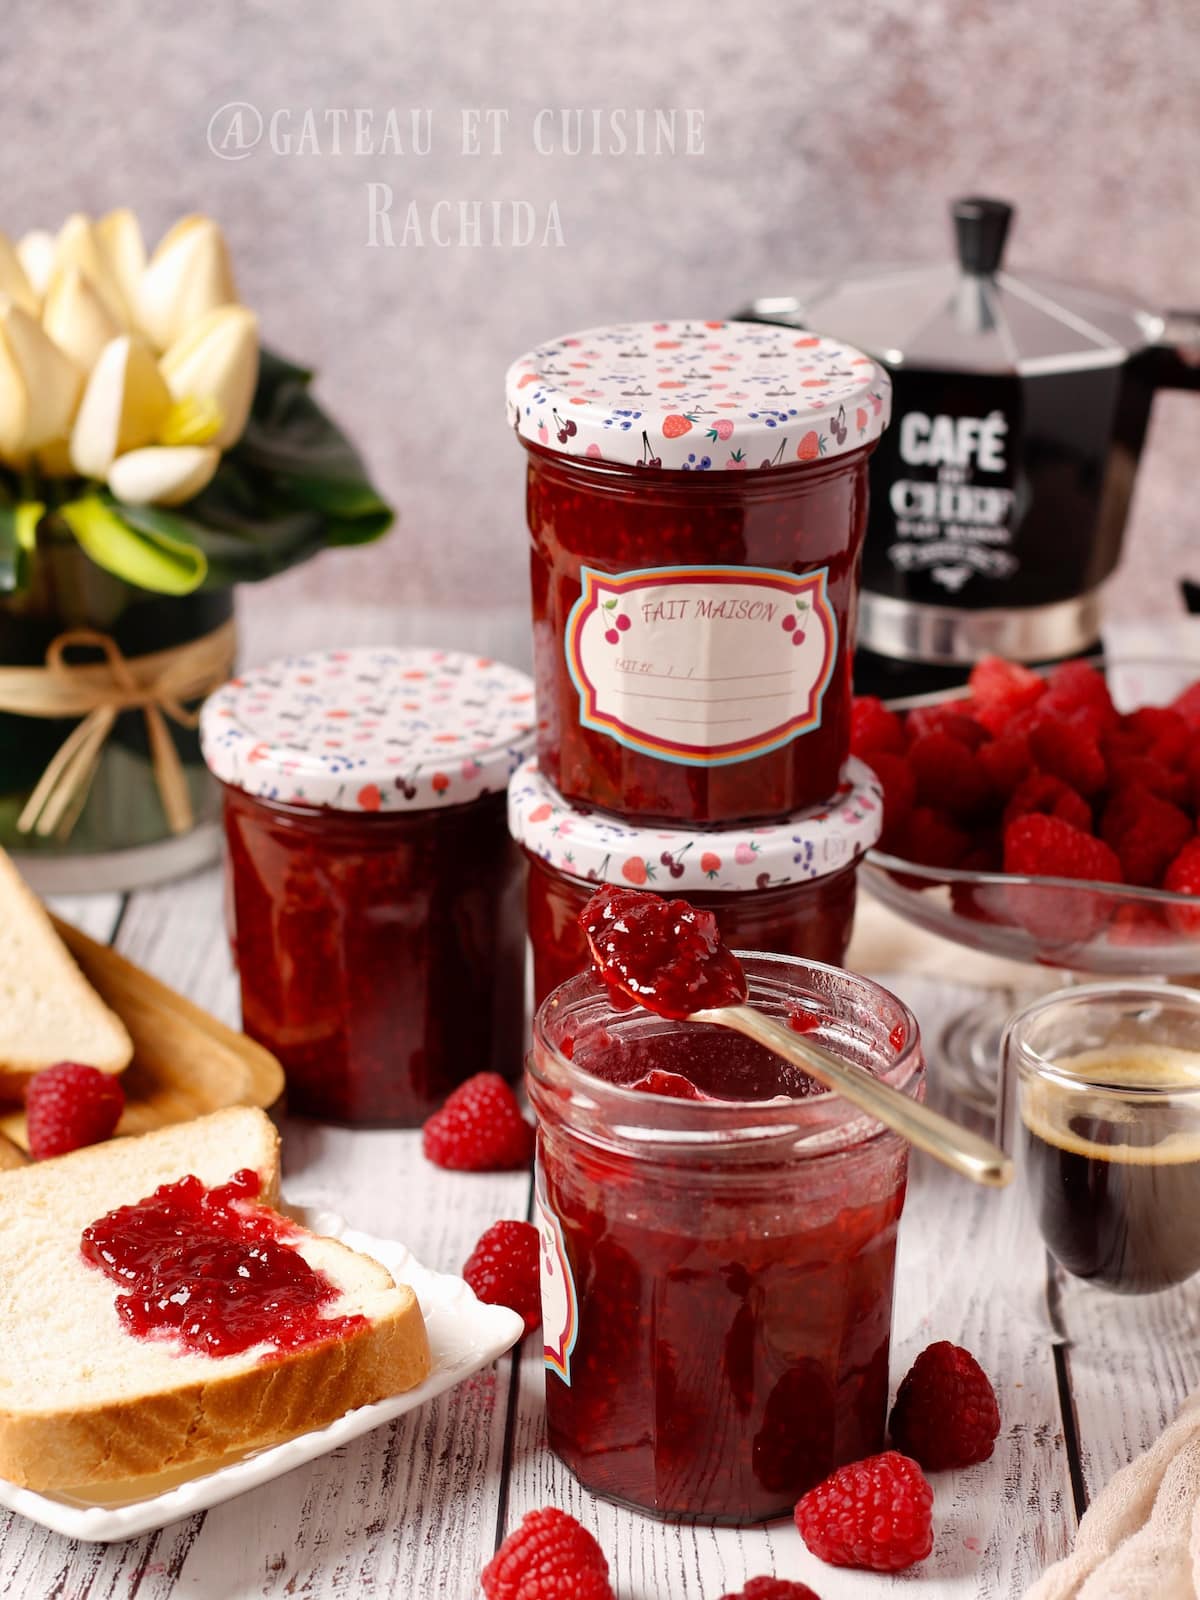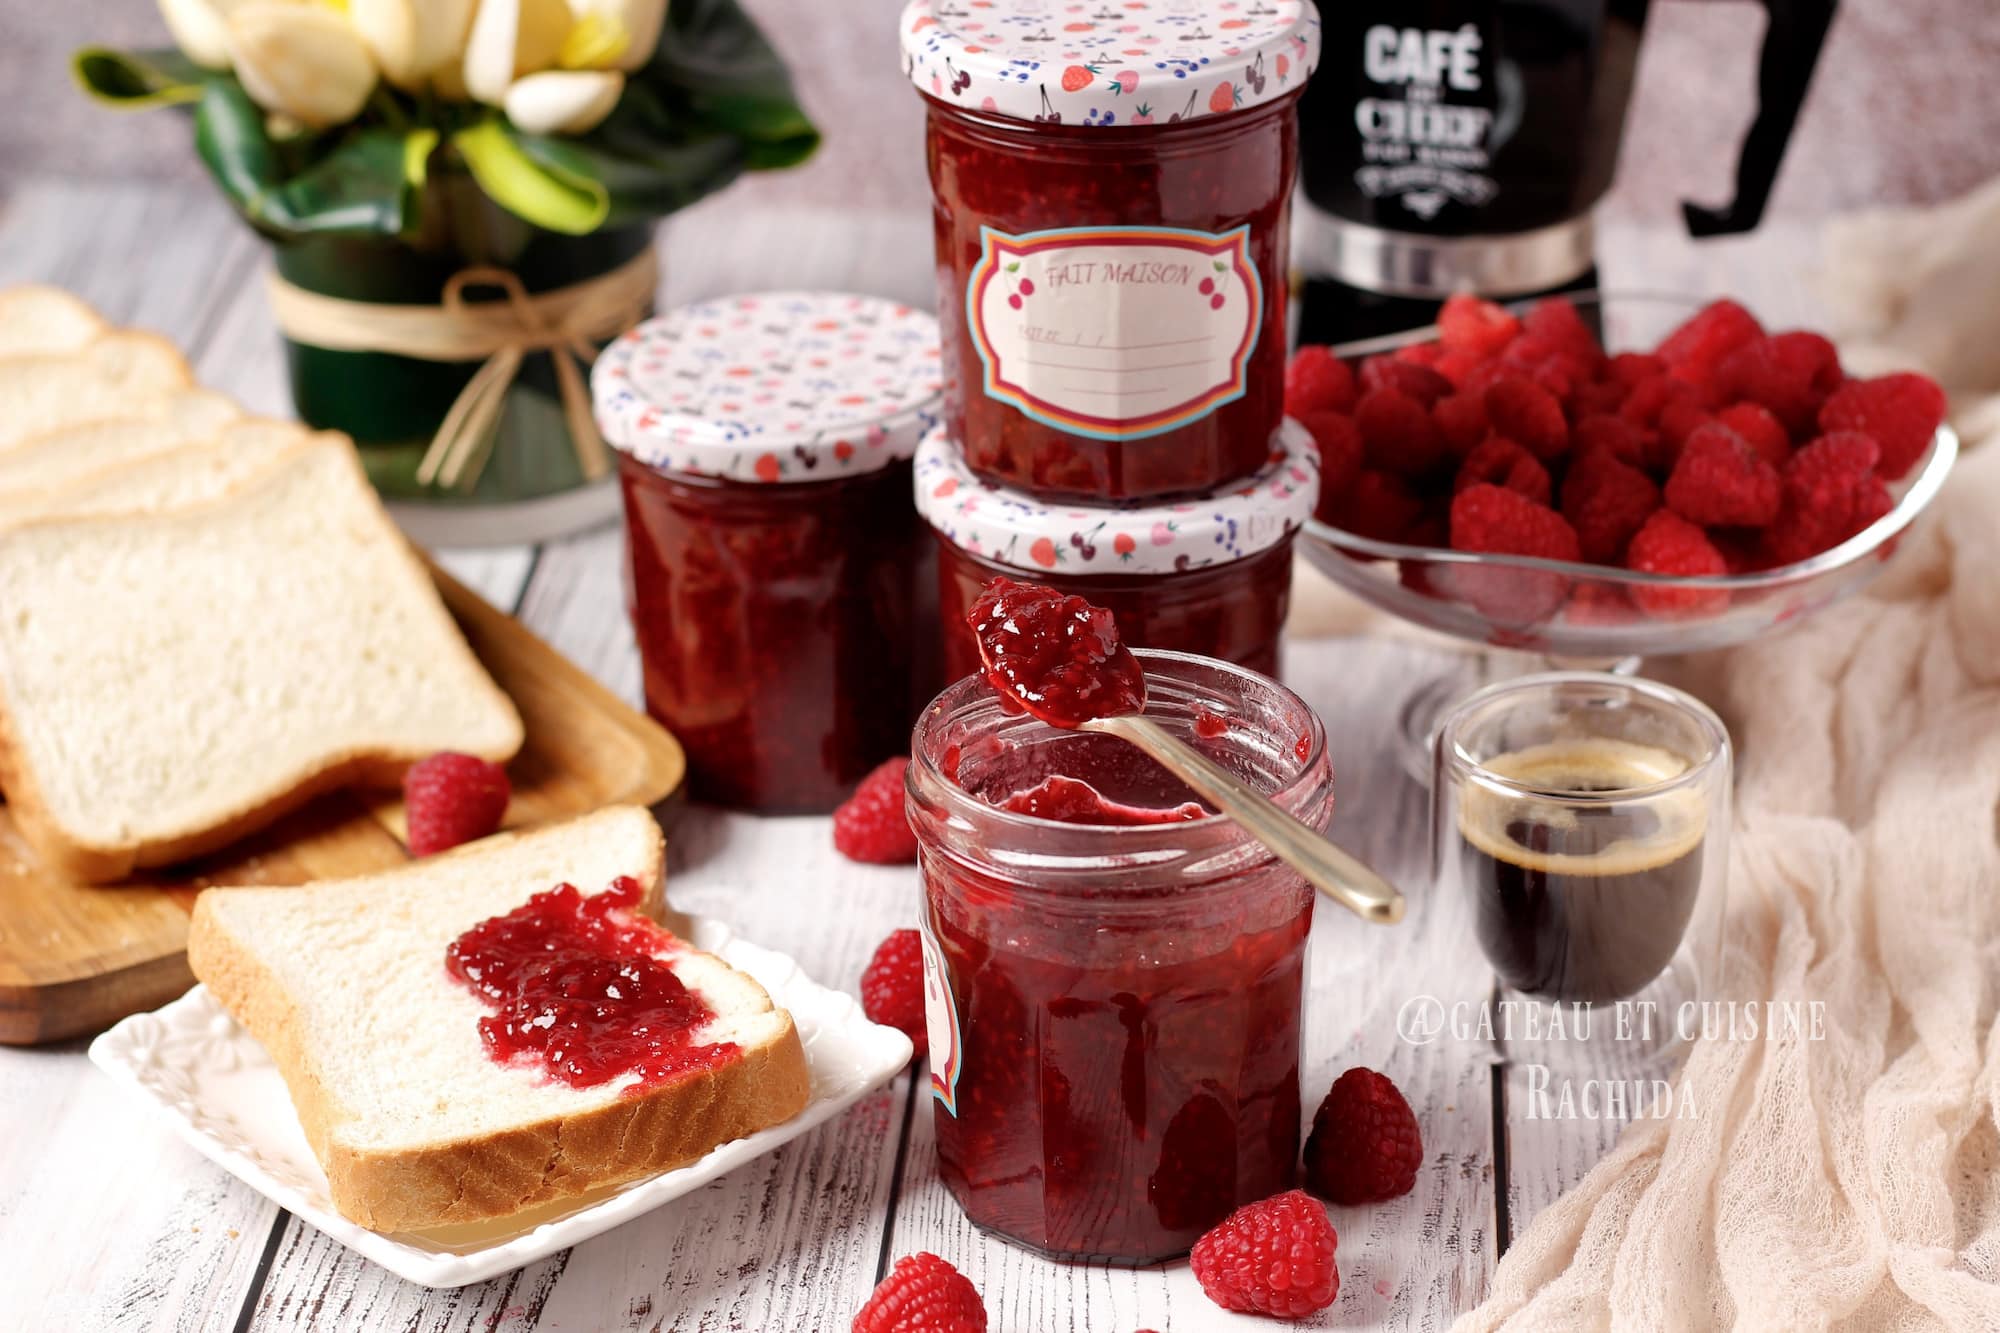
Making homemade jam is a real pleasure, preserving the fruits of every season. As well as being easy to make, they’re healthy, with no additives or preservatives. Summer is the ideal time to enjoy red fruits, such as strawberries, raspberries, blackberries and blueberries.
This raspberry jam is a real treat, capturing all the flavor and freshness of summer-ripened raspberries.
Whether spread on a slice of buttered bread, mixed with plain yogurt, or used as a topping for crêpes pancakes or cakes, it’s one of those delicious jams that everyone loves.
Even if red berries are quite expensive, the final cost of homemade jam will be much lower than that of store-bought jam.

Table of Contents
Preparation steps :
NB: For full details of ingredients, see the recipe card atthe end of this article, which you can print out. Below are the instructions, which you can also view in images.
Macerate the raspberries:
1. Carefully pour the raspberries into a large bowl filled with water to remove any impurities, then drain quickly.
2. Drain them thoroughly, then place 650 g (22.9 oz) in a large, tall pot.
3. Finely blend the remaining raspberries, then strain through a sieve to remove the seeds.
4. Add this coulis to the raspberries in the pot, then add the sugar and lemon juice.
Note: If you don’t mind the seeds, use the whole raspberries without reducing any of them to a coulis.
5. Mix well to coat fruit with sugar.
6. Cover and leave to macerate for at least 2 hours. Preferably leave overnight in the fridge. This resting time allows the raspberries to release their juice and the sugar to melt.

Sterilize jars:
You can find out more about all the tips for successful jam making.
1. Sterilize the jars just before starting to cook the jam.
2. Wash jars and lids in hot, soapy water, then rinse well.
3. Place them and the lids in a pot and cover with hot water.
4. Boil for 15 minutes.
5. Remove from the water with tongs and drain upside down on a clean cloth.
You can also sterilize them in an oven preheated to 140°C (285°F).
Cooking raspberry jam :
1 hour before cooking, place a small plate in the freezer. It will be used to test for baking.
1. After the maceration time, place the pot over high heat and bring the mixture to the boil, stirring regularly. Quick cooking in a large pot preserves the fruit’s vitamins and color.
2. Once the jam starts to boil, cook for 12 to 15 minutes. Add the knob of butter as soon as the foam begins to form. Butter will prevent scumming. If you still have a little, remove it towards the end of cooking with a skimmer.
3. After 8 minutes of heavy bubbling, lower the heat slightly to avoid spattering and to better control the end of cooking.
4. Stir frequently to prevent the jam from sticking to the bottom of the pot.
Cooking time will depend on the juice of the raspberries and the intensity of the heat.
5. The jam is ready when it coats the spoon well. You can also do the plate test. Spoon the jam onto the plate you’ve put in the freezer.
6. Leave to cool for a few seconds, then tilt the plate. If the jam sets and does not run easily, it is ready. If not, continue cooking for a few more minutes.
7. Remove from heat and immediately fill sterilized jars almost to the brim. Use a funnel to avoid dirtying the jars. If this happens, after closing them, clean them with a damp cloth.
8. Close the jars by screwing the lids on tightly, then turn them out onto a towel.
9. Let cool completely before turning them right side up.
Tips of storage :
Label the jars with the date of manufacture and the name of the jam, then store in a dark place at room temperature. You can keep them for up to a year.
Please note: Shelf life will depend on the sugar content of the jam. If you want to make a low-sugar jam, you’ll need to eat it quickly and keep it refrigerated.
A jam with 700 g to 1 kg (24 to 35 oz) of sugar per 1 kg (35 oz) of fruit keeps for a very long time.
Once opened, store your jar in the refrigerator and consume within two weeks. 
Other jam recipes you might like

Raspberry Jam Recipe
INGREDIENTS
- 1.1 kg (39 oz) raspberries 650 g (23 oz) whole and the rest in seedless coulis (400 g / 14 oz).
- 700 g (25 oz) sugar (you can adjust to suit your taste)
- 1 tablespoon lemon juice
- 1 knob of butter
PREPARATION
- You can see the steps in images in the post.
Macerate the raspberries:
- Carefully pour the raspberries into a large bowl filled with water to remove any impurities, then drain quickly.
- Drain them thoroughly, then place 650 g (22.9 oz) in a large, tall pot.
- Finely blend the remaining raspberries, then strain through a sieve to remove the seeds.
- Add this coulis to the raspberries in the pot, then add the sugar and lemon juice.
- Note: If you don't mind the seeds, use the whole raspberries without reducing any of them to a coulis.
- Mix well to coat fruit with sugar.
- Cover and leave to macerate for at least 2 hours. Preferably leave overnight in the fridge. This resting time allows the raspberries to release their juice and the sugar to melt.
Sterilize jars:
- Sterilize the jars just before starting to cook the jam.
- Wash jars and lids in hot, soapy water, then rinse well.
- Place them and the lids in a pot and cover with hot water.
- Boil for 15 minutes.
- Remove from the water with tongs and drain upside down on a clean cloth.
- You can also sterilize them in an oven preheated to 140°C (285°F).
Cooking raspberry jam :
- 1 hour before cooking, place a small plate in the freezer. It will be used to test for baking.
- After the maceration time, place the pot over high heat and bring the mixture to the boil, stirring regularly. Quick cooking in a large pot preserves the fruit's vitamins and color.
- Once the jam starts to boil, cook for 12 to 15 minutes. Add the knob of butter as soon as the foam begins to form. Butter will prevent scumming. If you still have a little, remove it towards the end of cooking with a skimmer.
- After 8 minutes of heavy bubbling, lower the heat slightly to avoid spattering and to better control the end of cooking.
- Stir frequently to prevent the jam from sticking to the bottom of the pot.
- Cooking time will depend on the juice of the raspberries and the intensity of the heat.
- The jam is ready when it coats the spoon well. You can also do the plate test. Spoon the jam onto the plate you've put in the freezer.
- Leave to cool for a few seconds, then tilt the plate. If the jam sets and does not run easily, it is ready. If not, continue cooking for a few more minutes.
- Remove from heat and immediately fill sterilized jars almost to the brim. Use a funnel to avoid dirtying the jars. If this happens, after closing them, clean them with a damp cloth.
- Close the jars by screwing the lids on tightly, then turn them out onto a towel.
- Let cool completely before turning them right side up.
Thank you for visiting my blog and your comments.
You can also follow me on my youtube channel
