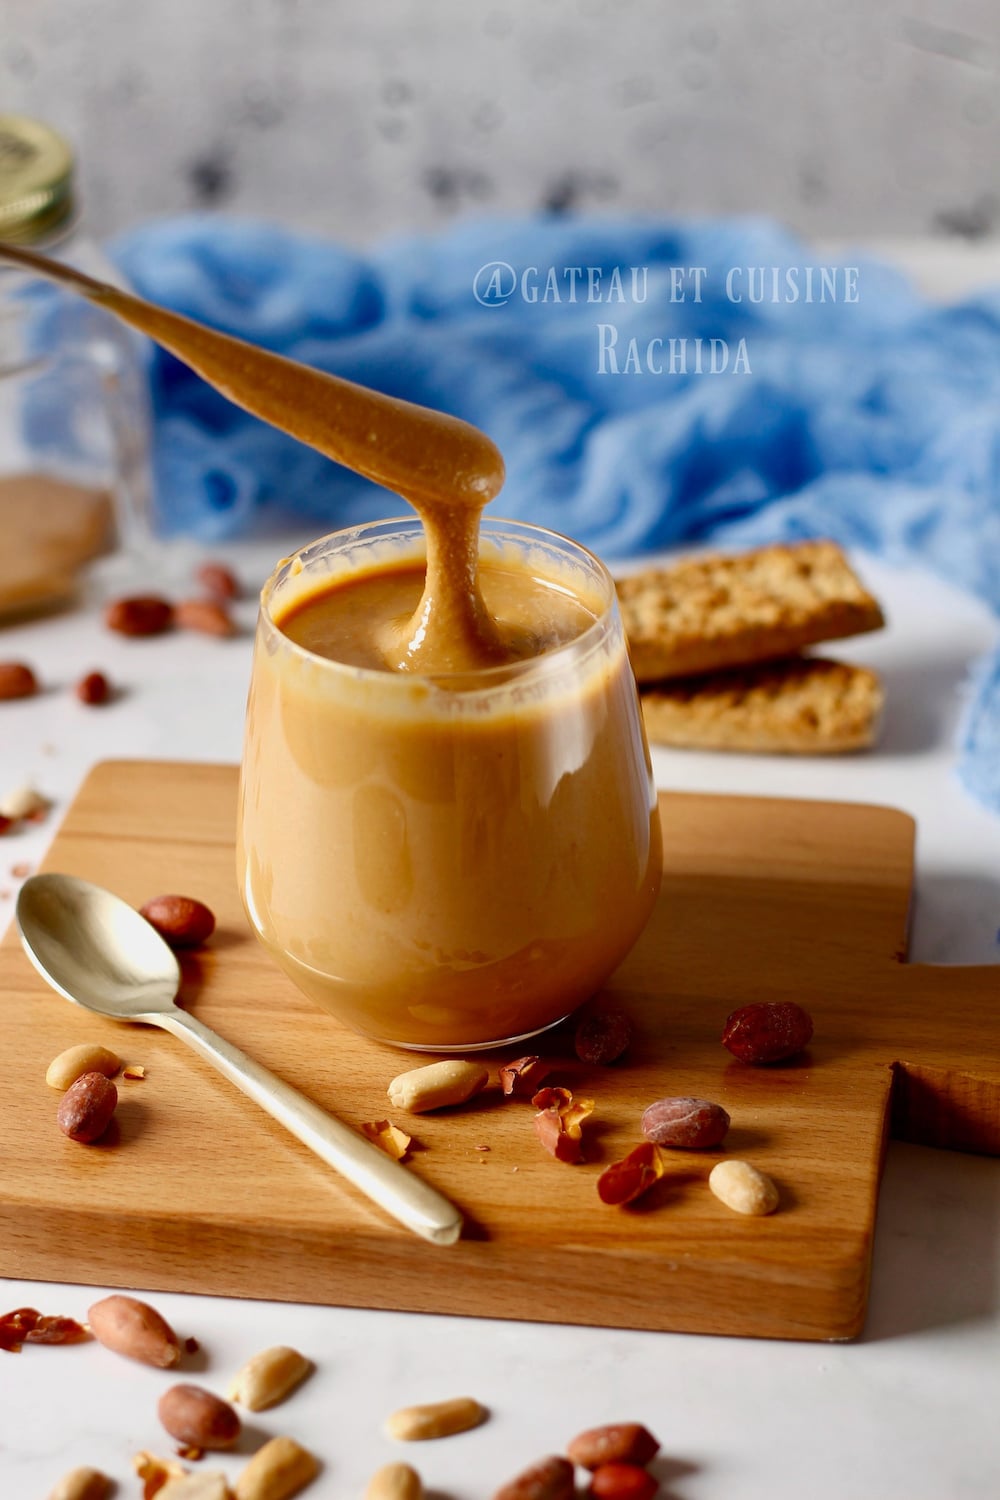
Peanut butter is one of the most famous nut spreads. It’s a smooth peanut butter spread that works just as well on a slice of toasted bread as it does in various sweet or savory recipes.
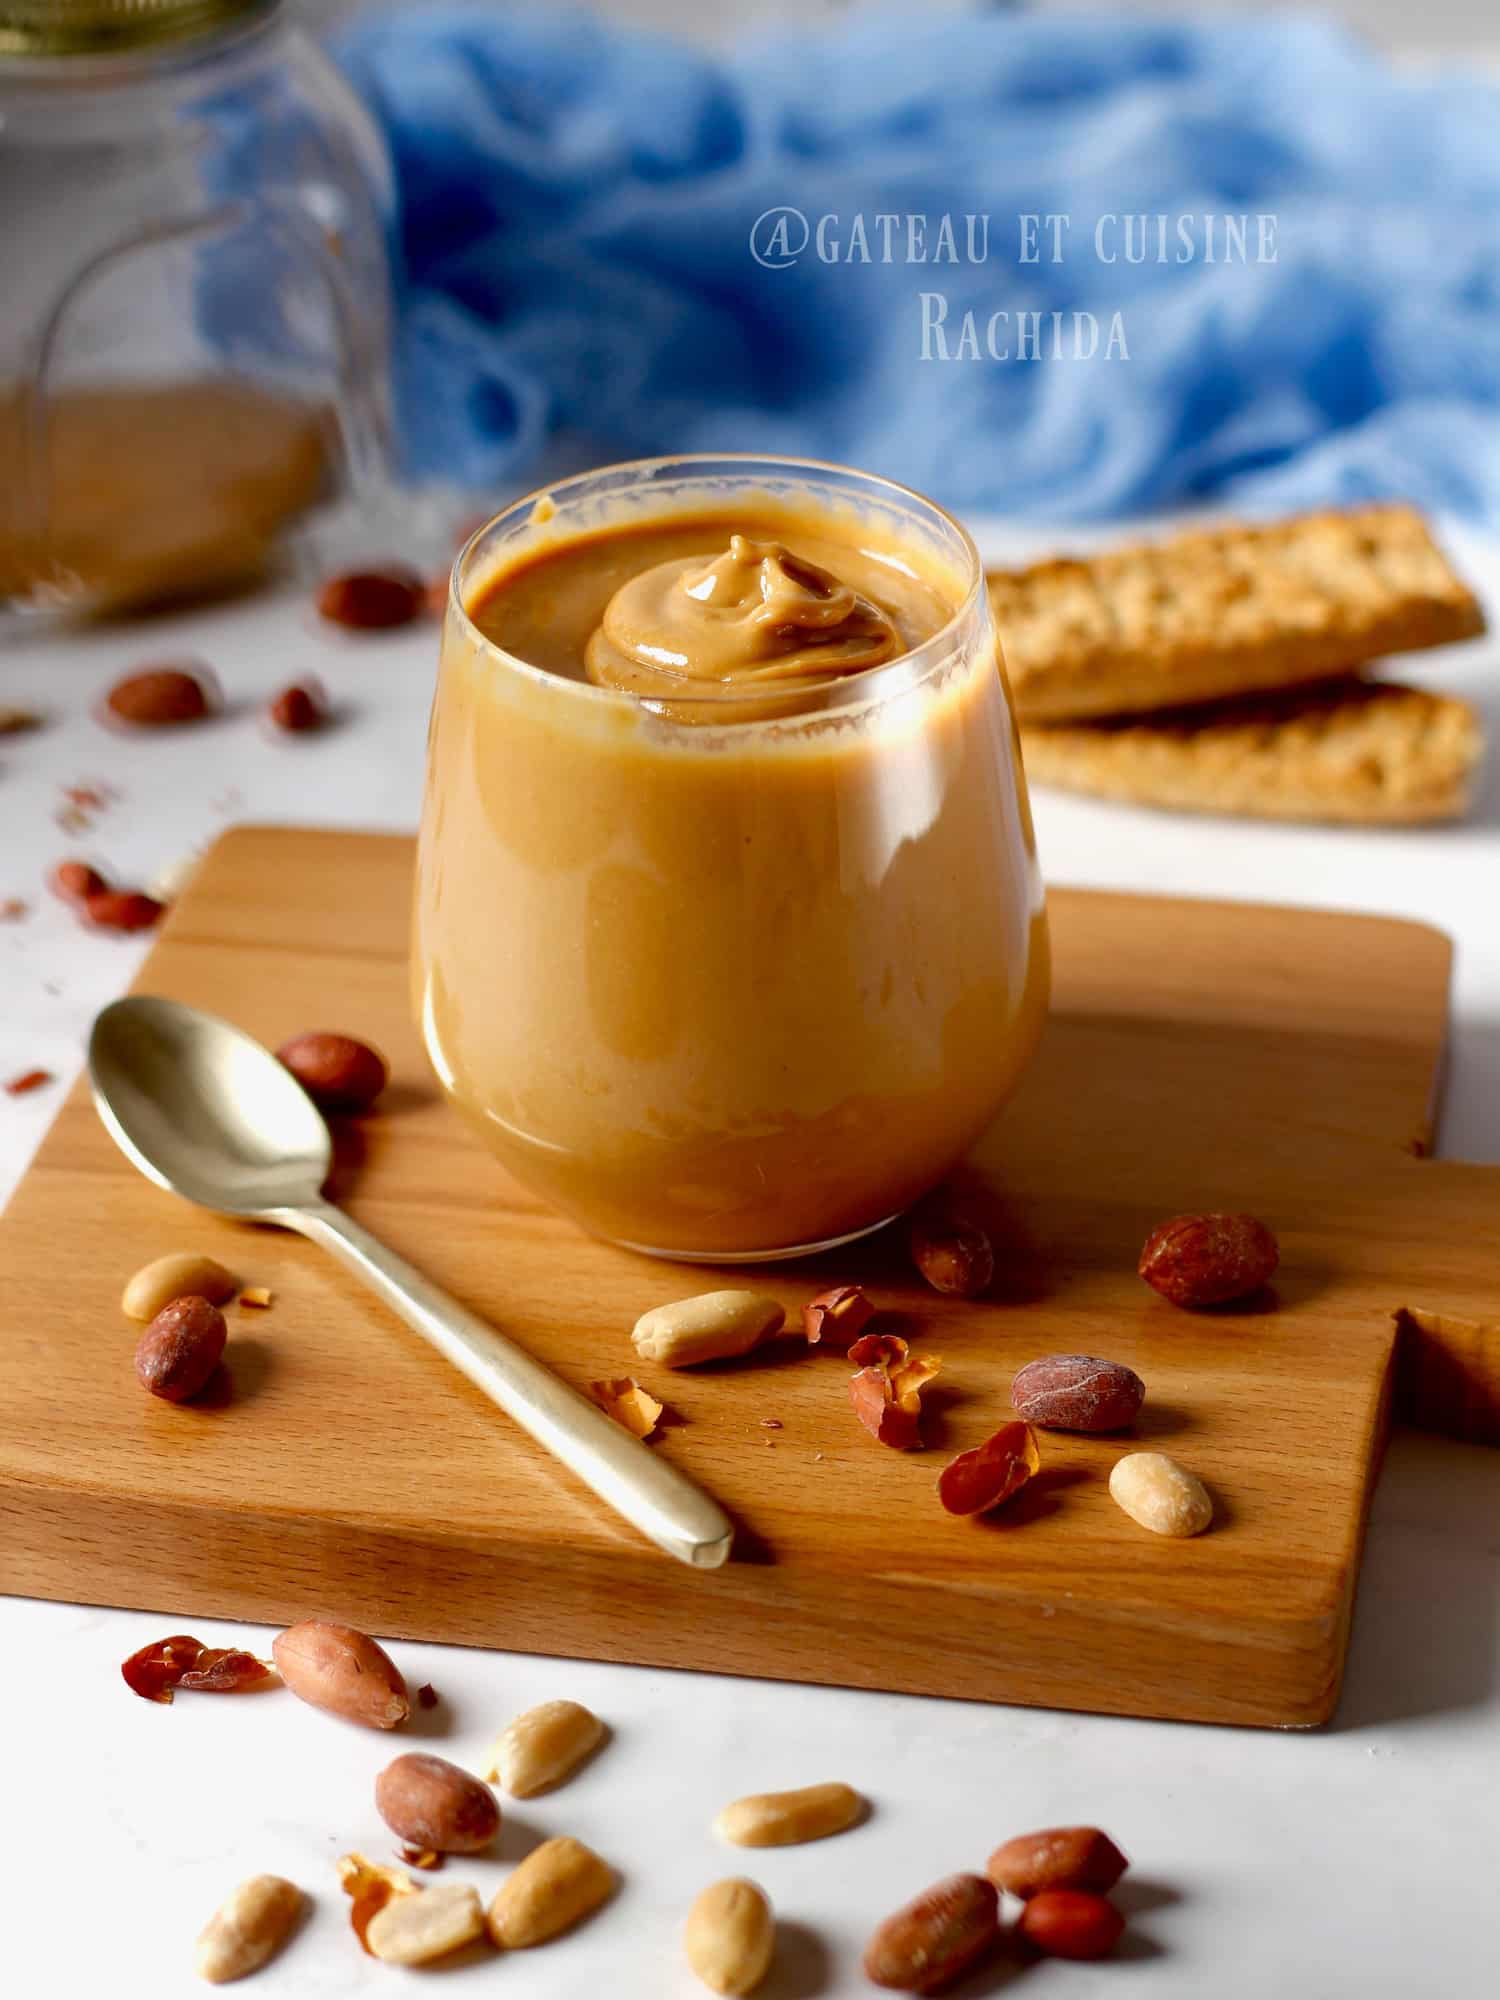
Homemade peanut butter is a delicious spread made from roasted peanuts. Very popular as a base for sandwiches, cookies, and more. Peanut butter is a must-have ingredient in many kitchens, essential for a wide range of recipes It has conquered the world for its delicious taste and diversity of uses. It is very popular with athletes and in Vegan cuisine for its vegetable protein content and good fats.
Making peanut butter allows you to control the ingredients, avoid additives and fully appreciate the freshness and quality of the peanuts used. It’s a healthy and delicious option for all peanut lovers.
It can be used in a variety of ways. It is excellent on toasted bread, crackers, for baking cakes, making sauces, or enhancing certain dishes with a unique flavor.
Table of Contents
What you’ll love about homemade peanut butter
Delicious, rich, creamy taste with a smooth, velvety texture that makes it easy to spread on bread or incorporate into recipes.
Easy to prepare, it can be easily prepared at home using a food processor and following a few simple steps to obtain a delicious spread.
Health Benefits: Peanut butter is an excellent source of plant-based protein, widely favored by those who prioritize their health, follow a diet or fitness regimen, and athletes.
It provides healthy fats and contains beneficial nutrients like vitamin E, magnesium, and antioxidants
Using just one ingredient, you won’t need anything but peanuts. You can add a little vegetable oil to help the food processor, but with some patience, it’s not necessary. You’ll get a great texture.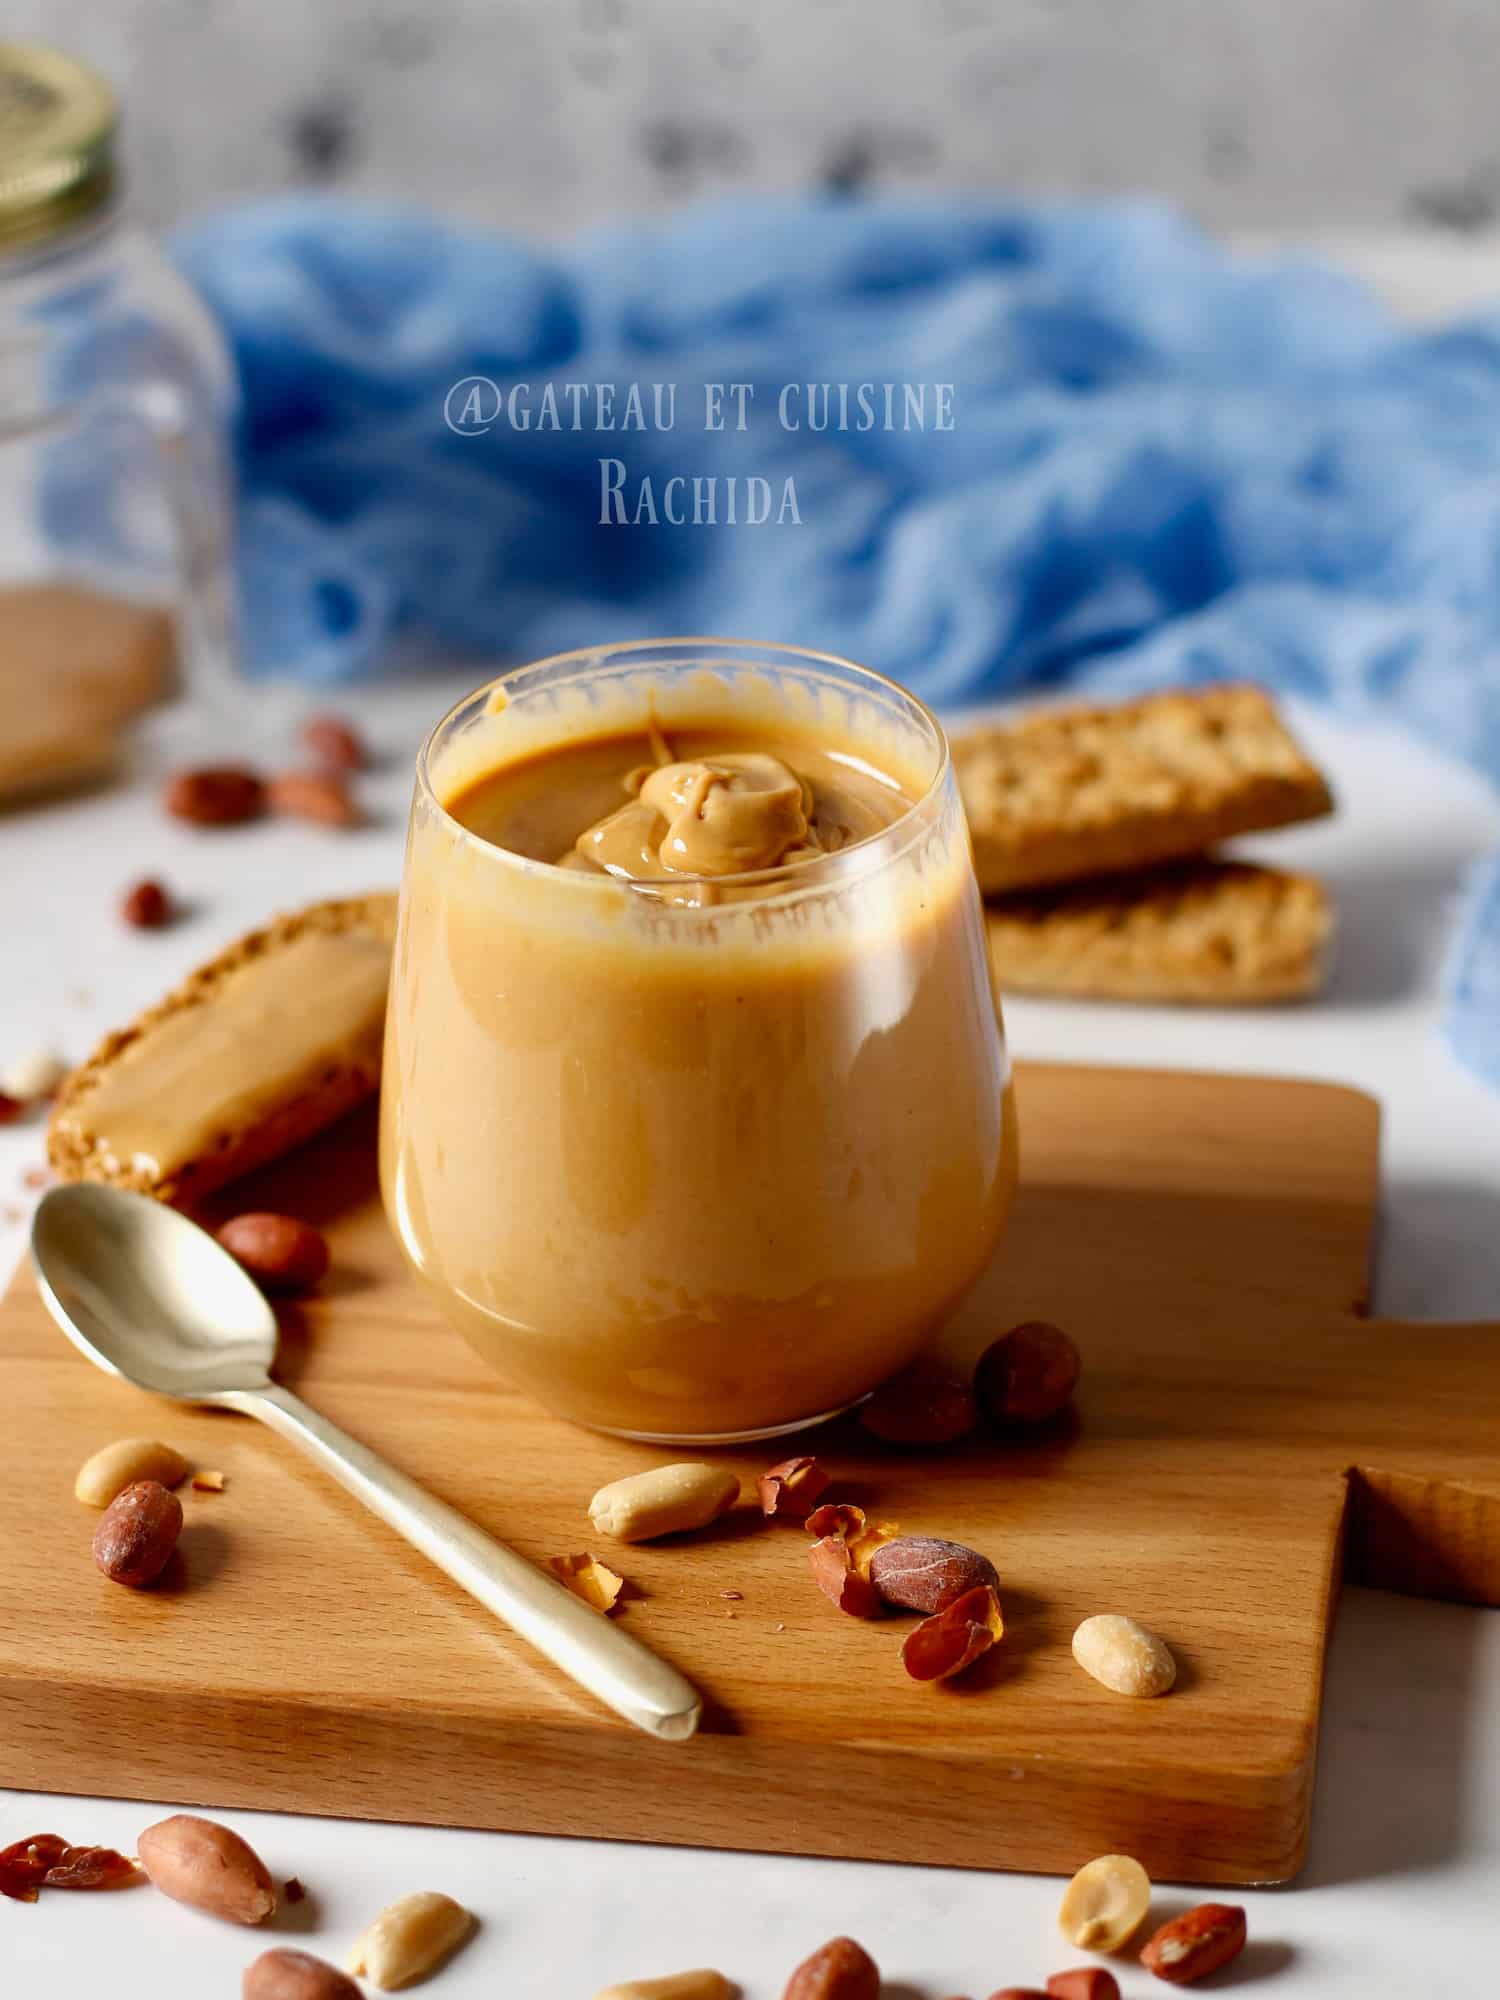
Which peanuts to choose ?
You can use organic unsalted roasted peanuts with no added products. Read the label carefully to make sure no oil has been added. I recommend roasting them for ten minutes in the oven, which will intensify their flavor and remove any moisture.
You can also use raw peanuts without shells, either with or without the skin. That’s what I do, I toast them in the oven and that way I’m sure they don’t contain any preservatives or additives.
Preparation steps :
| NB: Find the complete recipe with detailed ingredient quantities in the recipe card at the end of the article, which you can also print out. Below are the instructions, which you can also view in images. |
1. Preheat oven to 175°C (350°F)
2. Spread the peanuts in a single layer on a baking sheet. If you have already roasted peanuts, roast them for about ten minutes. For unroasted white peanuts, roast for 20 minutes or more, stirring occasionally, until golden brown.
3. If you’ve chosen red-skinned peanuts, roast them until the skins easily come off when rubbed between your fingers, and the peanuts underneath are golden. Watch them carefully towards the end to avoid burning.
4. Remove the peanuts from the oven and leave to cool for a few minutes.
5. If you’ve used peanuts with skin, rub them between your hands to remove any skins. 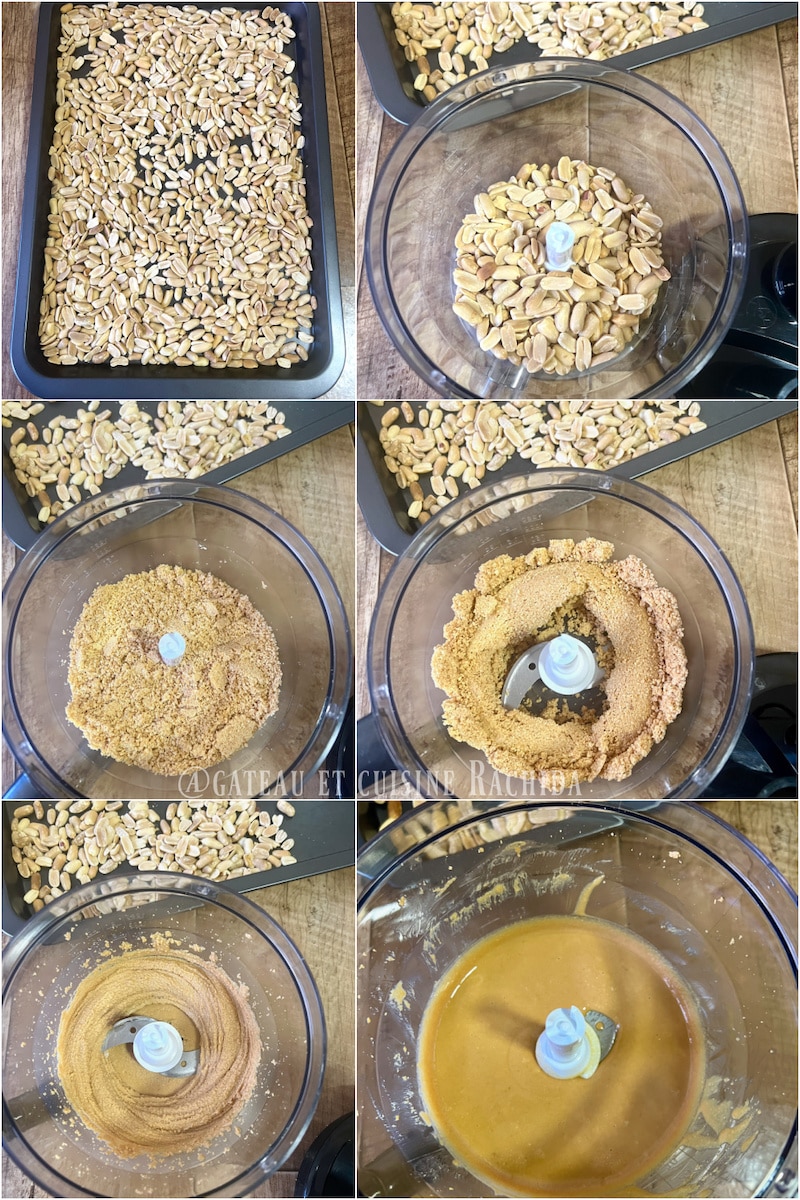
6. If you have a small food processor, blend one small portion at a time. I divide the 500 g (17.6 oz) in half to make grinding easier. If you have a Thermomix, do it all at once. Blend for a few minutes, pausing occasionally to scrape down the sides of the blender or food processor.
7. To avoid overheating your blender’s motor, pause as soon as you notice it getting warm, allowing it to cool for a few minutes. Resume blending for a few more minutes until the mixture becomes smooth and fluid on the surface.
8. You can add one or two tablespoons of peanut oil to help with the blending process. This can make the mixture smoother and help the blender work more efficiently. I don’t add any oil because with a bit of patience, the grinding process naturally releases the oil from the peanuts, giving the butter a smooth, velvety texture. 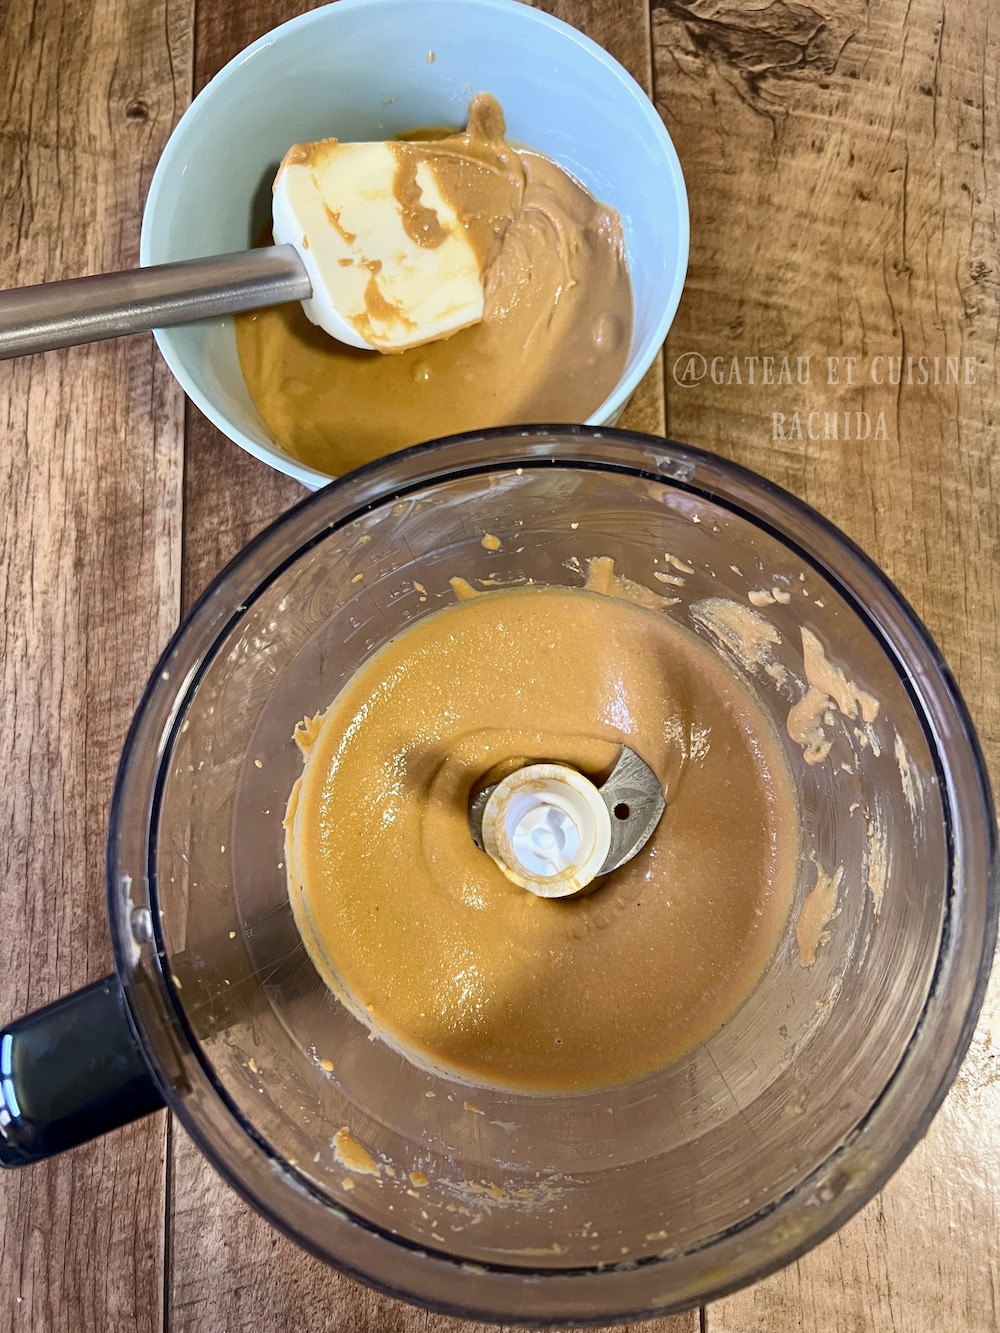 Depending on the power of your food processor, the blending process may take some time. Be patient to achieve the desired consistency, the result will be worth the wait.
The process goes through three phases. When you start mixing, you’ll obtain a powder that will begin to agglomerate into a ball. Gradually, the blending will release the oil from the peanuts, resulting in a smooth, flowing paste.
9. To store your peanut butter, pour it into an airtight jar and keep it either at room temperature or in the refrigerator.
Storage tips :
Store the peanut butter in a jar with an airtight lid. This will prevent exposure to air, which can lead to oxidation and alter its flavor.
You can keep it at room temperature for up to a month if the weather is not too hot. High temperatures may cause it to go rancid. It can be stored in the refrigerator for several months without any issues.
Use a clean spoon to scoop out the desired amount to prevent introducing bacteria.
Stir well if necessary before use. Over time, the natural oils in the peanuts may separate from the butter and rise to the surface. This oil creates a natural barrier against air, which helps extend the shelf life.
Other recipes you might enjoy
Homemade Peanut Butter Recipe
EQUIPEMENTS
- Food processor
INGREDIENTS
- 500 g (17.6 oz )unsalted roasted peanuts or unroasted peanuts (You can adapt the quantities to your needs)
- Salt (optional, according to preference)
PREPARATION
- Preheat oven to 175°C (350°F)
- Spread the peanuts in a single layer on a baking sheet. If you have already roasted peanuts, roast them for about ten minutes. For unroasted white peanuts, roast for 20 minutes or more, stirring occasionally, until golden brown.
- If you’ve chosen red-skinned peanuts, roast them until the skins easily come off when rubbed between your fingers, and the peanuts underneath are golden. Watch them carefully towards the end to avoid burning.
- Remove the peanuts from the oven and leave to cool for a few minutes.
- If you've used peanuts with skin, rub them between your hands to remove any skins.
- If you have a small food processor, blend one small portion at a time. I divide the 500 g (17.6 oz) in half to make grinding easier. If you have a Thermomix, do it all at once. Blend for a few minutes, pausing occasionally to scrape down the sides of the blender or food processor.
- To avoid overheating your blender’s motor, pause as soon as you notice it getting warm, allowing it to cool for a few minutes. Resume blending for a few more minutes until the mixture becomes smooth and fluid on the surface.
- You can add one or two tablespoons of peanut oil to help with the blending process. This can make the mixture smoother and help the blender work more efficiently. I don't add any oil because with a bit of patience, the grinding process naturally releases the oil from the peanuts, giving the butter a smooth, velvety texture.
- Depending on the power of your food processor, the blending process may take some time. Be patient to achieve the desired consistency, the result will be worth the wait.
- The process goes through three phases. When you start mixing, you'll obtain a powder that will begin to agglomerate into a ball. Gradually, the blending will release the oil from the peanuts, resulting in a smooth, flowing paste.
- To store your peanut butter, pour it into an airtight jar and keep it either at room temperature or in the refrigerator.
Notes
Thank you for visiting my blog and your comments.
You can follow my Youtube channel
