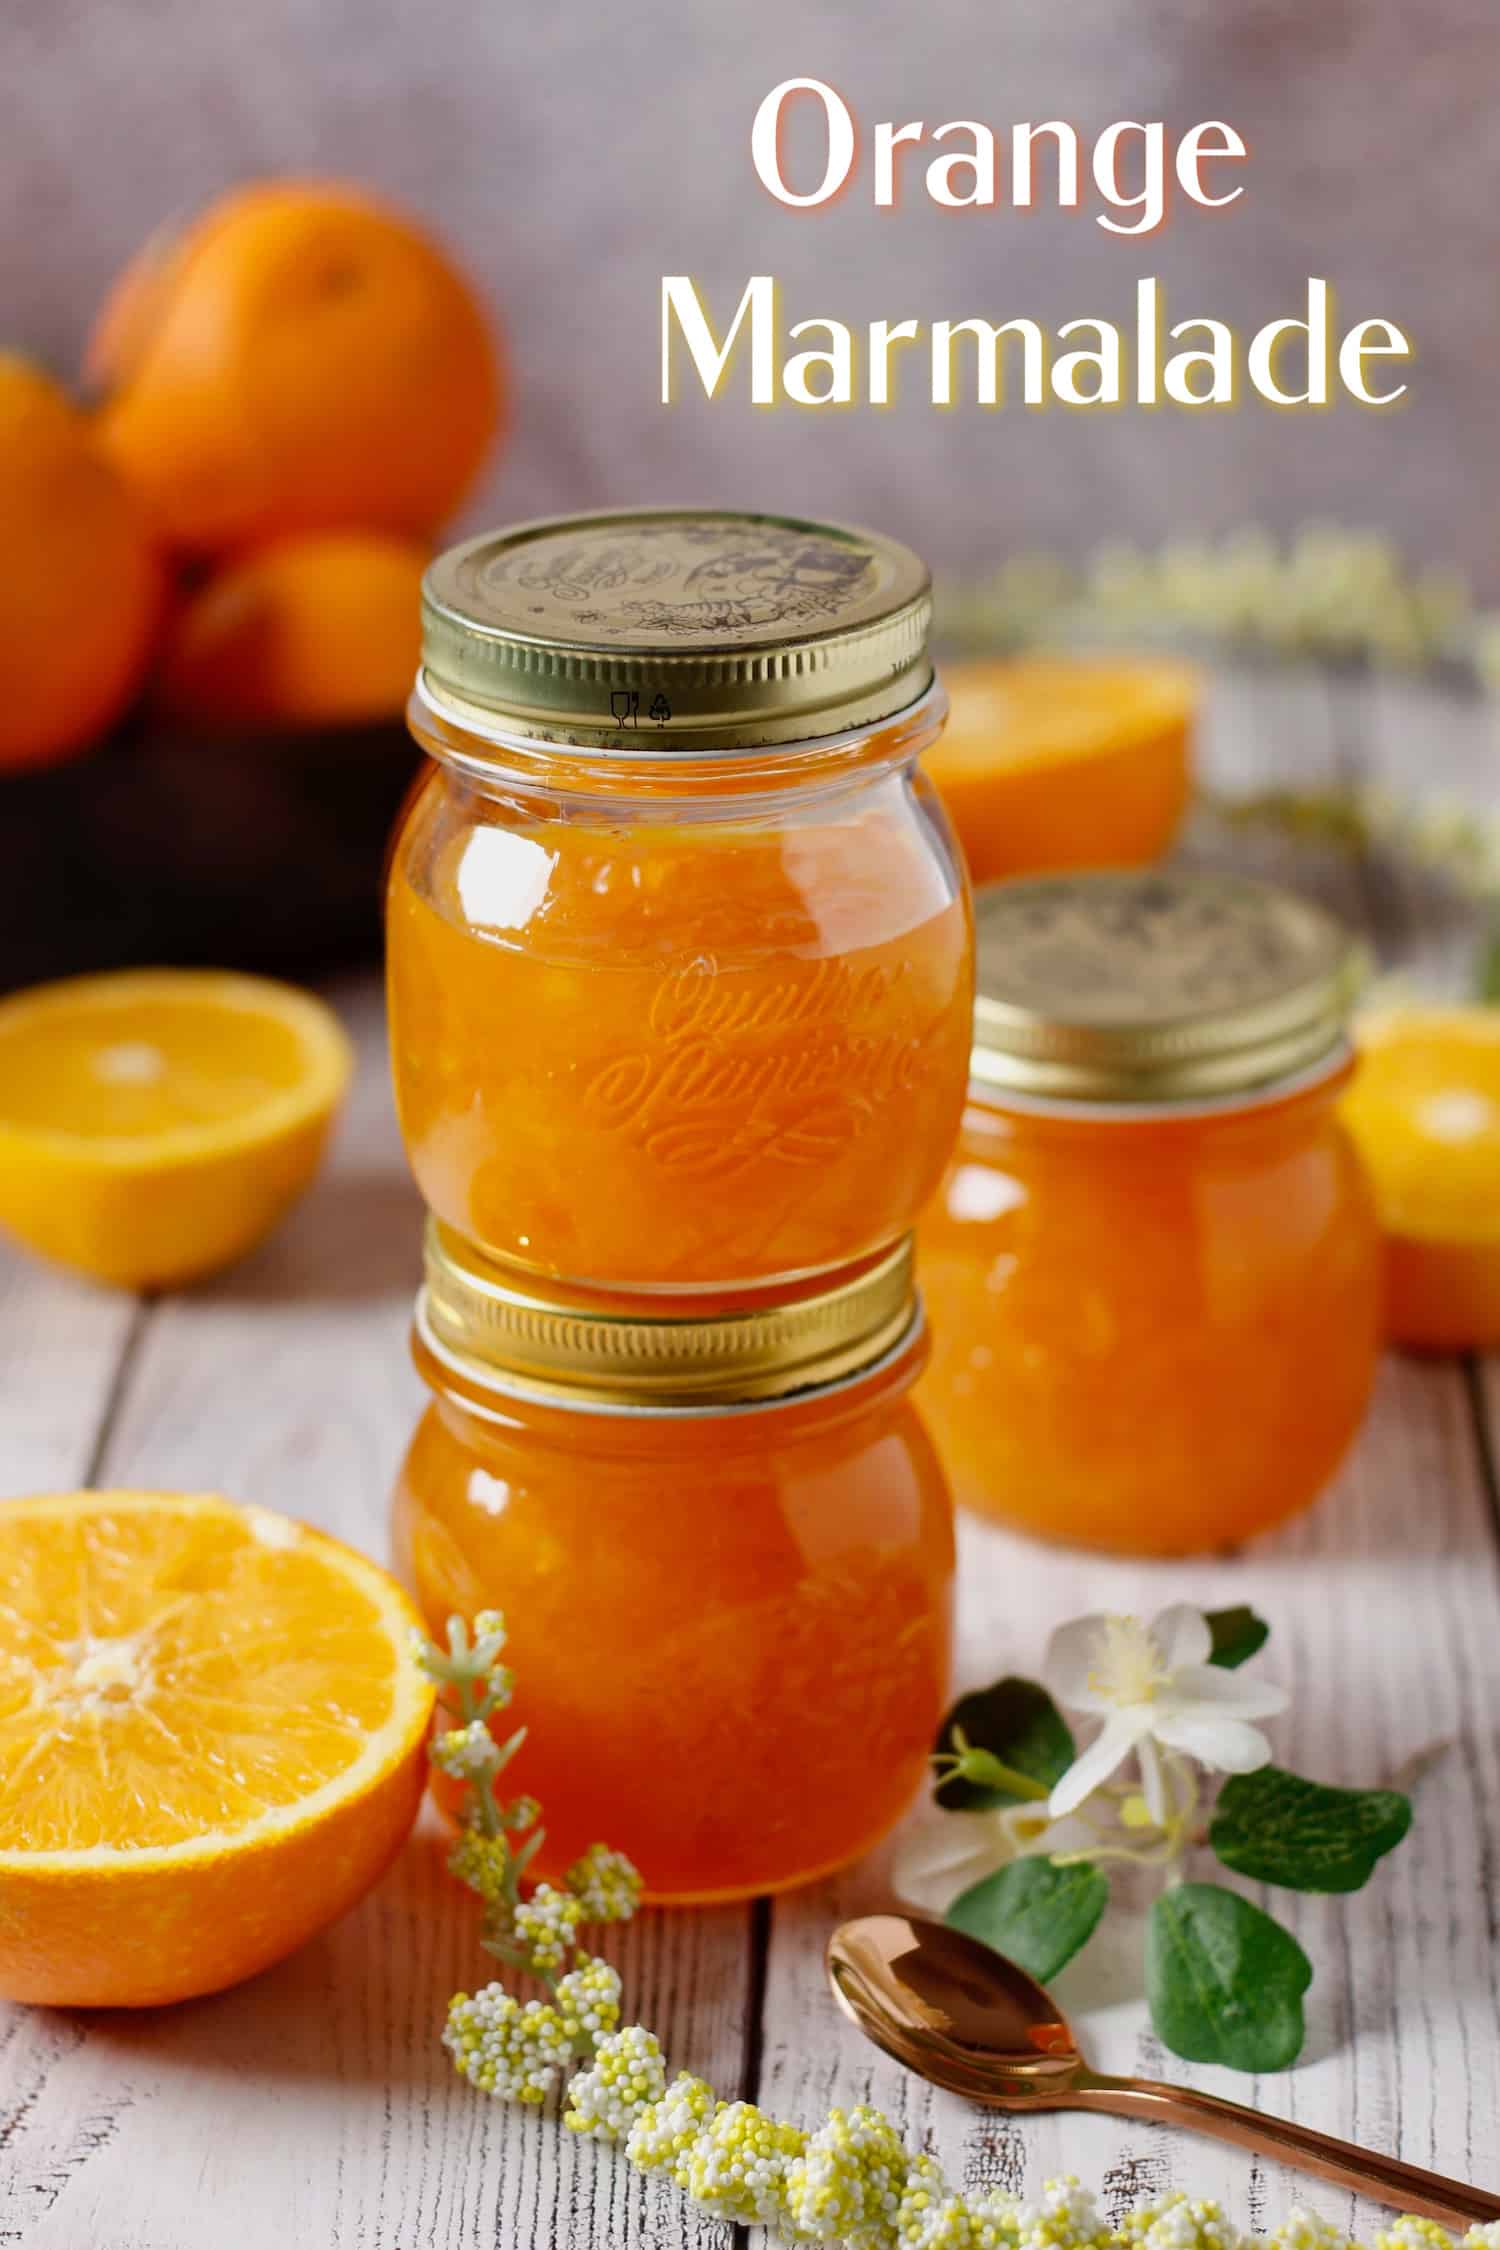
Orange Marmalade
It’s the height of orange season, so you can make a delicious jam.
Every year, I make jams from a wide range of fruits to enjoy all year round. In summer, I make it with strawberries, apricots, mirabelles etc… and in winter with citrus fruits, like the lemon or orange jam.
It’s so easy to prepare, with no additives or preservatives, and made with quality fruit that it would be a shame to keep buying store-bought jam. I’ve put together a comprehensive article with all the tips you need to make a successful jam.
Table of Contents
What you’ll love about homemade orange jam
Easy recipe: Preparing this jam will take you very little time, and you’ll need just 2 ingredients: beautiful oranges and sugar.
Quality control: When you make your own orange jam, you know what’s in it. You choose the quality of oranges, which must be fresh and with a thin skin. This allows you to avoid preservatives and additives, for a more natural and authentic tasting experience.
Year-round storage: In winter, when oranges are in season, use them to make jam. So you can enjoy this delicious, flavorful fruit all year round.
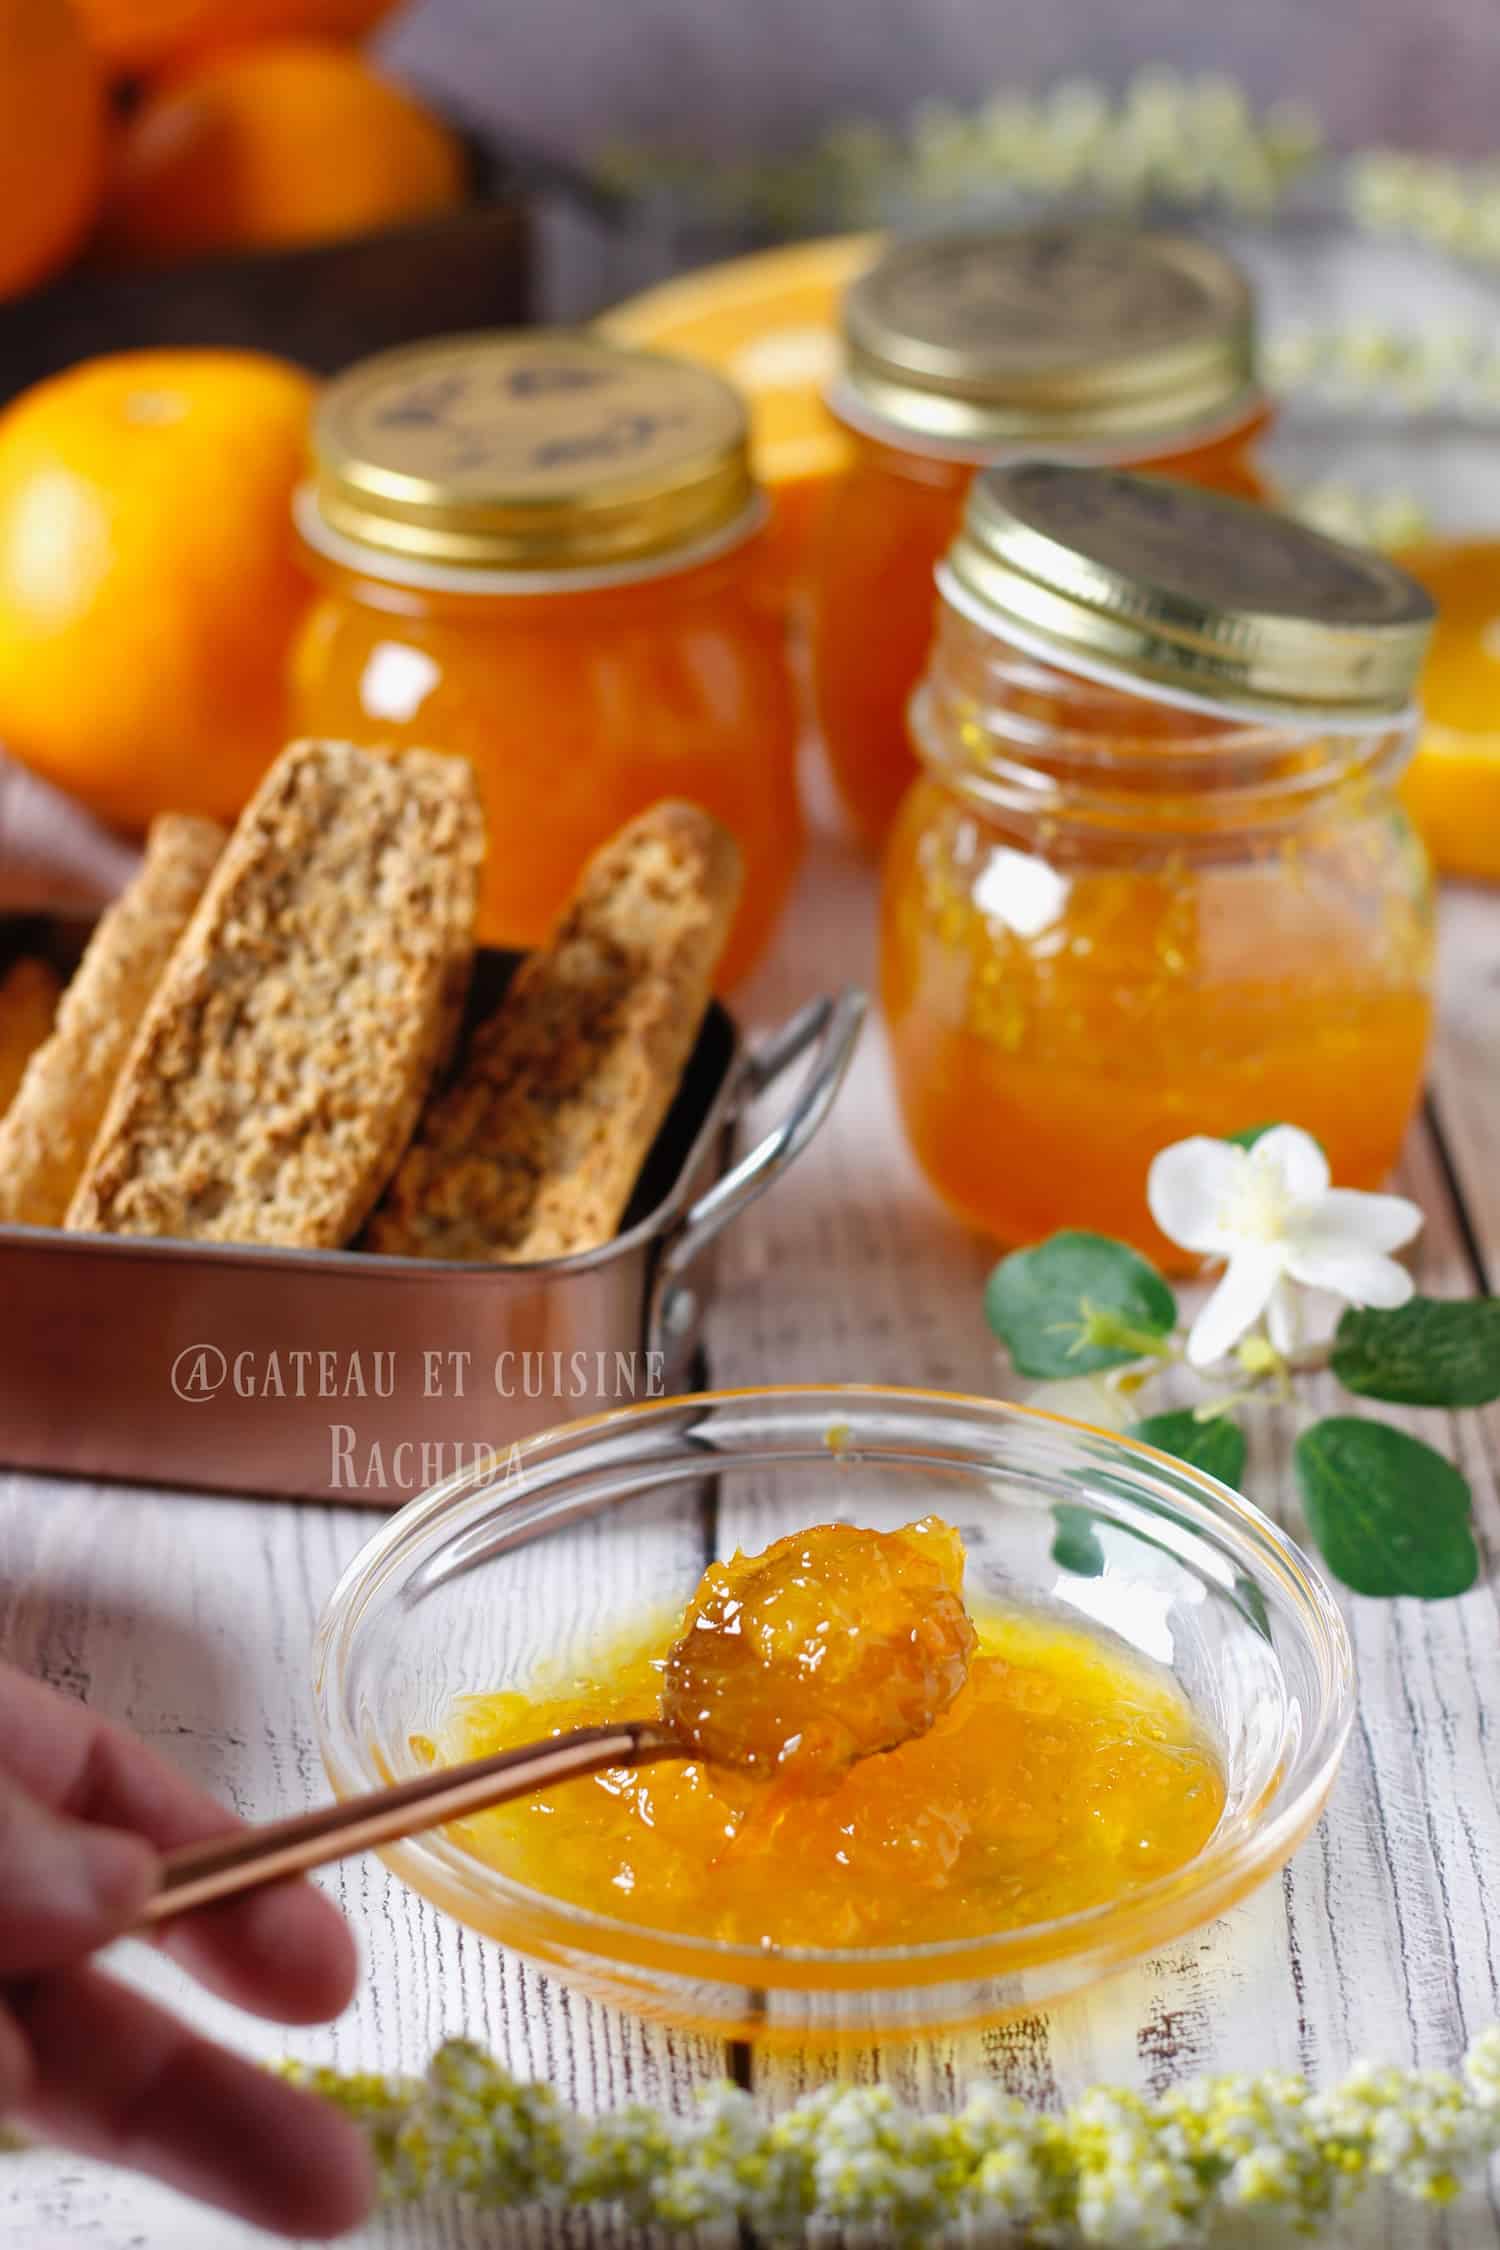
Tips for making orange jam
Choosing oranges: If possible, opt for organic oranges. They should be firm and thin-skinned. They’ll have less white skin on the inside, and you’ll get to the supremes quickly by peeling them raw.
The amount of sugar: For a long shelf-life, don’t go below 700 g of sugar per kg of oranges (flesh and juice). If you want to make a small quantity of jam for two weeks’s storage in the fridge, you can reduce it to 400g of sugar.
Lemon juice: Add the juice of one small lemon for every 1 kg of fruit ready for cooking. The acid in the lemon helps the fruit’s pectin to work, which is what makes the jam jellify.
Cooking: The jam should be cooked in a large pot over high heat to speed up evaporation. Fast cooking preserves the fruit’s beautiful color, flavor and aroma. Avoid long, slow cooking of jam, which will spoil the fruit.
Sterilizing jars: It’s essential to sterilize jars and lids to keep jam fresh for longer. You can sterilize them in a pot covered with water and boil for 15 minutes after boiling. Remove and turn out onto a towel to drain.
A knob of butter: A small knob of butter is added to the jam at the start of cooking to minimize scumming.
Filling the jars: Fill them almost to the brim with the hot jam. Screw the lids on tightly and turn them upside down on a towel until cool. The hot jam will sterilize the empty space at the top of the jar.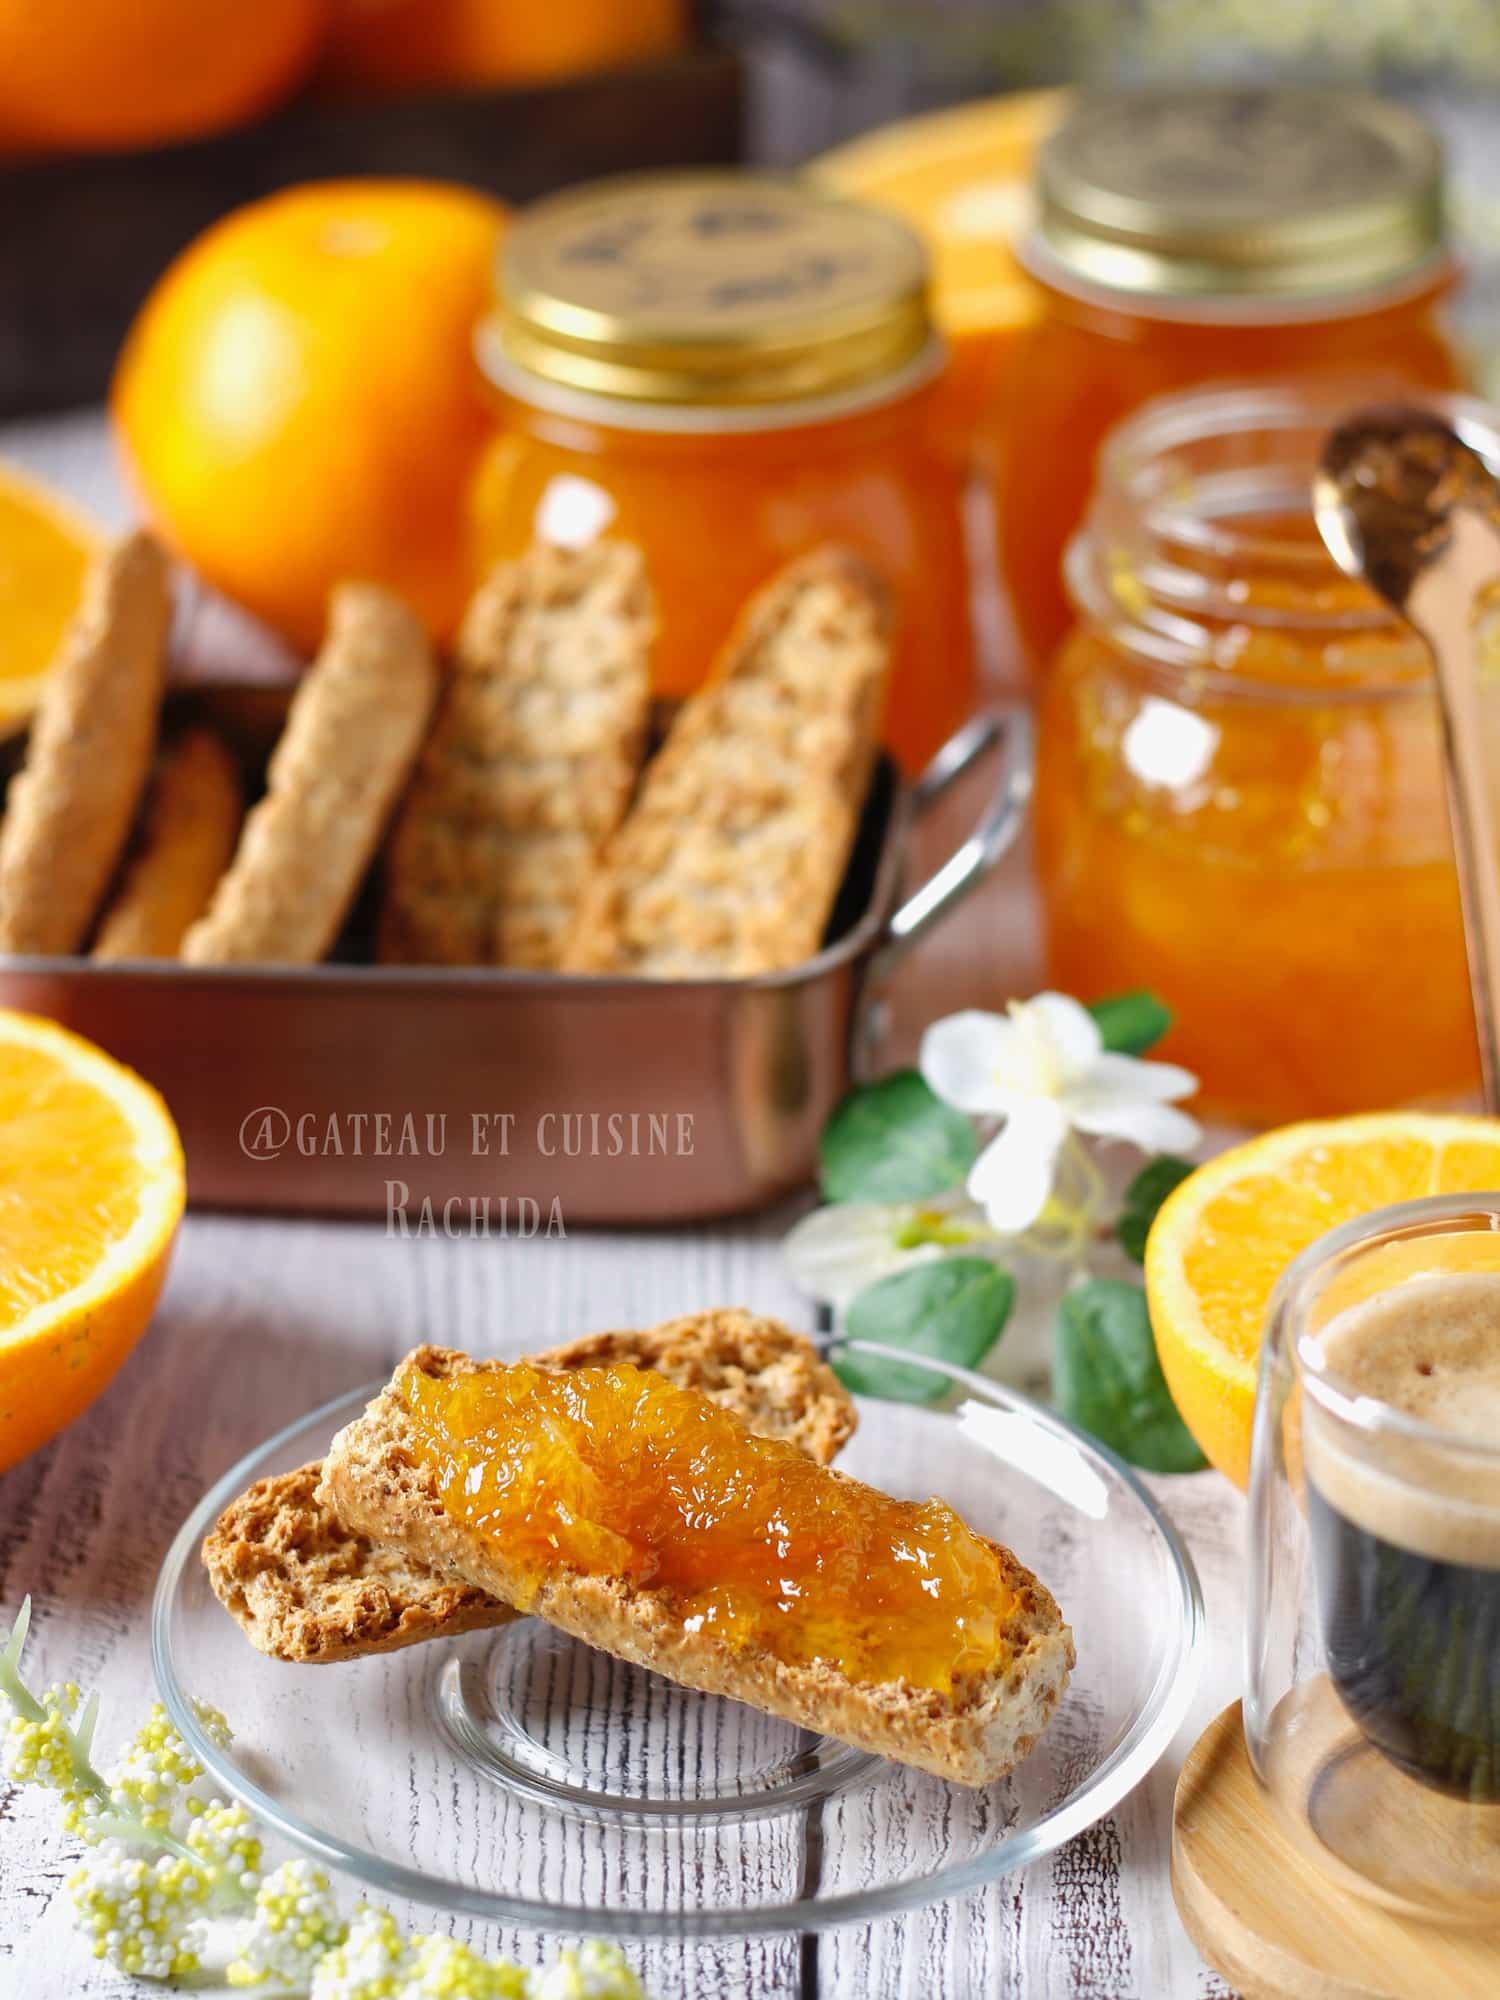
Preparation steps
| NB: Find the complete recipe with detailed ingredient quantities in the recipe- card at the end of the article, which you can also print out. Below are the instructions, which you can also view in images. |
Preparing oranges
Scrub and wash the oranges well, then wipe dry.
Zest two oranges, one with a fine or microplane grater and the other with a coarse grater. You can peel the orange, remove the white skin and cut it into julienne strips. Cut each julienne into small pieces of about 2 cm. You can add more to your jam if you like the bitterness.
Peel oranges raw with a sharp knife. Remove the bitter white skin and leave only the flesh. Remove any seeds.
Cut into 4 and remove the white inside. If you can recover only the supremes without the membrane, that’s ideal.
Cut each orange pulp wedge in half and pour into a bowl, catching any juice that has dripped onto the board.
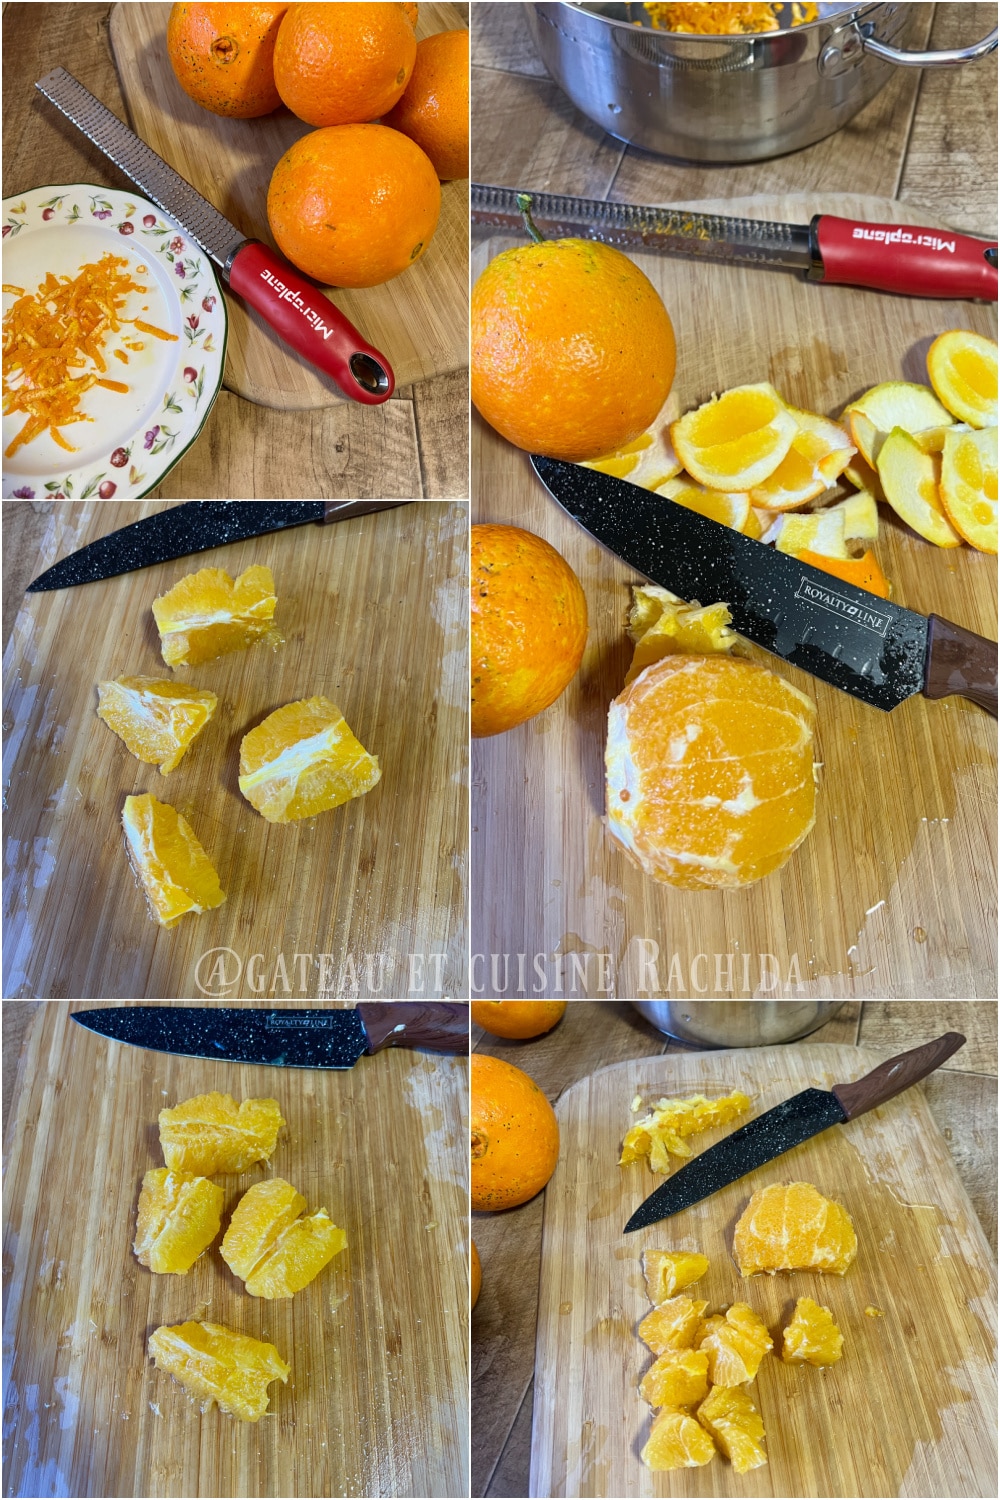
Preparing oranges
Macerate
Weigh the peeled and cut oranges to obtain 1 kg of fruit.
Pour into a pot with high sides to prevent overflow. It should be at least twice the height of the fruit and sugar.
Add the sugar and mix well. Cover and leave to macerate for at least 6 hours before cooking. I usually leave overnight.
In the 4 images below, the last one is the one after maceration.
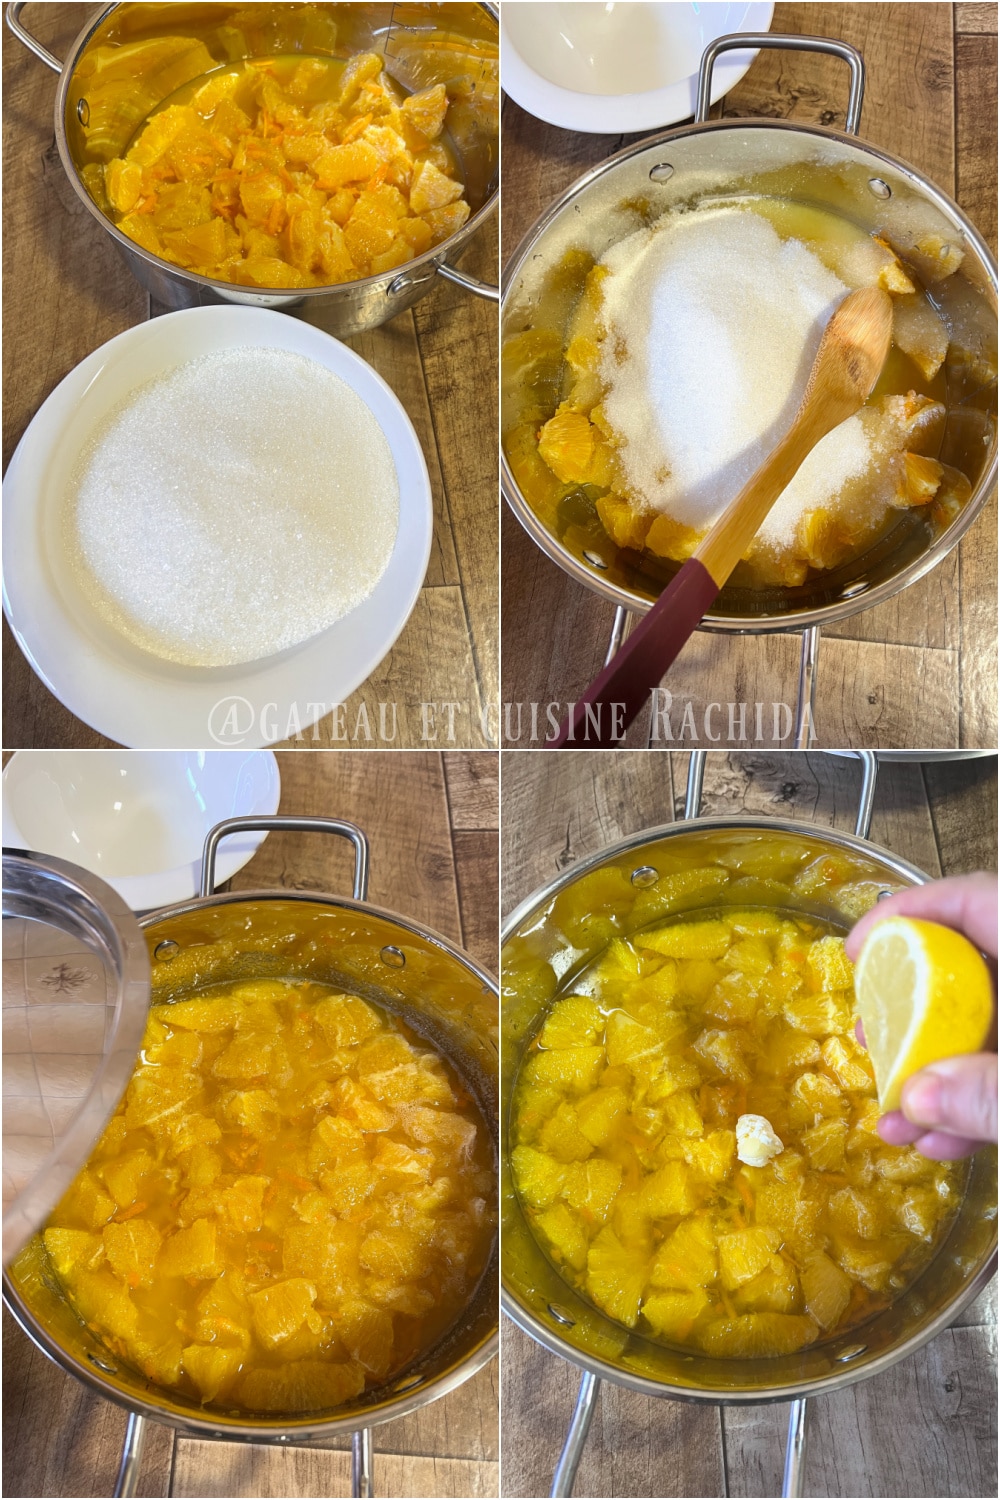
Macerate oranges with sugar
Jar sterilization
The next day, just before cooking, sterilize the jars. Wash them and put them in a large pot with a lid. Cover with water and bring to the boil. Allow 15 min from boiling.
Turn them and the lids onto a towel to drain. Do not wipe them.
Cooking jam
Add the juice of a small lemon and a knob of butter to the macerated oranges and sugar, then bring to the boil.
Stir, then cook for 15-20 min from boiling. At first, stir occasionally, but towards the middle of the cooking time, stir constantly to prevent the jam from sticking to the bottom. Use a skimmer to crush the fruit.
Cooking time will depend on the amount of juice and the degree of heat, so check the consistency on a plate taken from the freezer. Add a teaspoonful of jam, wait a moment and tilt the plate. The jam should set slightly.
Don’t overcook your jam to the consistency of a cold jam. At the end of cooking, it should be glossy but runny and fairly liquid. As it cools, it will firm up.
If you thicken it too much, you’ll end up with a very thick jam.
If there is a little foam towards the end of cooking, remove it with a skimmer.
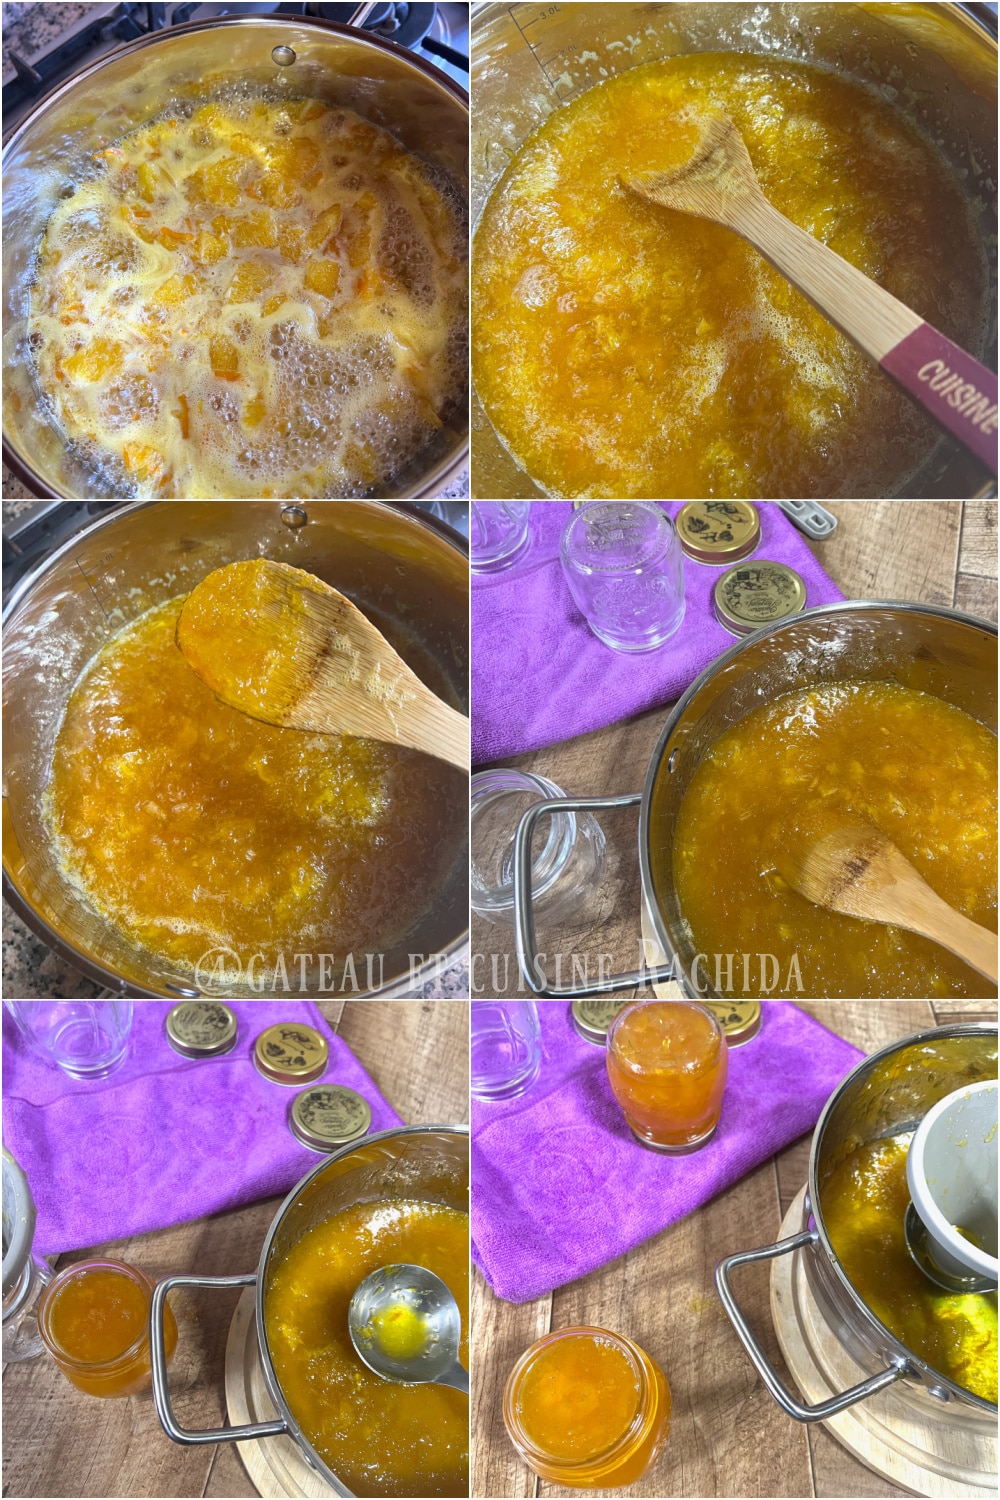
jam cooking and bottling
Remove from the heat and immediately fill the jars to within 1 cm of the rim, using a funnel if possible. Screw the lids on tightly and turn them upside down on a towel until cool.
After this time, turn the jars right-side up and store in the cupboard, away from light.
Once opened, store in the refrigerator.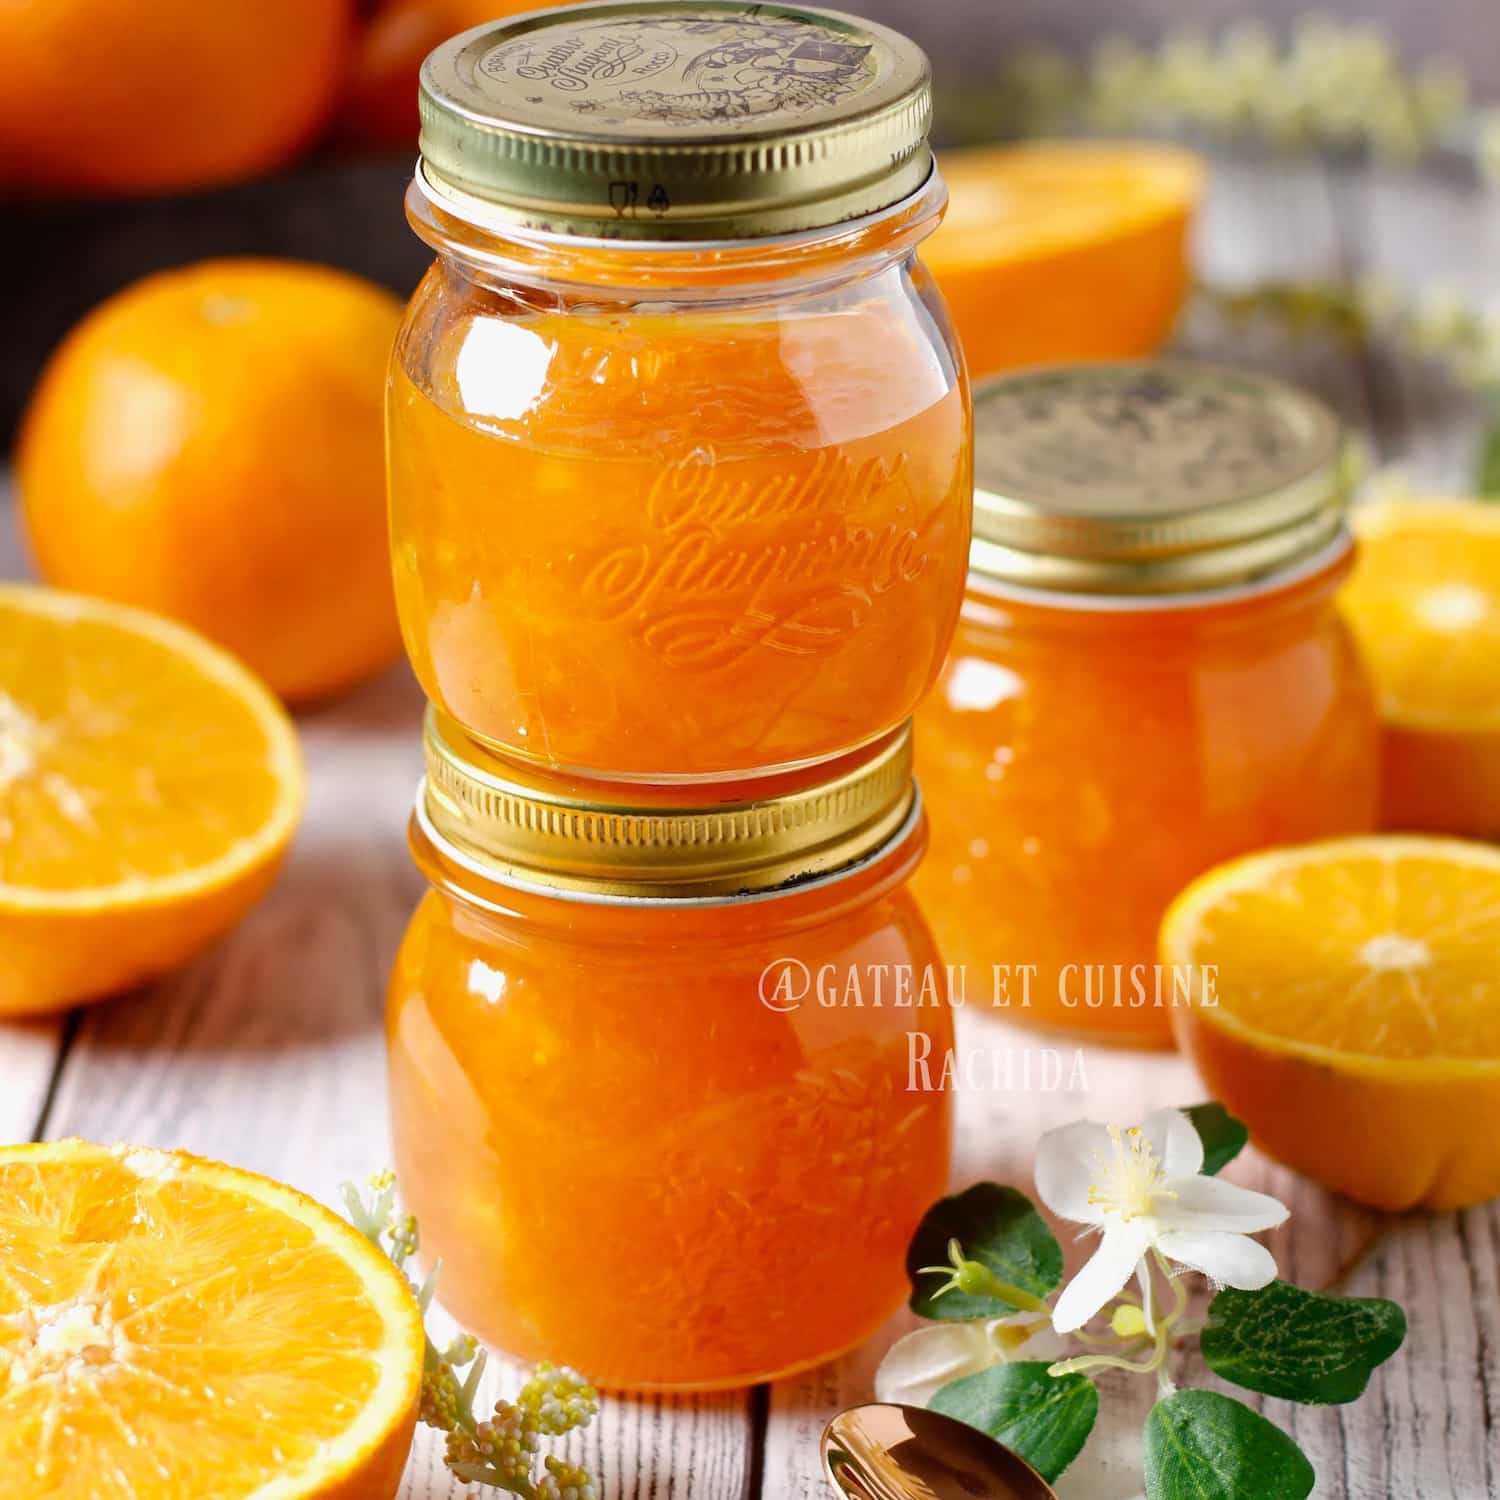
How to fix jam consistency issues?
The next day, you may find that your jam is too thick or runny. Don’t worry, you can get it back.
To do this, when you put the jam in jars, place 2 large spoonfuls in a cup and strain. The next day, check the consistency. If everything’s gone well, there’s nothing more to do.
However, if the jam is runny, you’ll need to re-cook it a little more.
If it’s very thick, stir in a little water until the desired consistency is reached. Bring to the boil and let it boil briefly, then remove from the heat.
The jars must be re-sterilized before pouring in the jam.
Suggestions for other jams
Easy Homemade Orange Marmalade Recipe
INGREDIENTS
- 1 kg (35.27 oz)oranges, peeled and segmented (pulp with juice and the zest of 2 oranges)
- 1 small lemon
- 700 g (24.7 oz) sugar
- 1 knob of butter
- 1 vanilla bean optional – I didn’t use it
- 1 cinnamon stick optional – I didn’t use it
PREPARATION
Preparing oranges
- Scrub and wash the oranges well, then wipe dry.
- Zest two oranges, one with a fine or microplane grater and the other with a coarse grater. You can peel the orange, remove the white skin and cut it into julienne strips. Cut each julienne into small pieces of about 2 cm. You can add more to your jam if you like the bitterness.
- Peel oranges raw with a sharp knife. Remove the bitter white skin and leave only the flesh. Remove any seeds.
- Cut into 4 and remove the white inside. If you can recover only the supremes without the membrane, that's ideal.
- Cut each orange pulp wedge in half and pour into a bowl, catching any juice that has dripped onto the board.
- Weigh the peeled and cut oranges to obtain 1 kg of fruit.
Macerate
- Pour into a pot with high sides to prevent overflow. It should be at least twice the height of the fruit and sugar.
- Add the sugar and mix well. Cover and leave to macerate for at least 6 hours before cooking. I usually leave overnight.
- In the 4 images below, the last one is the one after maceration.
Jar sterilization
- The next day, just before cooking, sterilize the jars. Wash them and put them in a large pot with a lid. Cover with water and bring to the boil. Allow 15 min from boiling.
- Turn them and the lids onto a towel to drain. Do not wipe them.
Cooking jam
- Add the juice of a small lemon and a knob of butter to the macerated oranges and sugar, then bring to the boil.
- Stir, then cook for 15-20 min from boiling. At first, stir occasionally, but towards the middle of the cooking time, stir constantly to prevent the jam from sticking to the bottom. Use a skimmer to crush the fruit.
- Cooking time will depend on the amount of juice and the degree of heat, so check the consistency on a plate taken from the freezer. Add a teaspoonful of jam, wait a moment and tilt the plate. The jam should set slightly.
- Don't overcook your jam to the consistency of a cold jam. At the end of cooking, it should be glossy but runny and fairly liquid. As it cools, it will firm up.
- If you thicken it too much, you'll end up with a very thick jam.
- If there is a little foam towards the end of cooking, remove it with a skimmer.
- Remove from the heat and immediately fill the jars to within 1 cm of the rim, using a funnel if possible. Screw the lids on tightly and turn them upside down on a towel until cool.
- After this time, turn the jars right-side up and store in the cupboard, away from light.
- Once opened, store in the refrigerator.
Thank you for visiting my baking blog and for your comments.
You can follow me on my Youtube channel
