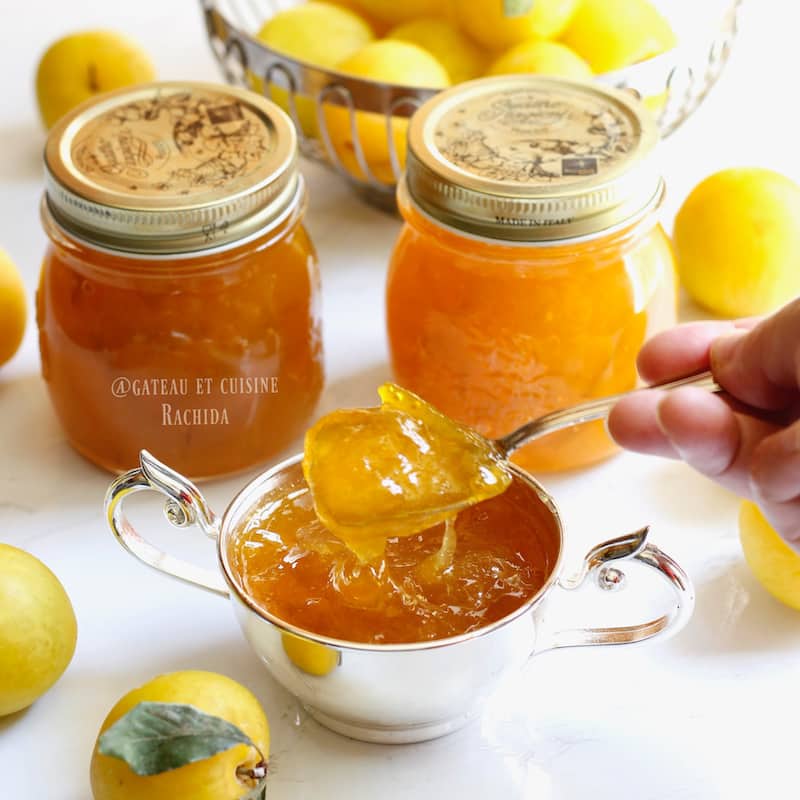
 Mirabelle plum jam
It’s the season to make good homemade jams to enjoy all year round. After our favourite, apricot jam here’s another favorite, mirabelle plum jam.
Mirabelle plums are in peak season, and it’s a good time to make tarts and jams for spreading on crepes in winter. To make this recipe, you can use any plums you like. If you’re from Nancy, there’s no need to ask, as mirabelles from Lorraine are the best.
Mirabelle plums are well-flavored and make a delicious jam. However, if you can’t find any, you can use yellow plums, greengages or quetsches.
If you like homemade jam for your children’s snacks now’s the time to stock up for the year.
The color of the mirabelle plum jam is captivating, a beautiful translucent golden yellow that reminds us of the sun.
This homemade mirabelle plum jam is a delight that I highly recommend making.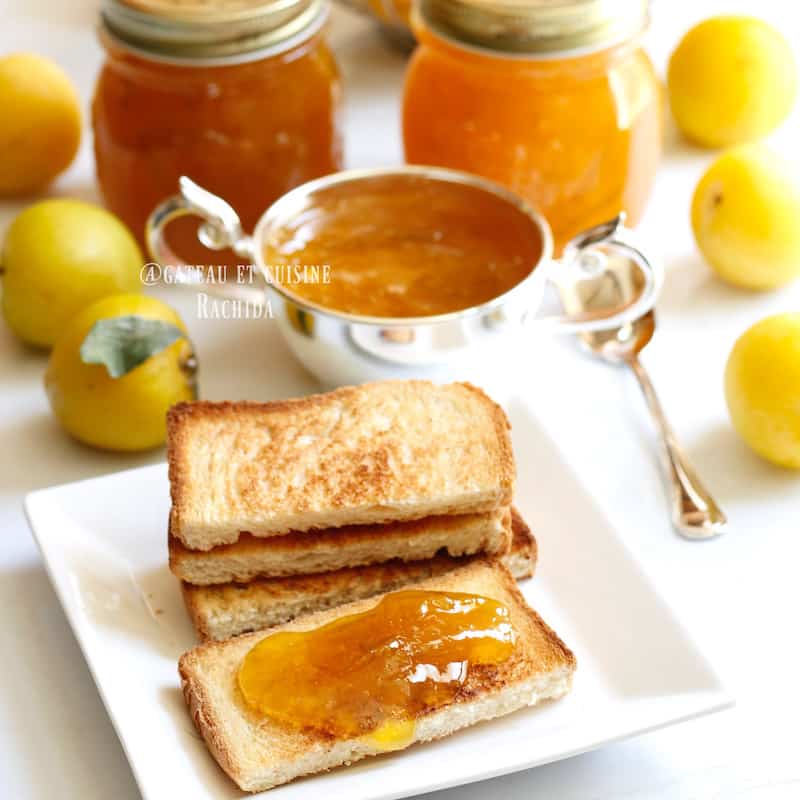
Table of Contents
Why make your own mirabelle plum jam?
As I’ve already told you, making your own jam has several advantages:
- Choosing good fruit
- Control the amount of sugar
- You can flavour it
- Jam contains no additives or preservatives
How much sugar is needed to make this mirabelle plum jam?
As I’ve already mentioned in my previous articles on jams, the amount of sugar can be reduced to 55%. However, for fig jam, I only use 400g of sugar per kg of fruit, since figs are very sweet and don’t require more sugar.
Most of my jams are made with 700g of sugar for 1kg of fruit. They are perfect and the preservation is optimal.
You should know that even if you want to make a homemade diet jam, sugar is the ingredient that keeps jam fresh for a long time. A jam with a fairly low sugar content should be eaten more quickly.
If you want to make a low-fat mirabelle plum jam, there’s nothing to stop you! Instead of focusing on shelf life, indulge yourself!
You can enjoy your jam within two months of making it. If the jam really does contain very little sugar, eat it within two weeks, keeping it refrigerated.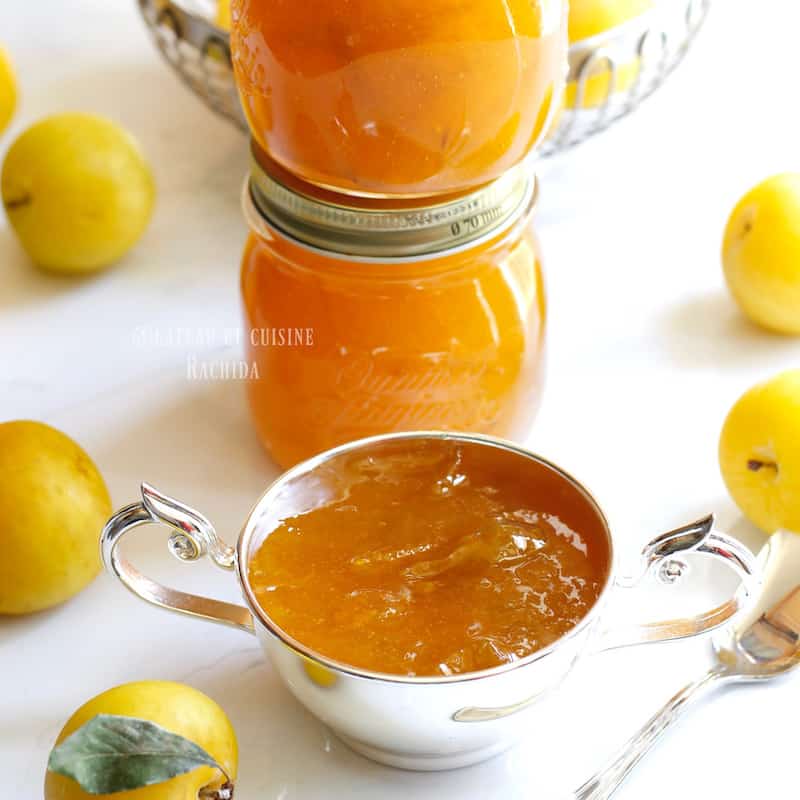
Tips and tricks for making mirabelle plum jam
NB: Find the quantity of ingredients in the recipe card at the end of the article, which you can print. Below are the instructions, also available with visual images.
I’ve already written a comprehensive article on how not to miss a jam but here are the essentials:
1. Sterilize jars and lids. Place them in a pot, cover with water to keep them submerged, and boil for 15 minutes. Then take them out and turn them over on a towel. Leave to drain without wiping.
2. Macerate the fruit with the sugar for at least 2 hours. You can mix the fruit with the sugar and leave to macerate in the fridge overnight. The sugar will melt, making cooking easier.
3. Add the juice of half a lemon for every 1 kg of fruit. Lemon reinforces the action of the pectin naturally contained in fruit. The jam will take better. I don’t necessarily use them in all my jams, and they’re perfect.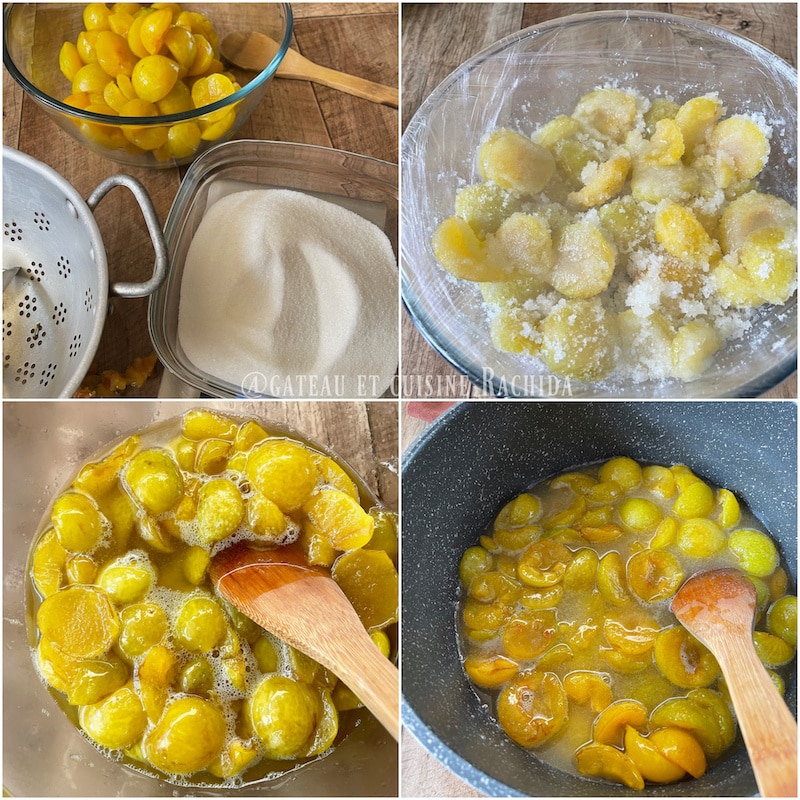
4. Skim towards the end of cooking. If you do this at the beginning, you risk removing some of the pectin that would have risen to the surface with the foam.
5. You can add a teaspoon of butter to the jam to prevent scumming.
6. Check that the jam is cooked by pouring a little jam onto a plate from the freezer. The jam should not run if you tilt the plate.
Perform the tablecloth test. Pour a spoonful of jam onto a cold plate and wait a few seconds. Run your fingers down the middle to draw a line. If the jam is set, the line will be clean and will not close up.
7. If you have a thermometer, stop the jam cooking at 104/105°C.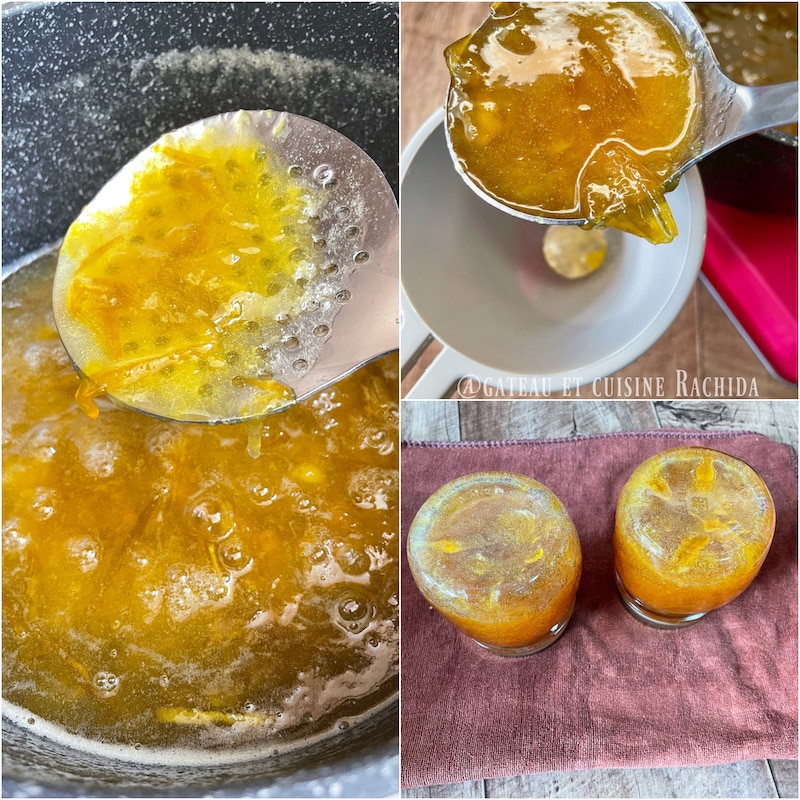 8. Fill jars to within 0.5 cm of rim with hot jam. Immediately reseal, aiming for the lids. Turn jars upside down on a towel until cool.
9. The jars, filled almost to the brim with the hot jam and cooled upside down, will be pasteurized.
10. With proper pasteurization, the jars are very hard to open. I lightly heat the lid and a plop is heard when it opens.
Other jam recipes :
Easy Mirabelle Plum Jam
INGREDIENTS
- 1 kg (35.3 oz) pitted mirabelle plums
- 700 g (24.7 oz) sugar
- 1/2 lemon optional
PREPARATION
- Wash and drain the mirabelle plums. Cut them in half and pit them.
- Weigh them to get 1 kg of pitted mirabelles. Place them in a bowl with the sugar and mix to thoroughly coat them with the sugar. Add lemon juice if desired.
- Cover and let macerate in the refrigerator overnight. Alternatively, you can macerate them for just 2 to 4 hours at room temperature.
- The next day, or after 2 to 4 hours, transfer the mixture to a large pot and mix well.
- Sterilize the jars by placing them with their lids in a large pot. Cover with boiling water and boil for 15 minutes. Drain on a towel along with the lids.
- Bring the pot with the mirabelles and sugar to a boil over high heat, stirring occasionally. Cook for 15 minutes from the boiling point, stirring regularly with a wooden spoon.
- Check the jam's texture by mashing the mirabelles more or less with a skimmer. Skim off any foam toward the end of cooking.
- The jam is ready when it starts to drop from the wooden spoon or skimmer in drops.
- To test if the jam has set, place a small spoonful on a plate taken from the freezer. If the jam sets and doesn’t run when you tilt the plate, it’s ready.
- If using a thermometer, remove from heat at 104/105°C (219/221°F).
- For smooth mirabelle jam, blend with an immersion blender.
- Fill the jars with the hot jam almost to the top, using a funnel to avoid spills. Seal with the lids, tightening them well. Turn the jars upside down on a towel.
- Allow to cool completely before turning them back to their upright position. Store in a cool, dark place. I keep mine in the cupboard.
- The jam will keep for a year or more this way.
Thank you for visiting my blog and for your comments.
My youtube channel
