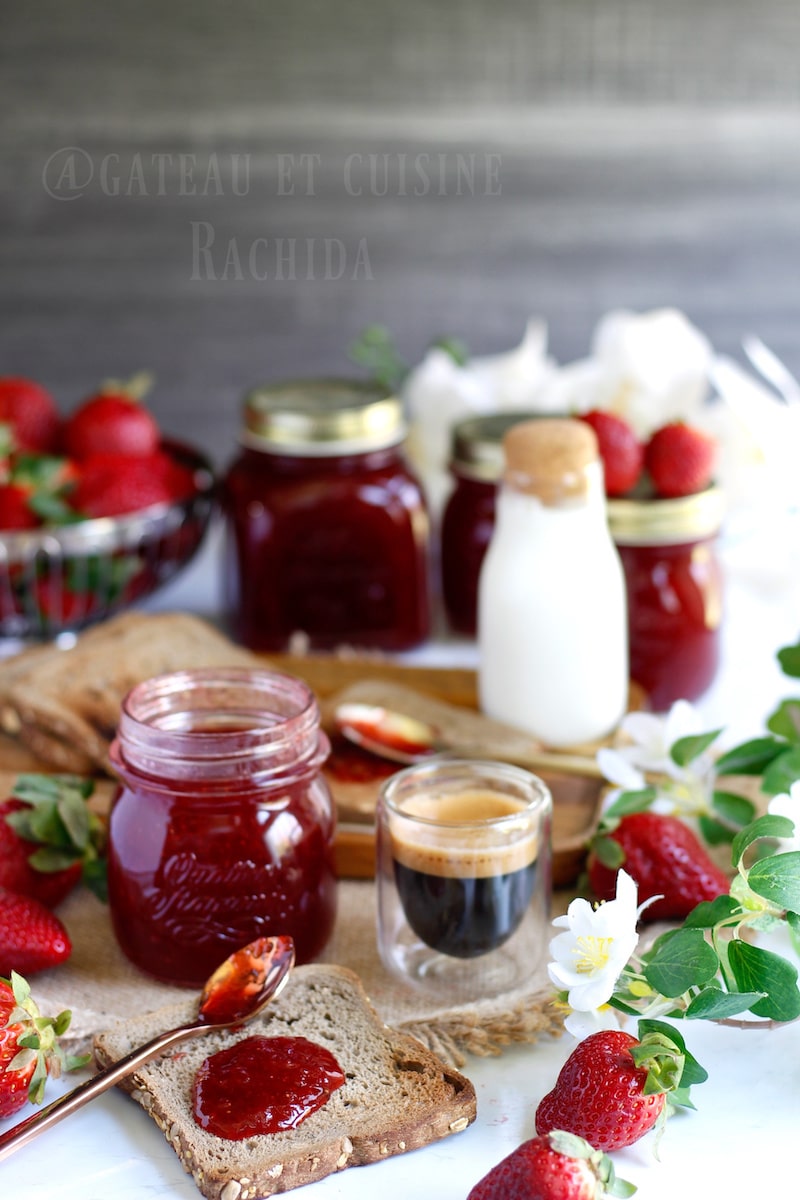
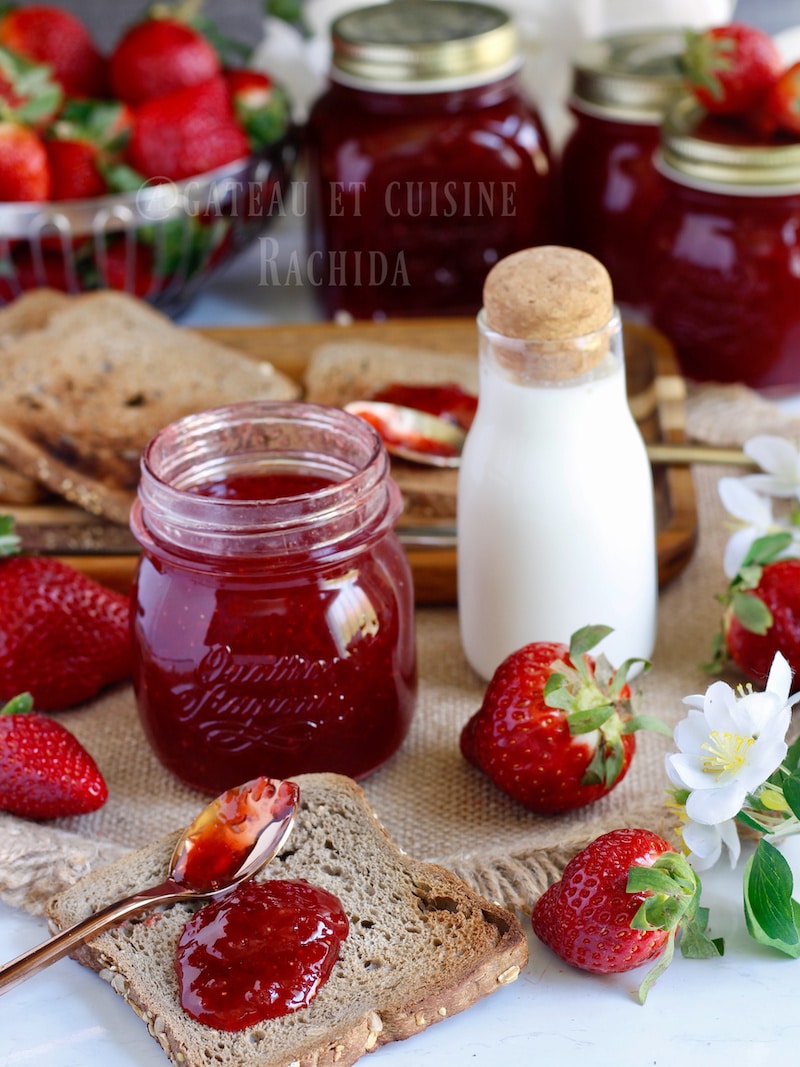
Strawberry jam is undoubtedly everyone’s favourite jam! We like to spread it on toast, garnish crepes or fill doughnuts for a snack. Some little food lovers won’t be able to resist eating it by the spoonful.
This traditional strawberry jam contains just 3 ingredients : strawberries, sugar and lemon juice. It is free from preservatives, additives, and added pectin, and it stores for up to a year.
Easy strawberry jam
I love strawberry jam and make several jars of it every year to preserve the good, sun-kissed strawberries all year round. If you’re familiar with my posts, you know my passion for homemade goods, and jams are no exception.
Making homemade jam is so easy, it’d be a shame not to indulge. We know exactly what goes into our jam, can reduce the sugar a bit, and enjoy it without additives or preservatives.
The strawberries are so flavorful that they don’t need any enhancers, and the jam doesn’t require additional preservatives. A simple home sterilization is enough to preserve your jams until the next strawberry season. 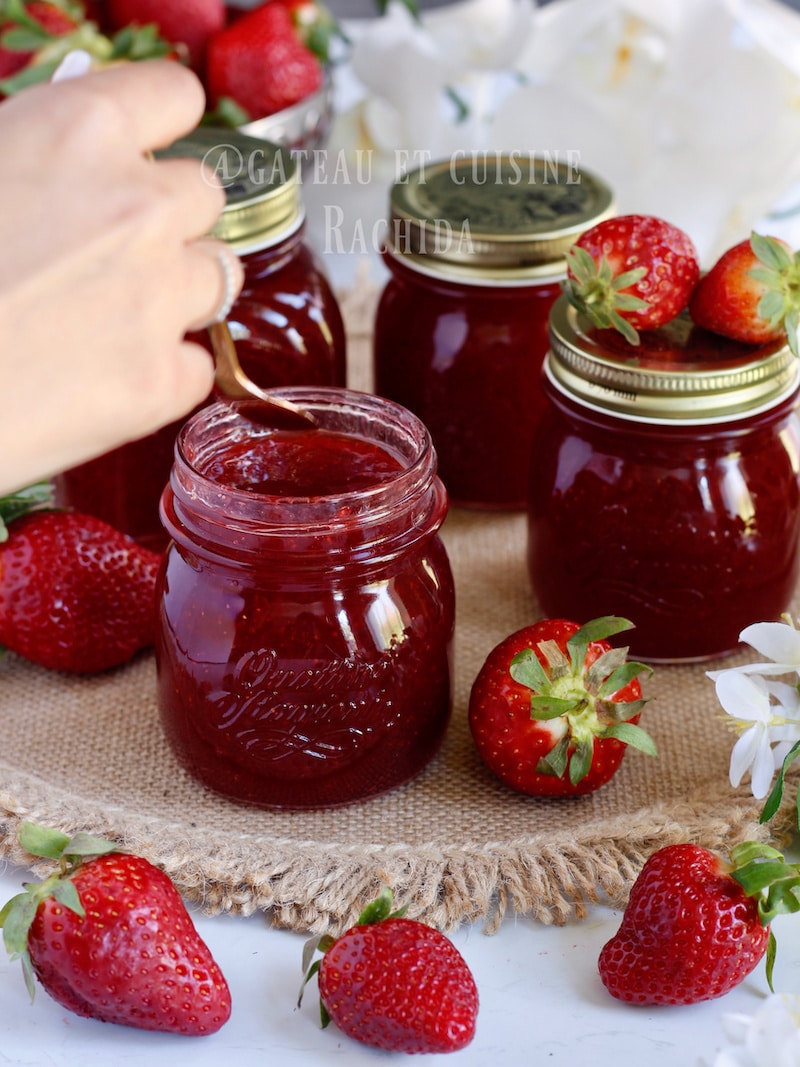
Table of Contents
Key points for making this jam:
Sterilize your jars. Before starting your jam, wash the jars thoroughly with water and dishwashing soap. Place them in a pot with their lids and cover them with water.
Bring to a boil and cook for 10 to 15 minutes. Remove from the pot using tongs to avoid burning yourself. Place the jars upside down on a towel.
Cut strawberries. If you prefer whole fruits in your jam, there’s no need to cut the strawberries. However, I find that the best texture for strawberry jam comes when the fruits are chopped into pieces. They cook perfectly and the gel-like texture spreads wonderfully.
Add lemon juice. To ensure the jam sets well and prevent oxidation of the strawberries. Strawberries do not contain as much pectin as other fruits that are rich in it, such as apples, quinces, and lemons.
By adding lemon juice, you’ll enhance the pectin effect and preserve the beautiful color of the strawberries. In this jam, you won’t need to add any jam gelling agent or pectin to achieve a superb traditional strawberry jam.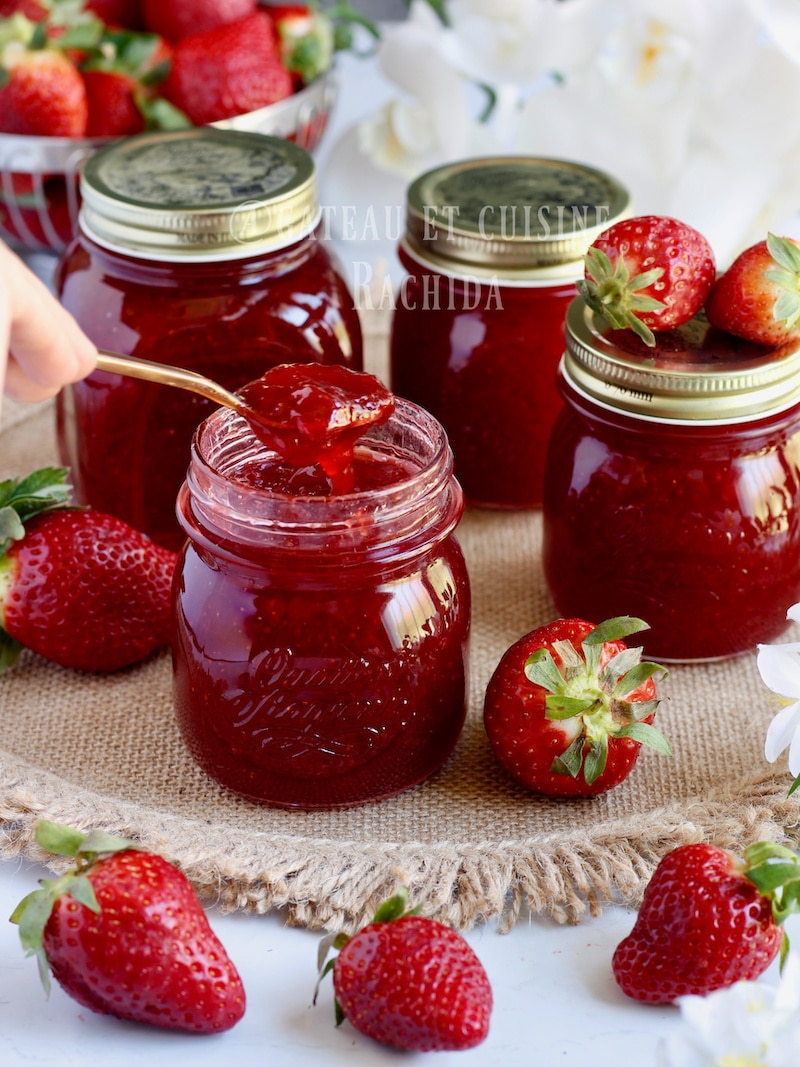 A little butter. It’s optional but quite useful to avoid the hassle of skimming the jam. Add 2 small knobs of butter at the beginning of the cooking process.
Use a wide pot for cooking. If you don’t have a special copper jam pan, don’t worry—a pot or a Dutch oven will do the job as long as they are wide enough. The water will evaporate more quickly, and the cooking time will be shorter.
A quick cooking process will preserve all the fruit’s vitamins and color. The jam should be cooked over high heat. As mentioned above, the cooking should be rapid, and by cooking your jam over high heat, you’ll speed up water evaporation and ensure the jam sets while retaining the beautiful color of the fruit.
You will get a translucent strawberry jam.
Ingredients Details
Strawberries. Choose beautiful strawberries that are ripe yet firm and juicy. Avoid overly ripe strawberries that are beginning to spoil. Good strawberries make a delicious jam with a beautiful color.
Sugar. Use granulated sugar, also known as caster sugar or powdered sugar. Do not make your jam with icing sugar or brown sugar, as they will impart a different taste.
Sugar helps in the gelling process and helps preserve the jam. If you want to keep jam for up to a year, do not go below 700 g of sugar per kg of fruit. The standard ratio is 1:1, meaning 1 kg of sugar for 1 kg of net fruit.
You can lighten the jam by using less sugar and cooking it longer. However, you won’t be able to keep it for more than a week or two. Since strawberries are low in pectin, I use a ratio of 800 g of sugar per kg of strawberries, and it works perfectly.
Lemon juice. The action of pectin intensifies in an acidic environment. By adding lemon juice to your jam, it will set better. Lemon juice also prevents the fruit from oxidizing and changing color. You need the juice of one medium lemon for every kilogram of fruit.
Butter. Adding butter is not essential. You will need to skim off the foam that forms on top of the jam during cooking with a skimmer. Butter prevents this extra work by stopping the foam from forming.
You’ll need 2 knobs of butter for 1 kg of fruit.
Preparation steps
NB: For full details of ingredients, see the recipe-card below, which you can also print out.
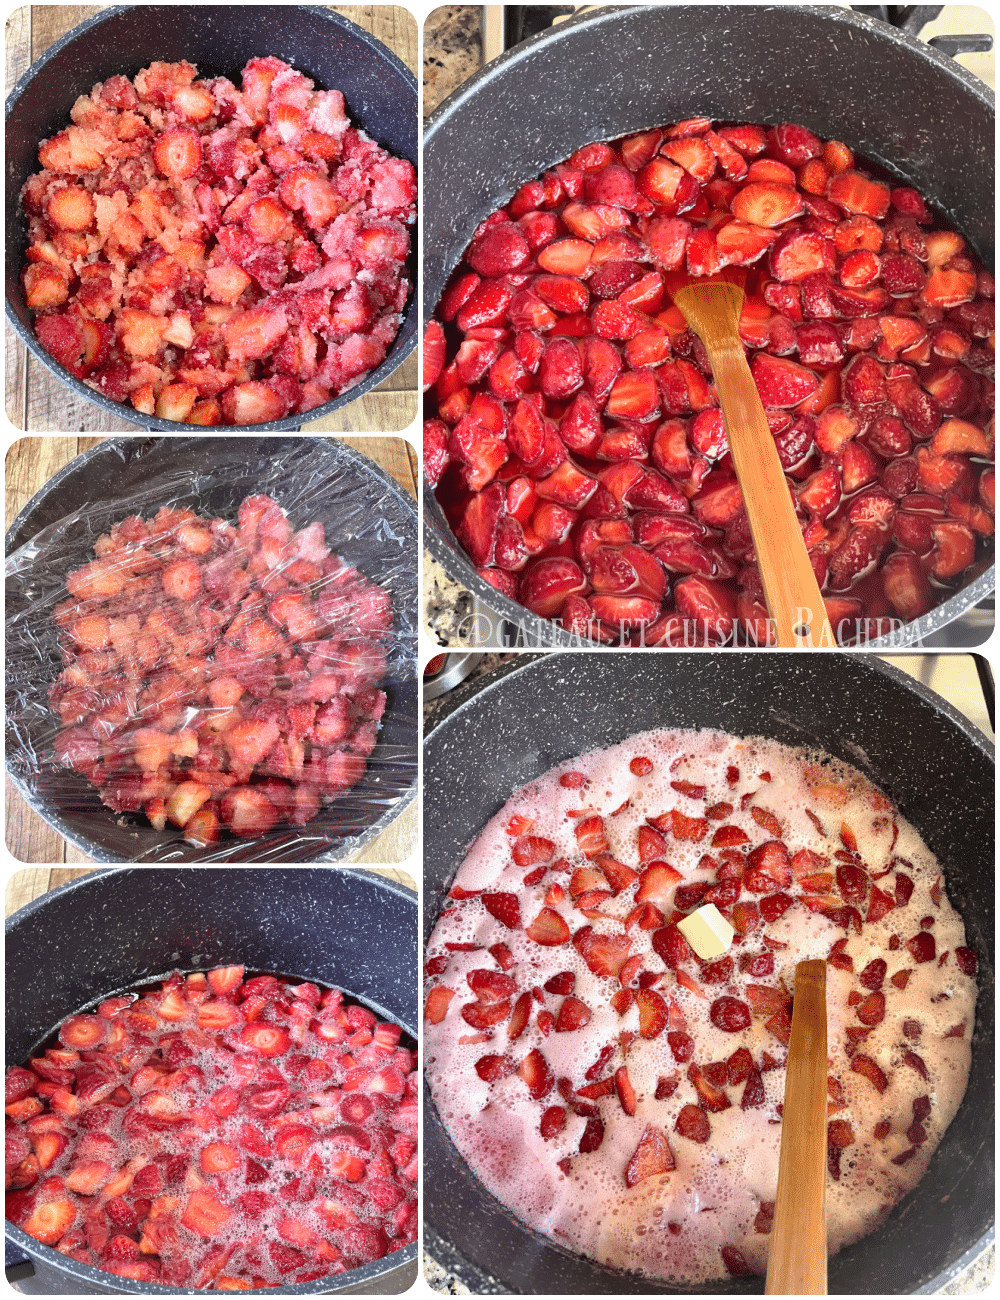
Wash the strawberries thoroughly and cut off the base that contains the stem.
Cut them into small pieces and place them in a large pot. Add the sugar and lemon juice, and mix well.
Cover the pot with plastic wrap and place it in the refrigerator until the next day. If you are in a hurry, you can let it macerate for just 2 hours, until the sugar dissolves.
Strawberry jam preparation step
The next day, mix well, add the knob of butter, and then place the pot over high heat. Bring to a boil, stirring occasionally.
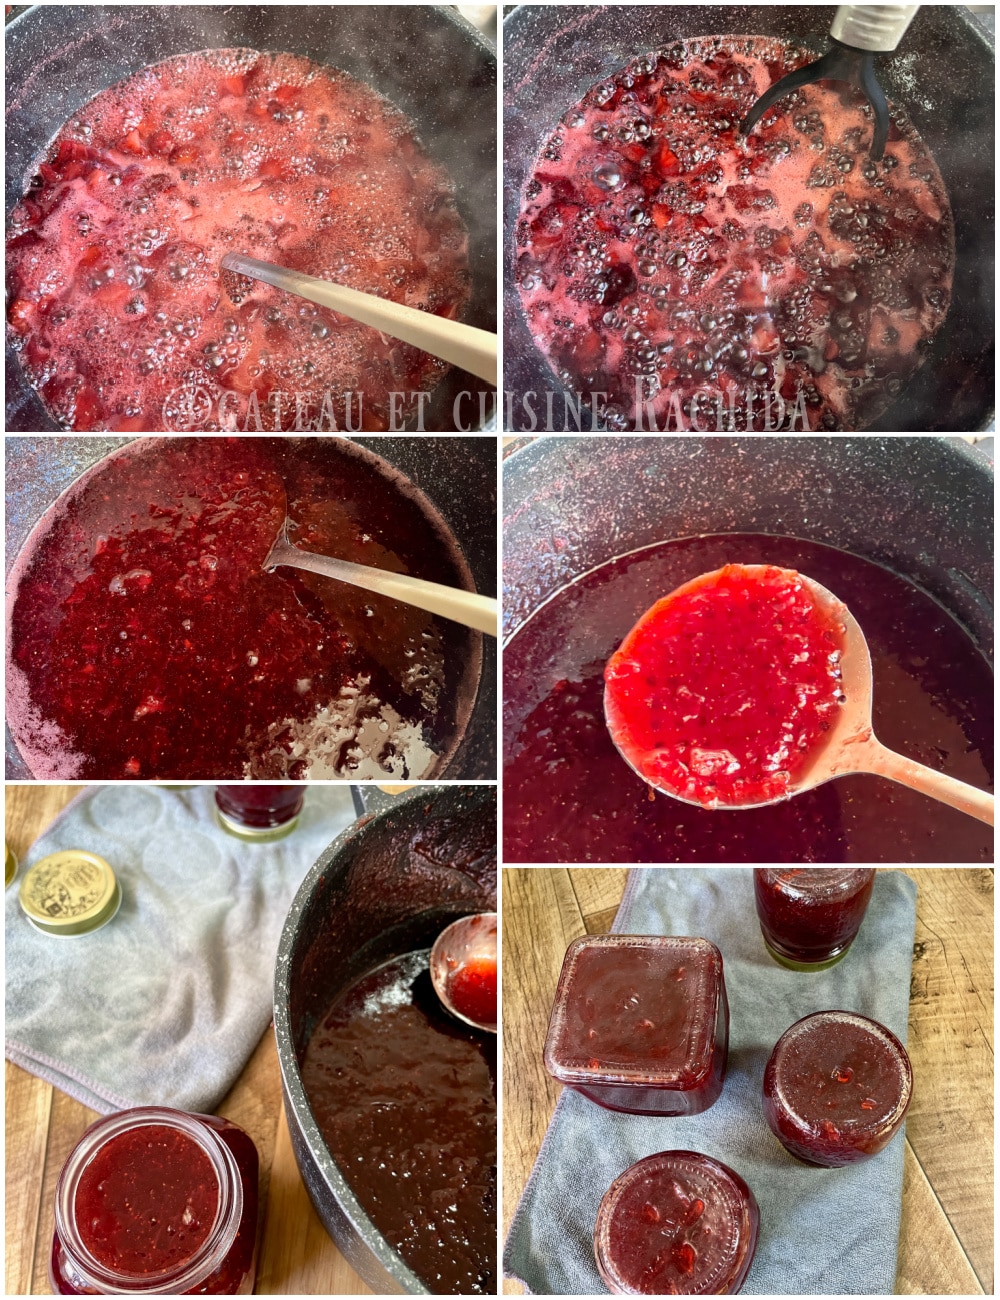
Cook for 20 minutes from the boiling point. Also, check the texture, which should be glossy and slightly thick.
You can use a potato masher to refine the texture of the jam. Perform the plate test to check if the jam is set. Place a teaspoon of jam on a plate that you have previously put in the freezer.
The jam should set and not run when you tilt the plate. If you have a thermometer, insert the probe into the jam and stop cooking when the temperature reaches 105°C (221°F).
Remove the pot from the heat and immediately fill the sterilized jars with the still very hot jam. Seal tightly, ensuring the lids are securely closed.
Cooking homemade strawberry jam
Turn the jars upside down on a towel and let them cool completely before turning them over. Label them with the date of production.
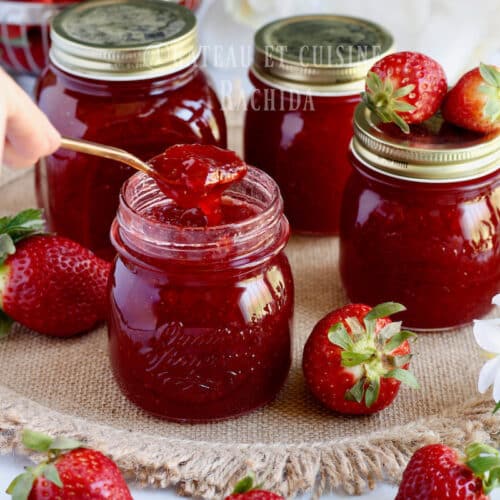
Store the jars of jam in a dry place away from light. Strawberry jam in well-sterilized jars can be stored for up to 1 year. Enjoy it until the next strawberry season returns.
Other jam recipes
Fig jam
Lemon jam recipe
Mirabelle jam
Easy strawberry jam recipe
EQUIPEMENTS
INGREDIENTS
- 1,500 kg (52.9 oz) hulled strawberries buy 2 kg (70.5 oz) of strawberries
- 1,200 kg (42.3 oz) sugar 800g (28.2 oz) per 1 kg of hulled fruit
- The juice of one and half lemons
- 2 knobs butter optional
PREPARATION
Sterilize the jars
- Before starting your jam, wash the jars thoroughly with water and dish soap. Place them in a pot with their lids and cover with water.
- Bring to a boil and cook for 10 to 15 minutes. Remove from the pot using tongs to avoid burning yourself. Place the jars upside down on a towel.
Prepare the strawberries
- Wash the strawberries thoroughly and cut off the base that contains the stem. Cut them into small pieces and place them in a large pot.
Macerate the fruits
- Add the sugar and lemon juice, and mix well.
- Cover the pot with plastic wrap and place it in the refrigerator until the next day. If you are in a hurry, you can let it macerate for just 2 hours, until the sugar dissolves.
Cooking the strawberry jam
- The next day, mix well, add the knob of butter, and then place the pot over high heat. Bring to a boil, stirring occasionally.
- If despite the butter, a small foam forms, remove it with a skimmer at the end of the jam cooking.
- Cook for 20 minutes from the boiling point. Also, check the texture, which should be thick and translucent.
- You can use a potato masher to refine the texture of the jam.
Check the setting of the jam.
- If you have a thermometer, insert the probe into the jam and stop cooking when the temperature reaches 105°C (221°F).
- If you don't have a thermometer, perform the plate test to check if the jam has set. Place a teaspoon of jam on a plate that has been chilled in the freezer beforehand. The jam should set and not run when you tilt the plate.
Jarring Jam
- Remove the pot from the heat and immediately fill the sterilized jars with the still very hot jam. Seal tightly, ensuring the lids are securely closed.
- Turn the jars upside down on a towel and let them cool completely before turning them over. Label them with the date of production.
- Store the jars of jam in a dry place away from light. Strawberry jam in well-sterilized jars can be stored for up to 1 year. Enjoy it until the next strawberry season returns.
Thank you for visiting my blog and for your comments.