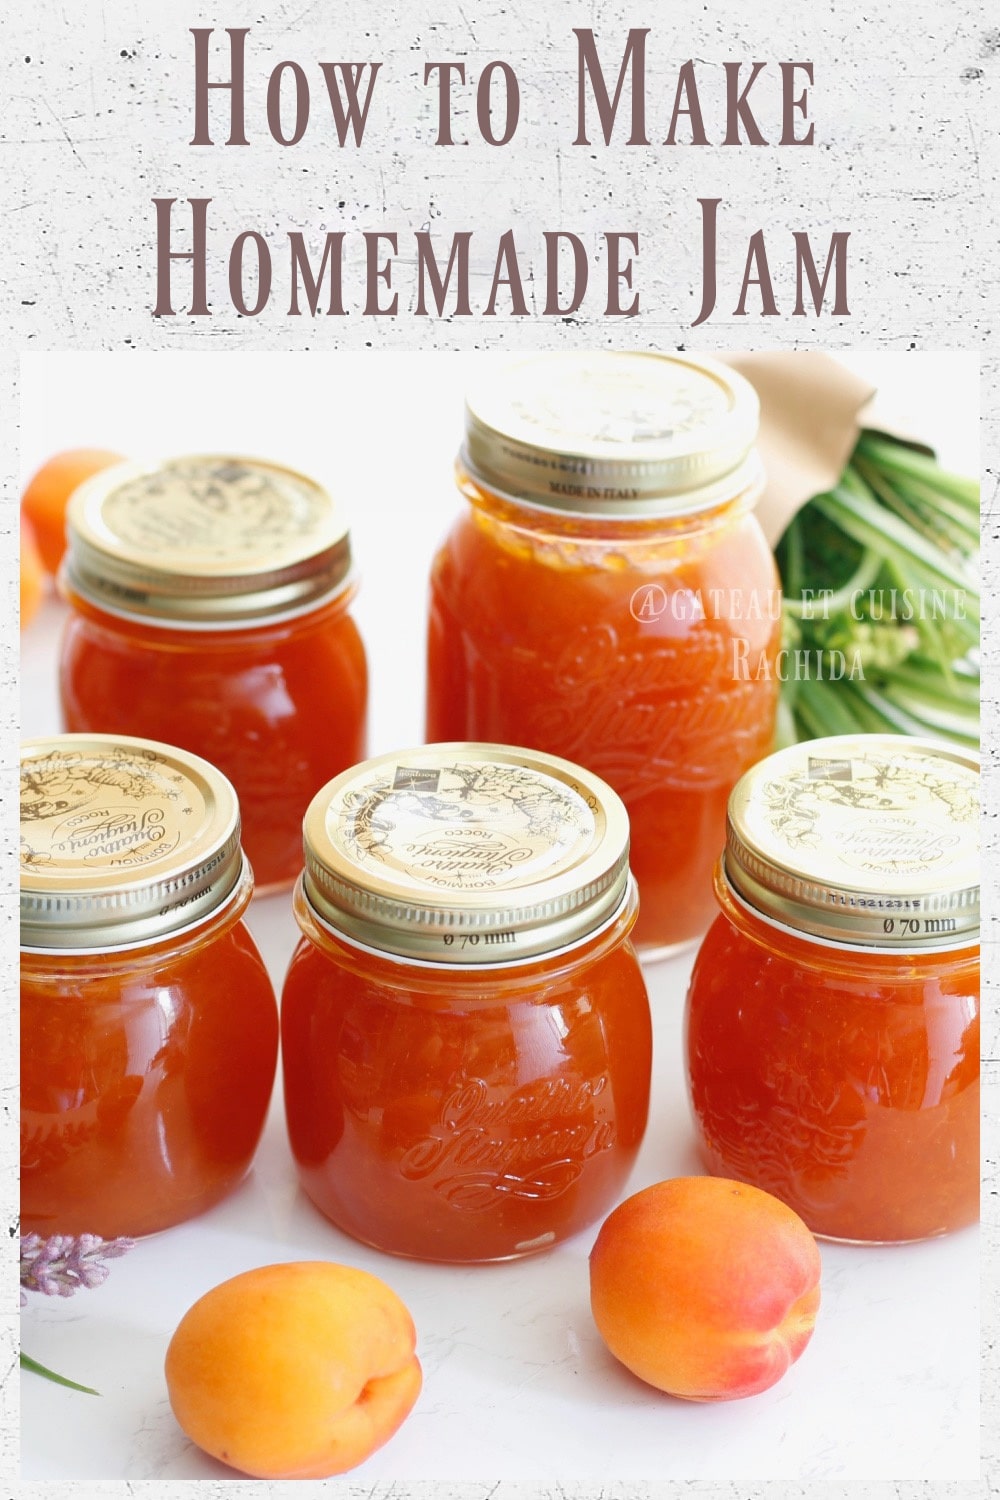
It’s in early spring and summer that the jam-making frenzy reaches its peak. Have you ever wondered how to make and succeed with homemade jam?
If you have a fruit tree in your orchard, the urge to make homemade jam is even stronger. Harvesting can provide you with an abundance of fruits that you may not know how to preserve.
You can make fruit sorbets, French clafoutis and fruit tarts but the only way to use up all that good fruit is to make easy, tasty jams.
For my part, I often come across large crates of seasonal fruits at very good prices, and I have only one desire: to put these sun-ripened fruits, full of vitamins, into jars.
A few years ago, I used to make a lot of home-made jam for the whole year. The jams were so good that the whole family kept asking me for more. Apricot jam and strawberry jam are our favorites.
Making homemade jam is child’s play, and anyone can do it without any worries. It used to be said that to make jam, you absolutely needed a candy thermometer to master the cooking process and that a copper jam pan was essential. Rest assured, you can easily start making your jams without any special equipment.
Table of Contents
Why make homemade jam?
Because making jam is super simple.
Choose quality fruit for a jam full of flavour and vitamins.
The sugar content can be reduced to 55%. Commercial jams are usually made with so much sugar and fruit, and we don’t know the quality of the fruit used.
We want to have delicious homemade jams made with love for our children’s breakfast and snacks when they go back to school, to enjoy on soft crepes.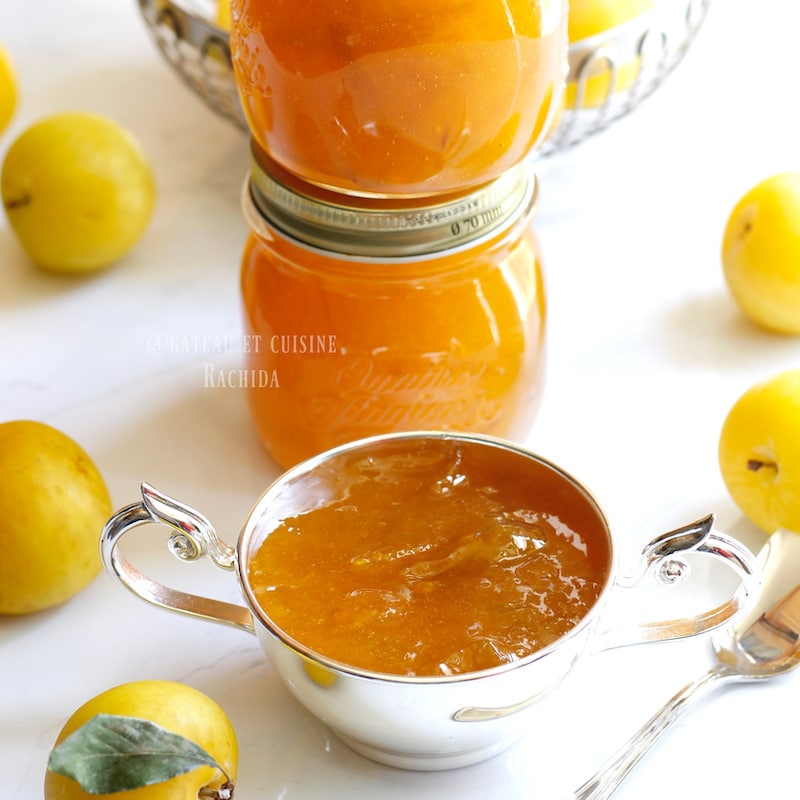
The essentials for a successful homemade jam
Select fruit:
Forget the idea that it’s the ripe, damaged fruit that nobody wants to eat any more that you need to use to avoid throwing it away. Of course, if you don’t have a choice, you can use them, but the jam won’t be as good.
Choosing good quality, healthy, ripe but still beautiful fruit is the guarantee of a delicious jam. An over-ripe fruit with a withered skin loses its taste and, above all, its vitamins.
| For a good jam, keep in mind the French saying: “You can only make good with the very good.” |
The choice and quantity of sugar
Choose white caster sugar, also known as granulated sugar. Some people also call it powdered sugar. Even though it’s called sugar, it’s not a powder, but resembles fine semolina. Banish brown sugar or vergeoise sugar, which will alter the jam’s taste.
For the quantity of sugar, there’s the 1/1 Proportion, which consists of using 1kg of sugar for 1kg of fruit (100%). This is how our grandmothers made their jam, and it’s the proportions you see on industrial jam jars. Optimum preservation over long periods.
You can go as low as 1-1/2, which means using only half the fruit’s weight in sugar. For 1 kg of fruit, we use 500 g of sugar (50%). Jam is less sweet but does not last as long.
For all my jams, I use 700g of sugar (70%) for 1kg of fruit, and the jams are magnificent.
Maceration:
The fruit is washed and stoned, then placed in a bowl with the sugar and left to macerate in the refrigerator for 12 hours. Mix the fruit well with the sugar. The sugar will melt on contact with the fruit’s moisture. Maceration makes jam easier to cook.
The sugar has almost completely melted, which saves time. When the fruit contains enough juice, the sugar melts fairly quickly. The maceration time can be shortened from 2 to 4 hours. The jam can then be cooked the same day.
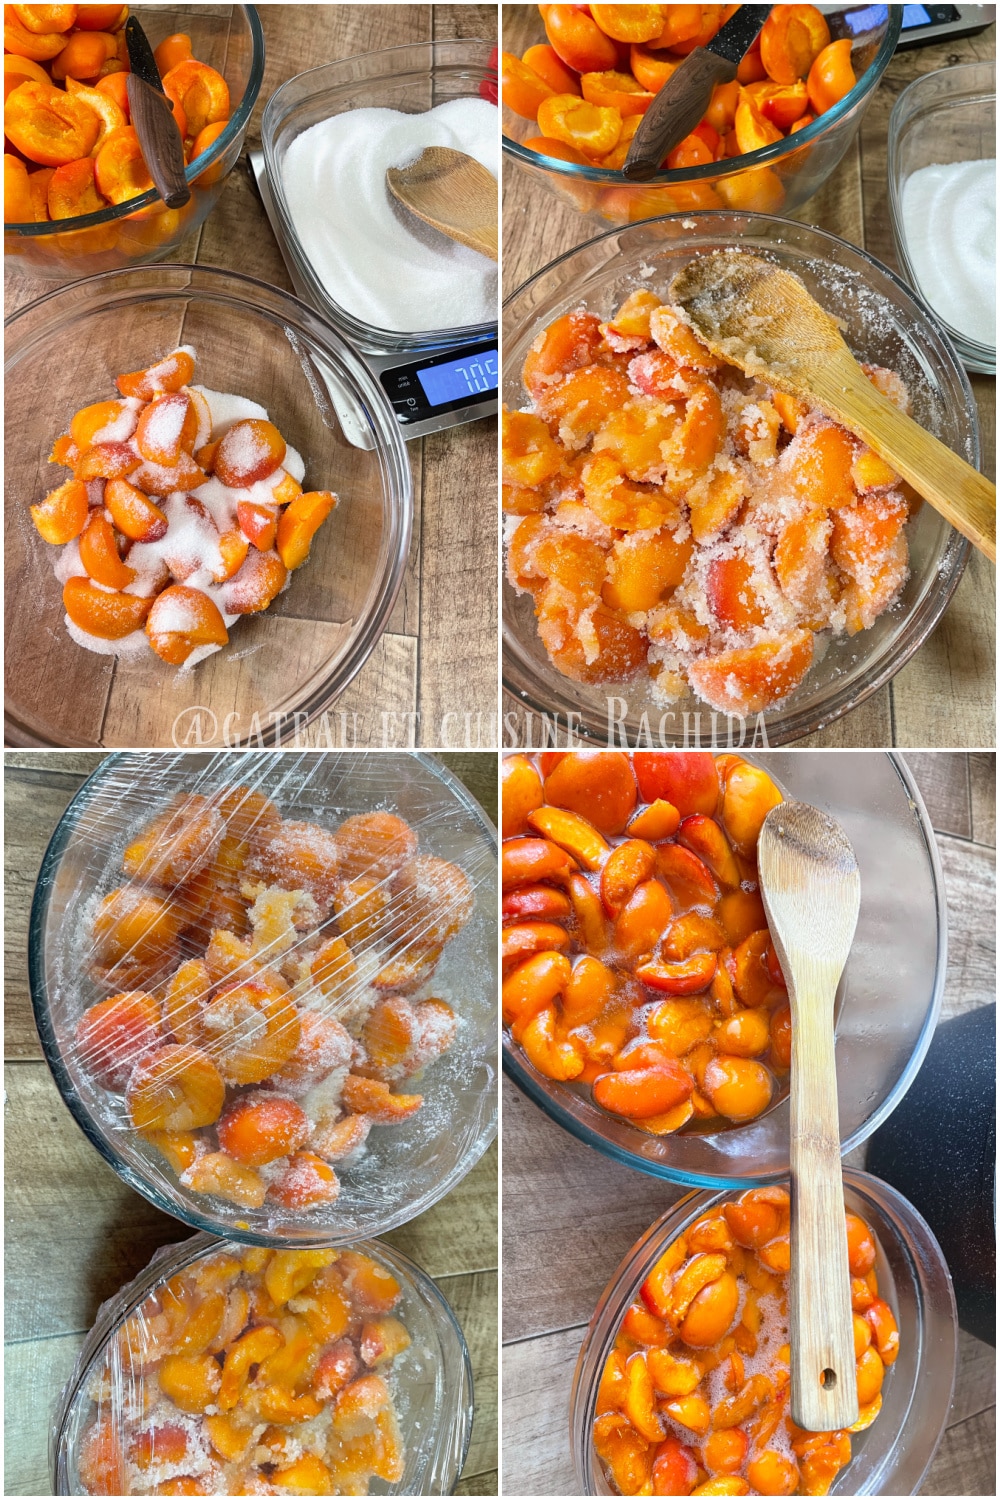
Macerate the fruit before cooking the jam.
Sterilizing jars:
A very important step in the preservation of jam. Putting the jam in sterilized jars destroys any bacteria that might change the jam’s color and taste. You won’t be able to keep jam in unsterilized jars for long.
When sterilization and potting are carried out correctly, there is no risk of mold on the top of the jam.
Start sterilizing 5 minutes before cooking, so that the jars are still warm when the jam is ready.
Cooking:
It should be carried out in a special copper jam pan or a fairly large stewpot. Do not use aluminum containers, which oxidize the fruit. A wide container will promote evaporation. Cooking should initially be carried out over high heat. I slightly reduce the last 5 minutes of cooking time.
Cooking on a high heat will evaporate the water more quickly and preserve the color of the fruit. Quick cooking will not alter the taste of the fruit.
Allow 15 to 20 minutes for the jam to come to a rolling boil.
Cooking time may vary according to the quantity of fruit and sugar. Refer to recipe. I make my jams with no more than 2kg of fruit, to control the cooking process.
You can cook in 2 stages according to the queen of jams, Christine Ferber.
Cook in two steps: macerate the fruit and sugar for a good ten minutes the day before, then bring to a simmer over high heat. Do not boil the mixture.
Transfer to a salad bowl and cover the surface with greaseproof paper. Refrigerate overnight.
The next day, continue cooking as indicated in the recipe. The jam should be cooked for 15 to 20 minutes from boiling. Always cook over high heat.
The potting technique:
Fill the very hot jam into the jars, leaving about 0.5 cm (0.2 inches) from the top. By filling the jars almost to the brim and turning them upside down once they’ve been properly sealed, we proceed with what we call self-pasteurization. The heat sterilizes this part and causes the air remaining in the hot jam to rise. This enables vacuum packing.
Opening the jars is very difficult, and once you’ve done it, you hear a little popping sound.
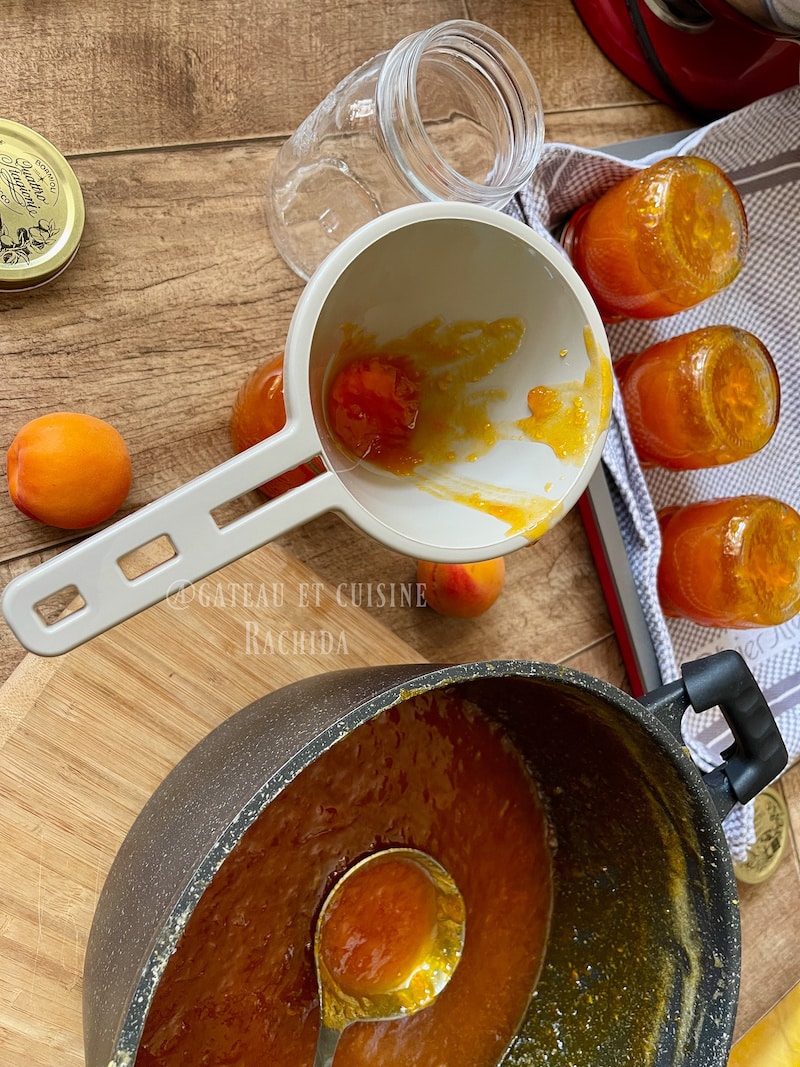 Use a funnel to avoid dirtying the jars. As I don’t have a funnel with a large enough hole, I took a normal one and cut the tip to make it bigger.
If you don’t have a funnel, use a small ladle, trying not to get the jars dirty. If a little jam has spilled over, clean the jars thoroughly once they have been sealed. Use a damp towel to clean them.
How to sterilize jars
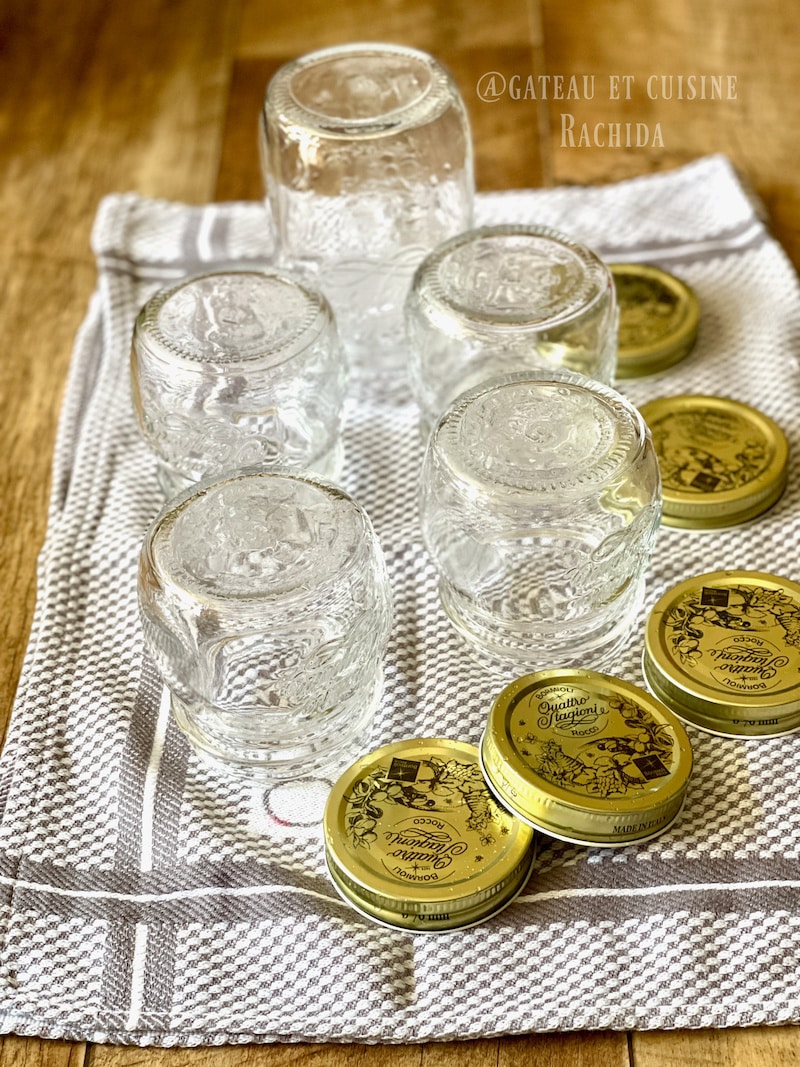
For optimum jam preservation, the jars should be sterilized. Place jars and lids in a large pot of boiling water. They must be completely submerged. Allow 10-15 min from boiling.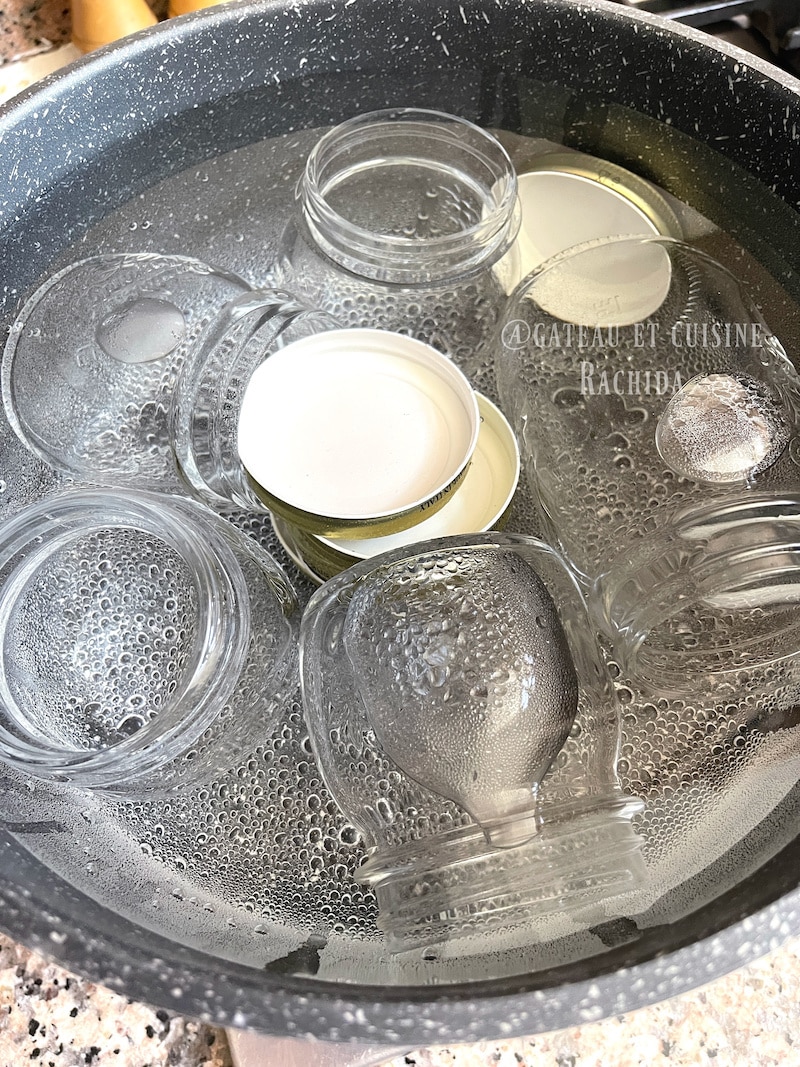 Empty the pot of water and collect the jars. Turn them out onto a clean towel, along with their lids. Allow pots to drain naturally.
If you don’t have the time, you can just scald them and leave them to dry upside down on the towel.
Do not wipe jars or lids. Even if the towel is clean, sterilization will not be optimal.
 Can you reduce the amount of sugar used to make jam
Sugar helps preserve jam and give it its characteristic texture. If you lower the sugar too much, the jam won’t set properly and you won’t be able to keep it for long.
However, depending on the sugar content of the fruit and its ripeness, the weight of sugar used can be reduced without going below 55% for optimum preservation.
Normally you use so much sugar for so much fruit, but I find that 650 g to 800 g of sugar for a kg of fruit gives a very good result.
Following the famous recipe of Francis Miot, I always use 700g of sugar for 1kg of fruit, and the jams are perfect.
If you really want to use less sugar, use up the jam quickly.
Should lemon juice be added to jam
Lemon juice enhances the absorption of the pectin naturally present in fruit. It also prevents fruit from oxidizing, darkening and changing color.
Lemon acts on the pectin to help the jam set. If you have already made fruit paste
you’ve already heard about the reaction of lemon juice on pectin.
I don’t necessarily use it and my jams are superb.
The importance of skimming a jam
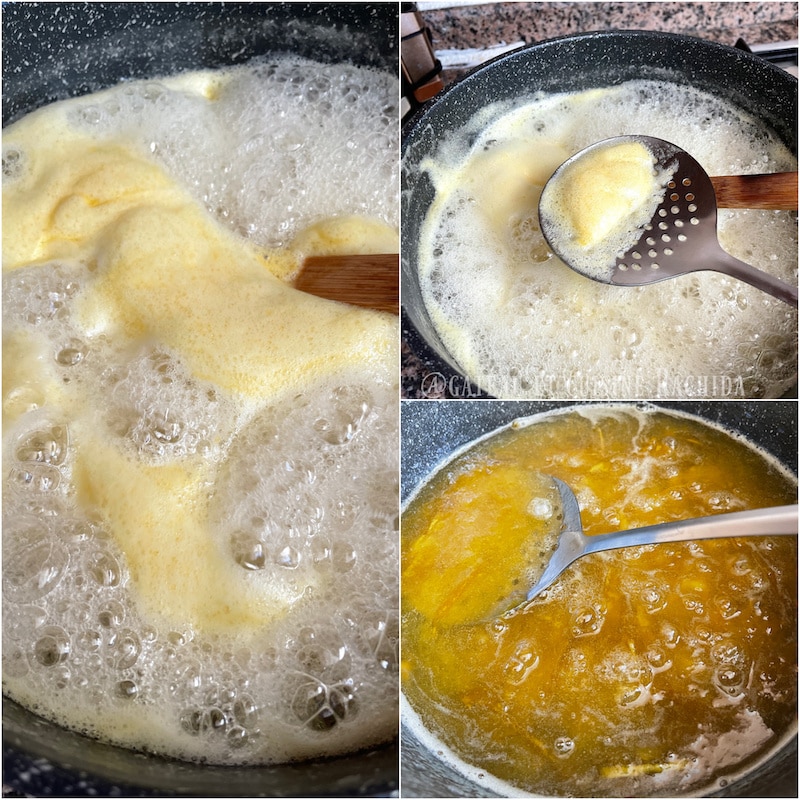
Scum is the foam that forms when the jam starts to boil. These impurities rise to the surface. If this foam is left, the jam will not be translucent and will look cloudy.
Depending on the fruit, more or less foam forms. The scum may contain natural pectin from the fruit; removing it at the start of cooking may weaken the jam’s set.
Skim off the last 10 minutes of cooking time. Some do this at the end of jam cooking.
Having tried it, the jam is less clear.
Remove foam using a strainer or skimmer. By skimming, you will obtain a jam without foam, translucent and clear.
Check the texture of the jam
You can choose the final texture of your homemade jam. From the start , you can leave the fruits whole or cut them roughly to have a jam with more or less lamb’s lettuce .
You can blend the jam at the end of cooking if you want it to be very smooth and free of fruit pieces.
Even when using whole or halved fruit, the final result can be controlled by mixing the jam during cooking.
By stirring more or less gently or vigorously, you control the texture of the jam. You can use a puree press to refine it if you wish.
I like my jam with translucent pieces of fruit, but it’s up to you to choose the jam you like.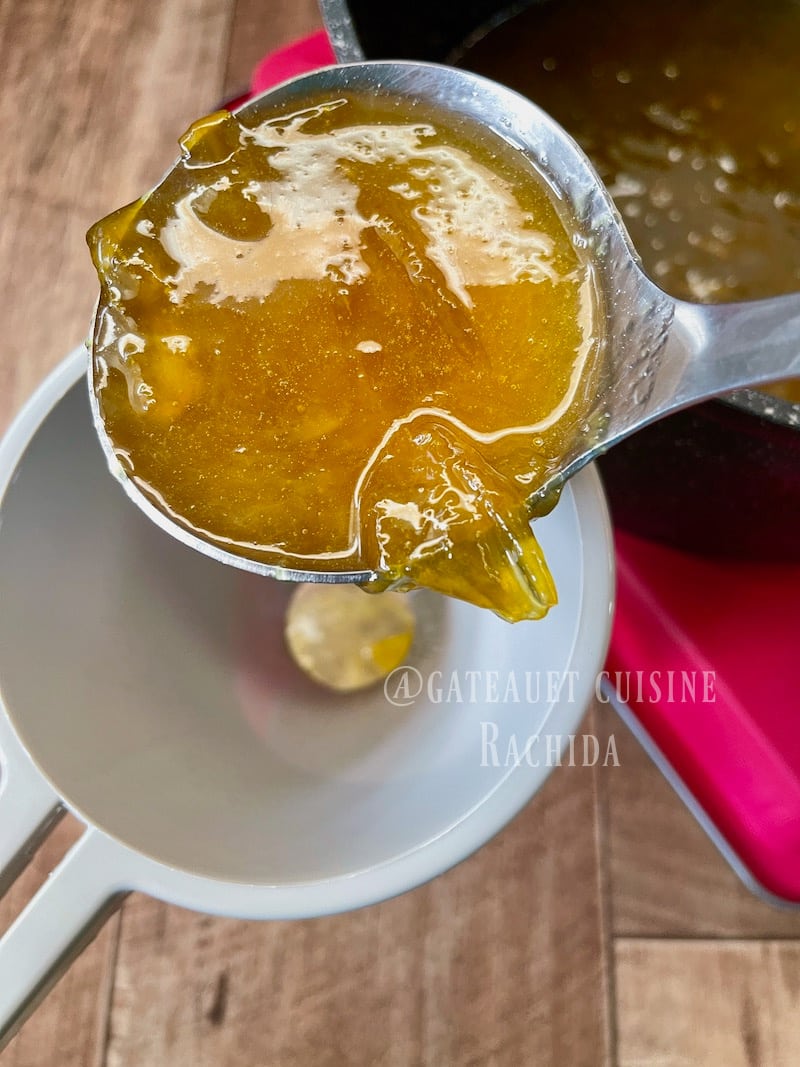
How do I make homemade jam?
- Wash the fruit and drain.
- Pit fruits with stones. Cut large fruits into pieces or in half as for apricots.
- Weigh the fruit and mix with the amount of sugar indicated in the recipe.
- Mix in the cooking pot or in a glass bowl.
- Mix well to moisten the sugar with the fruit juice.
- Strain and leave to macerate until most of the sugar has liquefied. The sugar becomes like syrup.
- Leave to macerate for 12 hours in a cool place. I usually leave them for 2 to 4 hours at room temperature.
- The next day, transfer to a large, wide pot and place over high heat.
- Cook for 15 to 20 minutes from boiling. Stir often enough to prevent the jam from sticking to the bottom of the bowl. If using a thermometer, remove from heat at 104/105°C (219/221°F).
- Lower the heat towards the last 5 minutes of cooking.
- Skim with a skimmer.
- Pour the hot jam into the sterilized jars.
- Use a funnel to pour the jam without dirtying the jars.
- Fill to 0.5 cm (0.2 inches) from the top.
- Replace the lids and screw on tightly.
- Turn the jars upside down onto a towel.
- After 2 h, tighten the lids.
- Allow to cool completely before inverting and storing in a dry, dark place. The closet is ideal.
The jams will keep for a year or more.
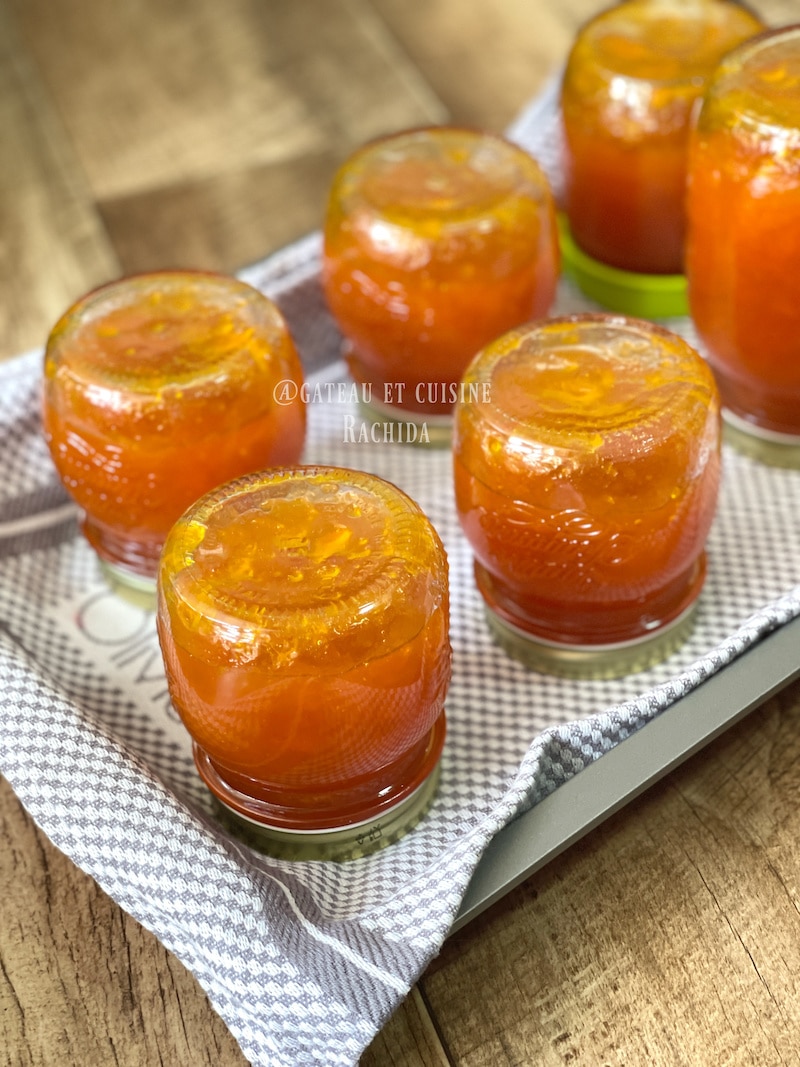
Leave jars upside down until cool.
How do you check that jam is cooked?
1. Pour a little jam onto a frozen spoon or plate. Wait a few seconds and run your finger along the line. The line should not close, indicating that the jam is fine.
2. Pour a teaspoon of jam onto a cold plate. The jam should stay in place or run slightly if you tilt the plate.
3. Use a candy thermometer. Remove jam from heat to 104/105°C (219/221°F). The jam thickens as it cools.

How to make homemade jam
EQUIPEMENTS
- Candy thermometer optional (never used)
INGREDIENTS
- 1 kg (35.3 oz) pitted fruits
- 700 g (24.7 oz) granulated sugar
- 1/2 juice of a small lemon optional
PREPARATION
- Wash the fruit and drain.
- Pit fruits with stones. Cut large fruits into pieces or in half as for apricots.
- Weigh the fruit and mix with the amount of sugar indicated in the recipe.
- Mix in the cooking pot or in a glass bowl.
- Mix well to moisten the sugar with the fruit juice.
- Strain and leave to macerate until most of the sugar has liquefied. The sugar becomes like syrup.
- Leave to macerate for 12 hours in a cool place. I usually leave them for 2 to 4 hours at room temperature.
- The next day, transfer to a large, wide pot and place over high heat.
- Cook for 15 to 20 minutes from boiling. Stir often enough to prevent the jam from sticking to the bottom of the bowl. If using a thermometer, remove from heat at 104/105°C (219/221°F).
- Lower the heat towards the last 5 minutes of cooking.
- Skim with a skimmer.
- Check cooking:1. Pour a little jam onto a frozen spoon or plate. Wait a few seconds and run your finger along the line. The line should not close, indicating that the jam is fine.2. Pour a teaspoon of jam onto a cold plate. The jam should stay in place or run slightly if you tilt the plate.3. Use a sugar thermometer. Remove jam from heat to 104/105°C (219/221°F). The jam thickens as it cools.
- Pour the hot jam into the sterilized jars.
- Use a funnel to pour the jam without dirtying the jars.
- Fill to 0.5 cm (0.2 inches) from the top.
- Replace the lids and screw on tightly.
- Turn the jars upside down onto a towel.
- After 2 h, tighten the lids.
- Allow to cool completely before inverting and storing in a dry, dark place. The closet is ideal.
- The jams will keep for a year or more.
Thank you for your visit to my blog and your comments.
You can also follow me on my youtube channel

 Can you reduce the amount of sugar used to make jam