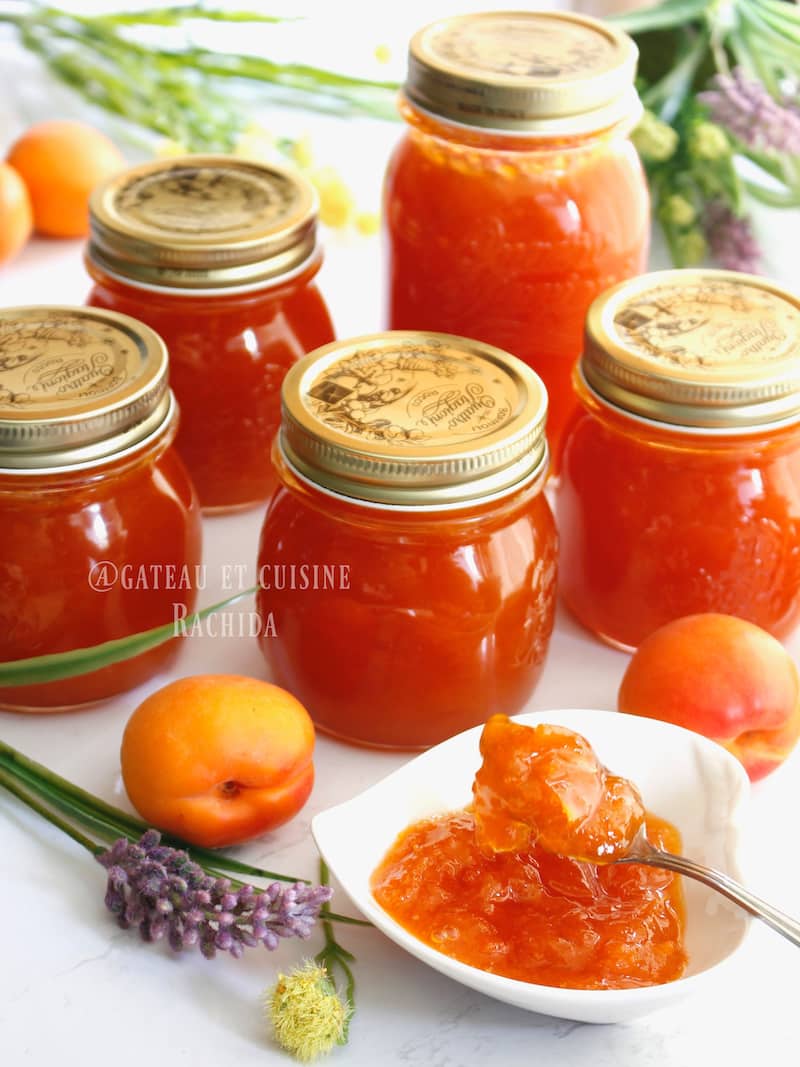
Homemade apricot jam
Apricot jam is undoubtedly the most popular and widely consumed. The apricot is a sweet, fragrant fruit, naturally rich in pectin, which makes generous, tasty jams.
If you’ve never made jam before, I’ve put together a full article on how to make a successful jam with everything you need to know.
Summer is the time when fruit is in abundance, bursting with sunshine and vitamins. It’s a good time to make marmalades and jams to stock up for the year. Apricot jam is the one I make the most, as it’s the one I use most in baking.
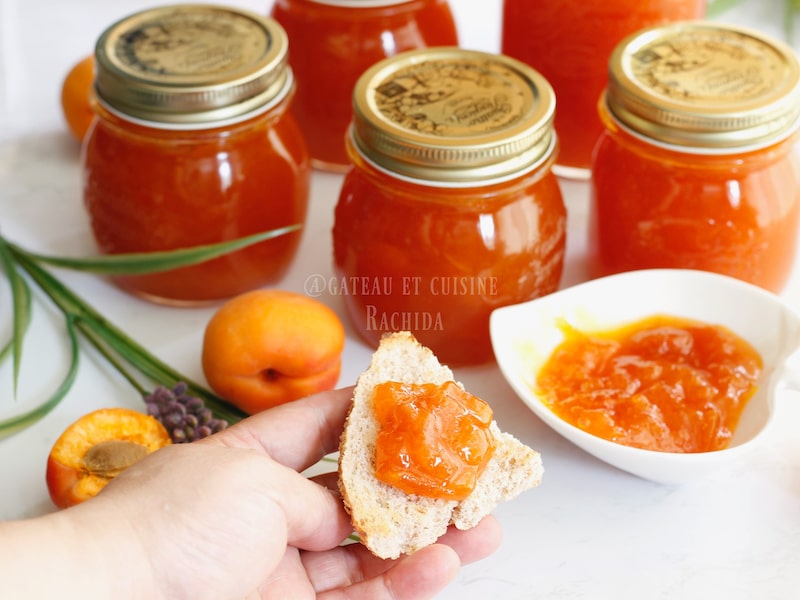 When my children were small, I always made them homemade cookies to take to school for their snacks. They were particularly fond of homemade jaffa cakes and sesame seed shortbread.
This apricot jam recipe is our favorite to spread on fluffy crepes or on toast, as the breakfast table always contains a jar.
Apricots are at the height of their season, so take advantage of the opportunity to make desserts like a good clafoutis or an apricot crumble.
Table of Contents
Why make homemade jam?
Making homemade apricot jam is so easy that it would be a shame not to take advantage of it.
If you have an apricot tree in your garden, the question doesn’t even arise. It’s time to take advantage of the harvest and put all those beautiful apricots in jars. Making jam is the best way to preserve these beautiful fruits.
When you make your own apricot jam, you know what’s in it.
Apricot jam contains no additives or preservatives. All you need are just two ingredients: beautiful apricot halves and sugar.
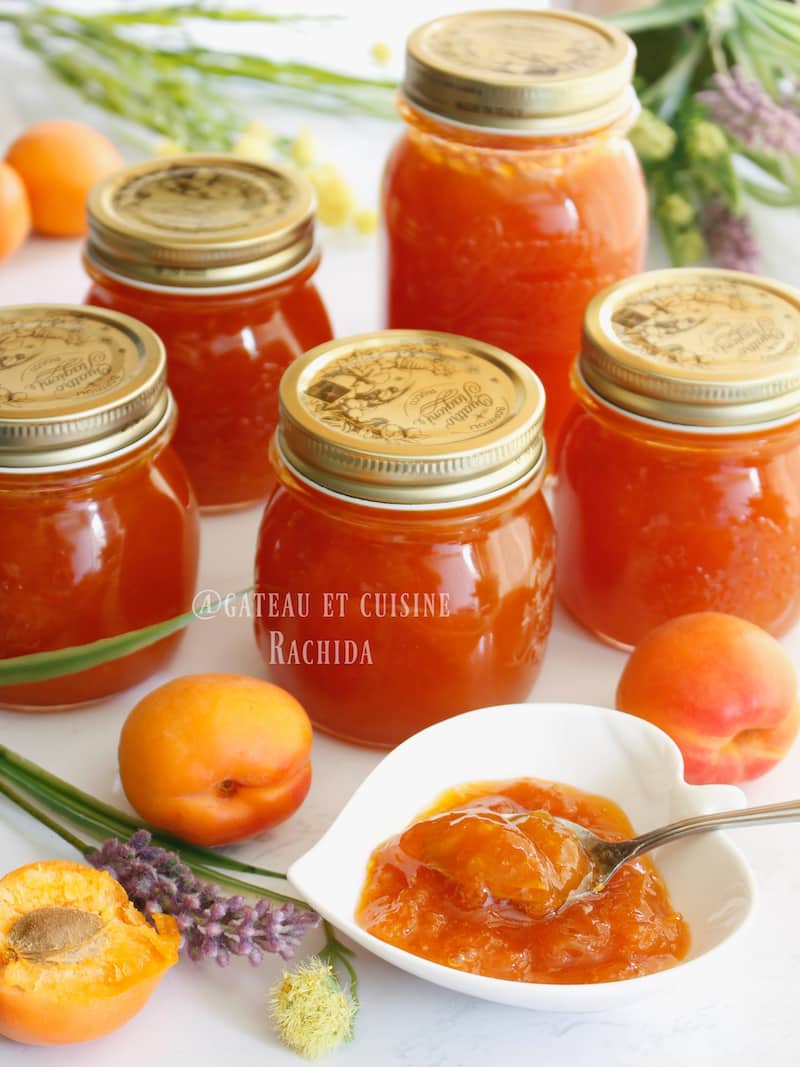
Easy apricot jam recipe
How to make apricot jam :
Making apricot jam the old-fashioned way, as our grandmothers did, is very simple. Just follow the recipe and you’ll have the perfect, delicious jam.
If you’ve never made jam before, I’ve put together an article on everything you need to know about making jam.
What equipment do you need?
You don’t need any special equipment to make jam.
Ideally, you should have a special copper jam pan. The bowl is very wide, allowing good evaporation of liquids. The jam is ready more quickly, without altering the taste or color of the fruit.
However, a large pot or Dutch oven will do just fine. However, avoid aluminum as it oxidizes the fruit.
You’ll need a wooden spoon to stir and a skimmer to remove the foam that forms on the surface of the jam.
You can buy a sugar thermometer to control the cooking process. I never use it and my jams are always a success.
Jars with screw-on lids to ensure a good seal.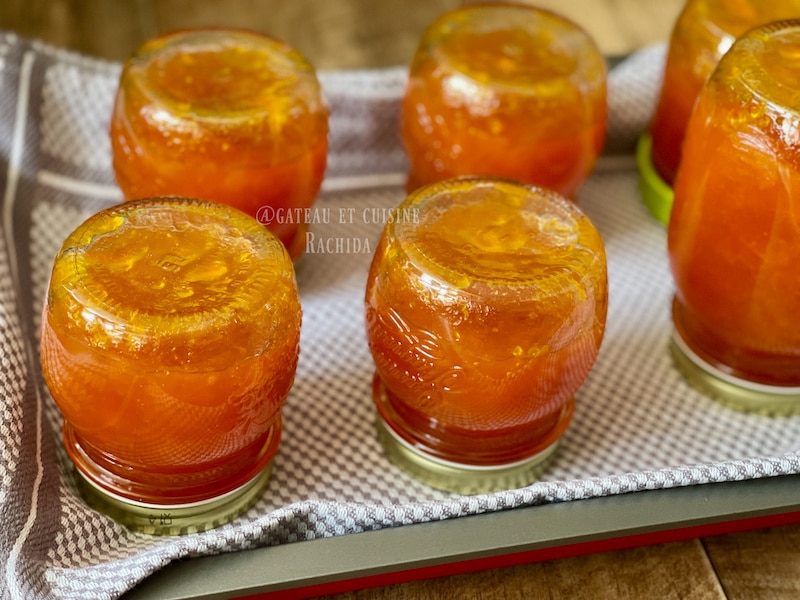
Can apricot jam be flavored?
In this apricot jam recipe, I don’t add any because I love the natural aroma of apricots and don’t want to alter it. However, rosemary pairs very well with apricots. You will surely enjoy apricot rosemary jam.
Add 1 or 2 sprigs when you macerate the apricots and sugar. Remove the rosemary sprigs at the end of cooking.
You can make apricot vanilla jam by adding the seeds of a vanilla pod before macerating and cooking the jam.
Choose the texture of the jam
- If you like having good pieces of translucent fruit in your jam for extra indulgence and a bit of chew, choose apricots that are not too ripe and simply cut them in half. During cooking, avoid crushing the apricot halves too much.
- If you want a very smooth jam like a jelly, use ripe apricots or cut them into quarters. While cooking, mash well with a skimmer or potato masher.
- You can also use a blender at the end of cooking.
Preparation steps
NB: You can print out the recipe card with details of the ingredients below.
Choose good ripe apricots. Apricots should have a smooth skin and be neither too soft nor too firm.
Wash and drain the apricots, then pit and weigh them.
Place in a large bowl with the amount of sugar indicated in the recipe.
Mix well to coat the apricot halves with sugar.

You can add the juice of half a small lemon to prevent the apricots from oxidizing and also to enhance the natural pectin in the apricots. I don’t use any and the jam is perfect.
Cover and let macerate for 12 hours in the refrigerator. I sometimes leave to macerate for just 2 to 4 hours at room temperature.
The next day, transfer to a large jam pan or heavy-bottomed stewpot.
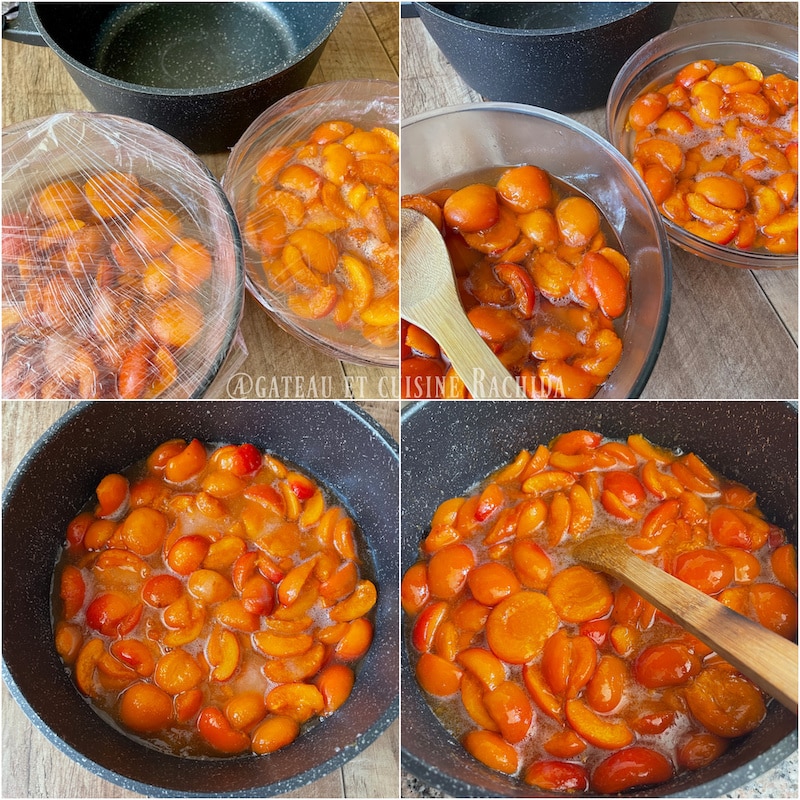
Bring to the boil over high heat and cook for 15 to 20 minutes.
For the last 5 minutes, turn down the heat to control the cooking.
If you use a thermometer, cook until the temperature reaches 104/105°C (219/221°F).
Stir frequently to prevent the jam from sticking to the bottom and burning.
Skim towards the end of cooking. Using a skimmer, remove any foam that rises to the surface. By removing these impurities, the jam will be clear and translucent.
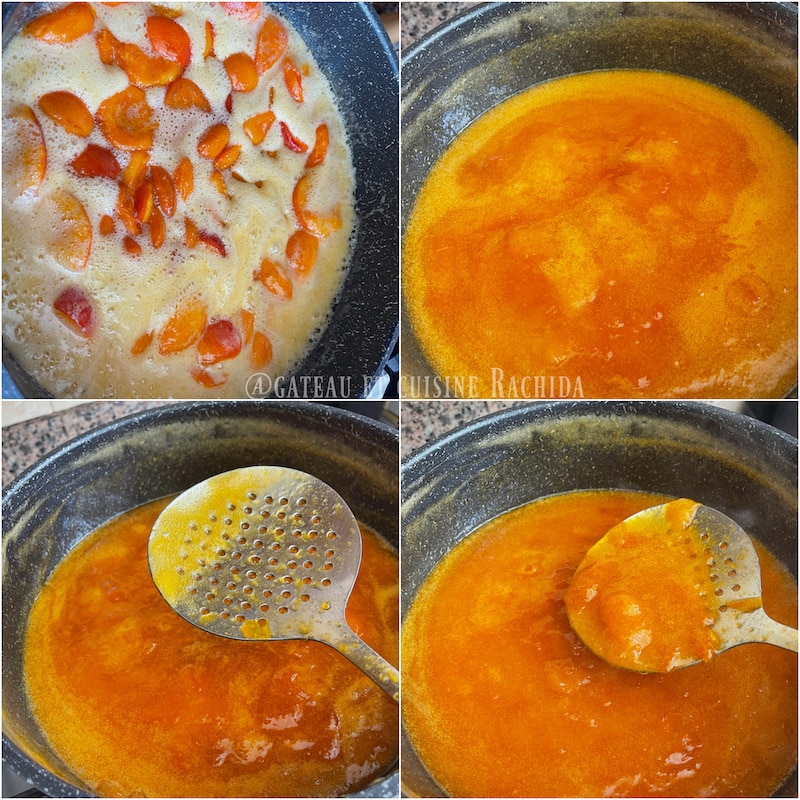
Check the cooking by pouring a little jam onto a frozen spoon or plate. Wait a few seconds, then trace a line with your finger, and the line should not close, indicating that the jam has set.

The jam falls in big drops from the skimmer.
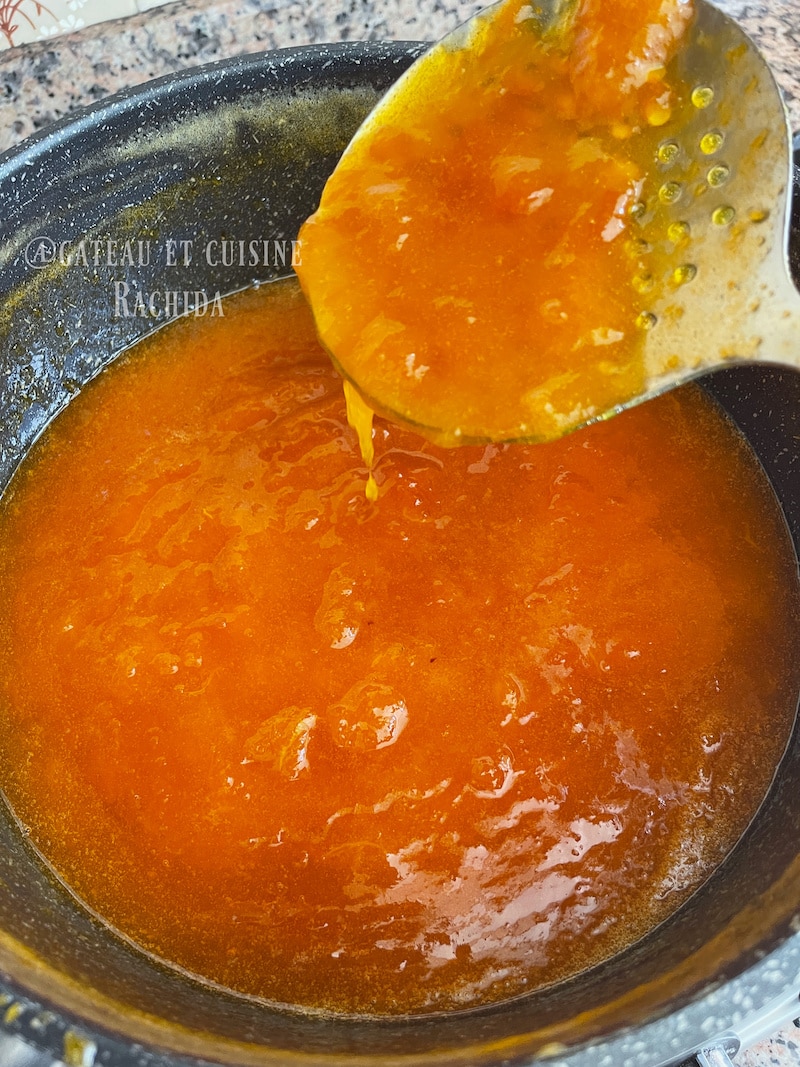
Check the texture of the apricot jam
The jam will thicken further as it cools.
Pour the hot jam into the sterilized jars. See all my tips and how-to Here.
Use a funnel to pour the jam without dirtying the jars.
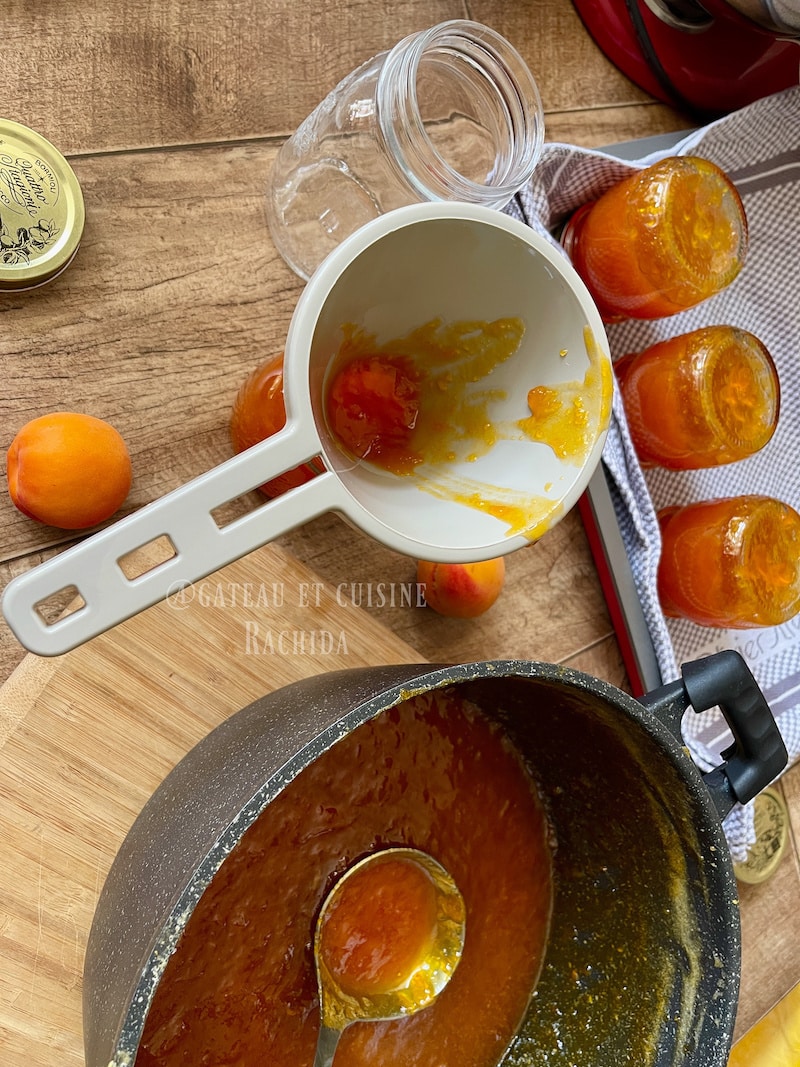
Apricot jam jars
Fill the jars up to 0.5 cm (0.2 inches) from the top. Replace the lids and screw on tightly.
Turn the jars upside down on a towel. After 2 h, tighten the lids.
Allow to cool completely before turning.
Store jam jars in the cupboard, away from light. The jam can be stored for more than a year. Once opened, store in the fridge for up to 1 month.

Apricot Jam Recipe
INGREDIENTS
- 2 kg (70.5 oz ) pitted apricots (weighed without pits)
- 1.4 kg (49.4 oz) granulated sugar
- 1/2 lemon optional
PREPARATION
Macerate apricots
- Choose good ripe apricots. Apricots should have a smooth skin and be neither too soft nor too firm.
- Wash and drain the apricots, then pit and weigh them.
- Place in a large bowl with the amount of sugar indicated in the recipe.
- Mix well to coat the apricot halves with sugar.
- You can add the juice of half a small lemon to prevent the apricots from oxidizing and also to enhance the natural pectin in the apricots. I don't use any and the jam is perfect.
- Cover and let macerate for 12 hours in the refrigerator. I sometimes leave to macerate for just 2 to 4 hours at room temperature.
Cooking apricot jam
- The next day, transfer to a large jam pan or heavy-bottomed stewpot.
- Bring to the boil over high heat and cook for 15 to 20 minutes.
- For the last 5 minutes, turn down the heat to control the cooking.
- If you use a thermometer, cook until the temperature reaches 104/105°C (219/221°F).
- Stir frequently to prevent the jam from sticking to the bottom and burning.
- Skim towards the end of cooking. Using a skimmer, remove any foam that rises to the surface. By removing these impurities, the jam will be clear and translucent.
- Check the cooking by pouring a little jam onto a frozen spoon or plate. Wait a few seconds, then trace a line with your finger, and the line should not close, indicating that the jam has set.
- The jam will thicken further as it cools.
- Pour the hot jam into the sterilized jars. Use a funnel to pour the jam without dirtying the jars.
- Fill the jars up to 0.5 cm (0.2 inches) from the top. Replace the lids and screw on tightly.
- Turn the jars upside down on a towel. After 2 h, tighten the lids. Allow to cool completely before turning.
- Store jam jars in the cupboard, away from light. The jam can be stored for more than a year. Once opened, store in the fridge for up to 1 month.
Thank you for visiting my blog and for your comments.
Vous pouvez également me suivre sur ma chaine youtube
