This mirror glaze will give your desserts a glossy finish. It’s especially handy during the year-end celebration for creating stunning cakes. Prepare a cake using this mirror glaze for Thanksgiving, and all your guests will be amazed.

Easy Mirror glaze
Here is the mirror glaze without glucose or condensed milk with white chocolate, dark chocolate or milk chocolate of your choice. Many of you have asked for it, so here is the recipe, which is very simple.
I had to do a lot of tests to achieve perfect fluidity, texture and perfect shine. if you follow the advice carefully, this mirror glaze will give you a very good shine. This chocolate mirror glaze without glucose or condensed milk is more budget-friendly, which everyone appreciates.
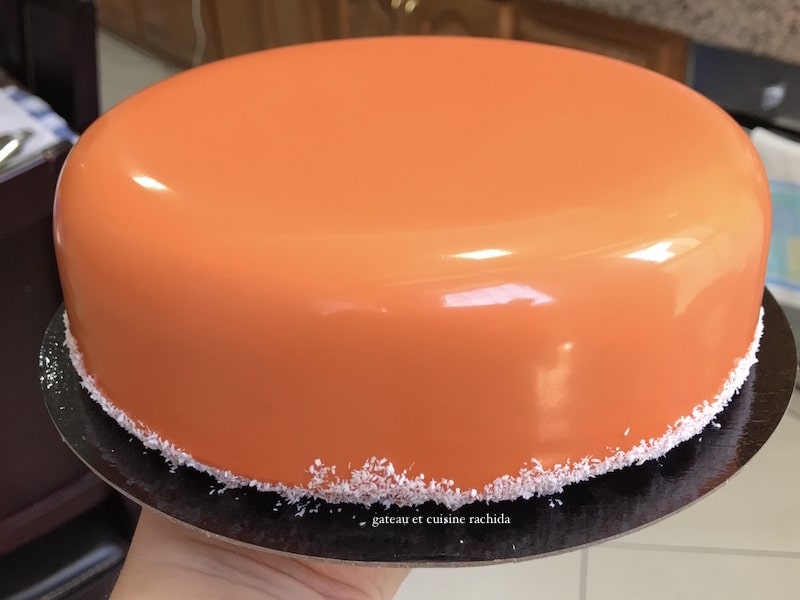
It also happens that many people can’t find glucose or condensed milk, but with this glaze, everyone probably already has everything they need at home.
This chocolate mirror glaze is an excellent alternative to Bellouet mirror glaze and can even replace it. Bellouet is a renowned French pastry school. The only drawback I’ve found is that if you refreeze the frozen dessert, the glaze doesn’t stay as smooth as my previous glazes.
You can find other recipes for mirror glaze on the blog :
- Very-shiny chocolate mirror glaze
- Chocolate and cocoa mirror glaze
- Cocoa mirror glaze
- White chocolate mirror glaze
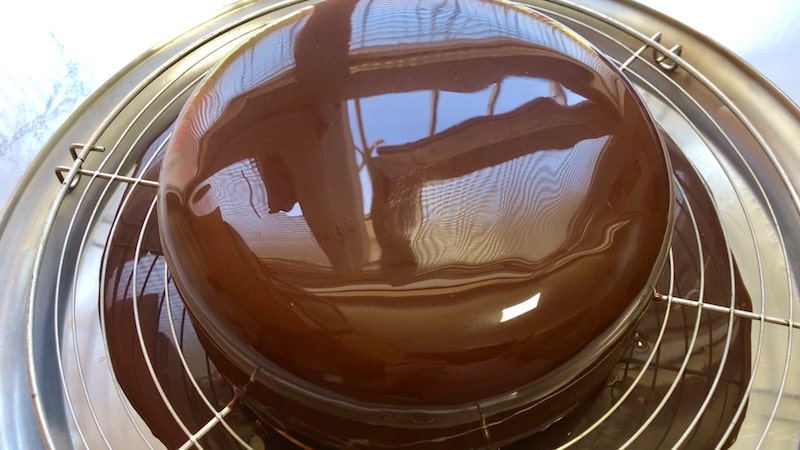
This mirror glaze creates fewer bubbles after reheating the next day. Just stir it well with a spatula in a figure-eight motion, and the bubbles will disappear. You can blend it, which helps make it more fluid, but I sometimes pour it without.
I advise you to use good chocolate with good fluidity. I’m used to using the Cacao Barry or Valrhona brands. You can find small 250 g packs on the French Cookshop website.
You can watch the step-by-step recipe video for the chocolate mirror glaze without glucose or condensed milk below.
Table of Contents
Video Recipe
Ingredients:
NB: You’ll find the printable recipe card at the end of the article.
- 100 g (3.5 oz )water
- 200 g (7 oz )granulated sugar
- 100 g (3.5 oz) heavy cream 30% fat
- 150 g (5.3 oz) white chocolate (milk or dark*)
- 5 sheets of gelatin 150 blooms or 10 g (0.35 oz) of gelatin powder or sheets 200 blooms
- 2 g (0.07 oz) more or less food coloring with white chocolate
*Use only 4 and 1/2 sheets of gelatin (0.31 oz with dark chocolate.)
How to prepare glucose-free mirror glaze?
Soak the gelatin in cold water 10 minutes before starting. If you’re using powdered gelatin, soak it in 54 g of water and let it bloom for about 20 minutes in the refrigerator.
Place the chocolate and food coloring (if you’re using white chocolate) in a tall, narrow measuring cup.
Put the water and sugar in a saucepan.
Bring to the boil over medium heat, stirring to dissolve the sugar. Keep an eye on the temperature. ⚠️ Remove from the heat as soon as the syrup reaches 103°C (217°F).
Off the heat, add the cold heavy cream and stir well.
Then incorporate the well-drained gelatin and mix thoroughly.
Pour the mixture through a fine sieve over the chocolate. Stir slightly and let it sit for a minute to allow the chocolate to melt.
Blend with an immersion blender (this step is crucial for a smooth and shiny finish), keeping the blender head fully submerged to avoid creating air bubbles that would make your glaze less visually appealing.
I use the Swiss brand Bamix immersion blender, which is excellent for blending without creating bubbles.
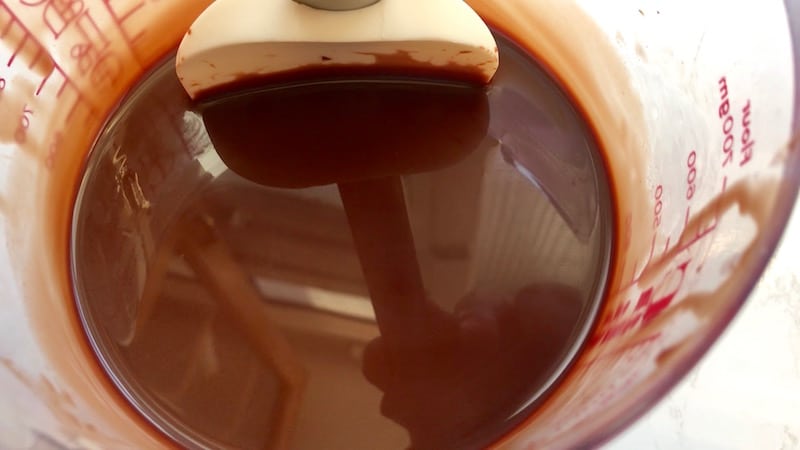
Strain the glaze again into a saucepan and cover it with plastic wrap, pressing it directly onto the surface (this is called “film au contact” in French). Refrigerate until the next day.
The next day, gently reheat the glaze in a double boiler, removing it several times from the heat to stir.
It should be fully melted around 37°C (98.6°F). Stir constantly with a spatula in a figure-eight motion; this will make the glaze very shiny with zero bubbles.
You don’t have to reblend it, but I personally prefer to because it makes the glaze even smoother.
Pour it over your frozen mousse cake when the glaze reaches between 28°C and 32°C (82.4°F-89.6°F) for white chocolate glaze.
For dark chocolate glaze, pour it between 30°C and 35°C (86°F-95°F).
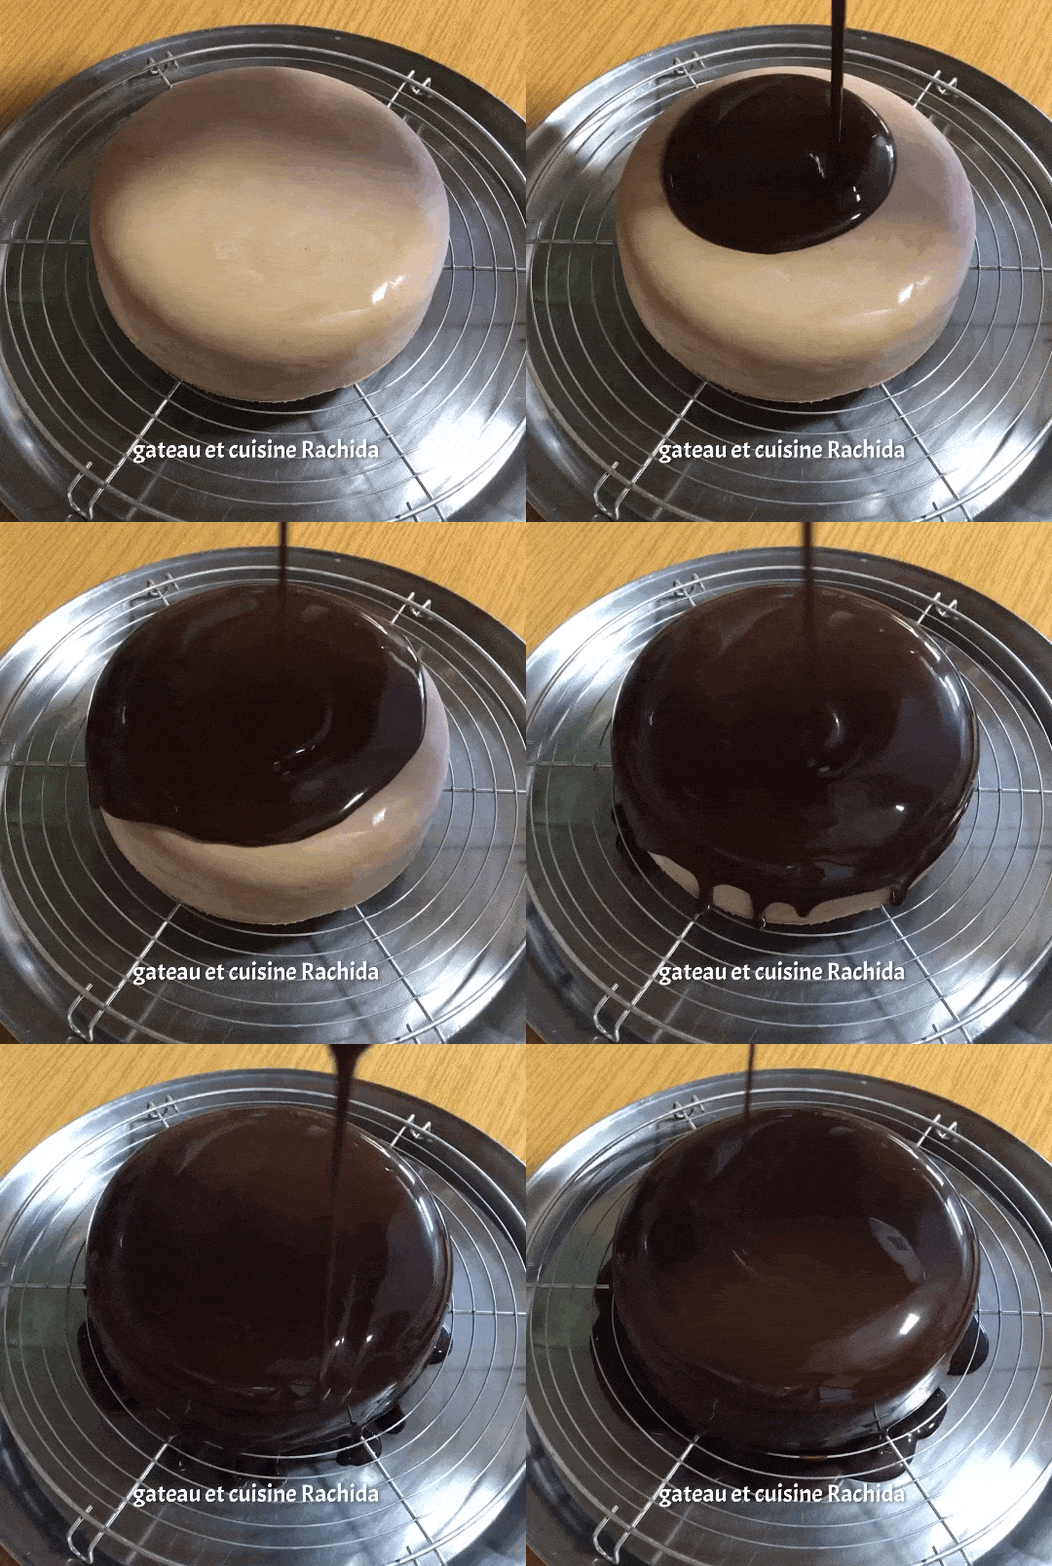
Note: The exact temperature may vary depending on your thermometer. Always check the consistency on the back of a frozen ladle: it should flow smoothly while creating a thin, even layer.
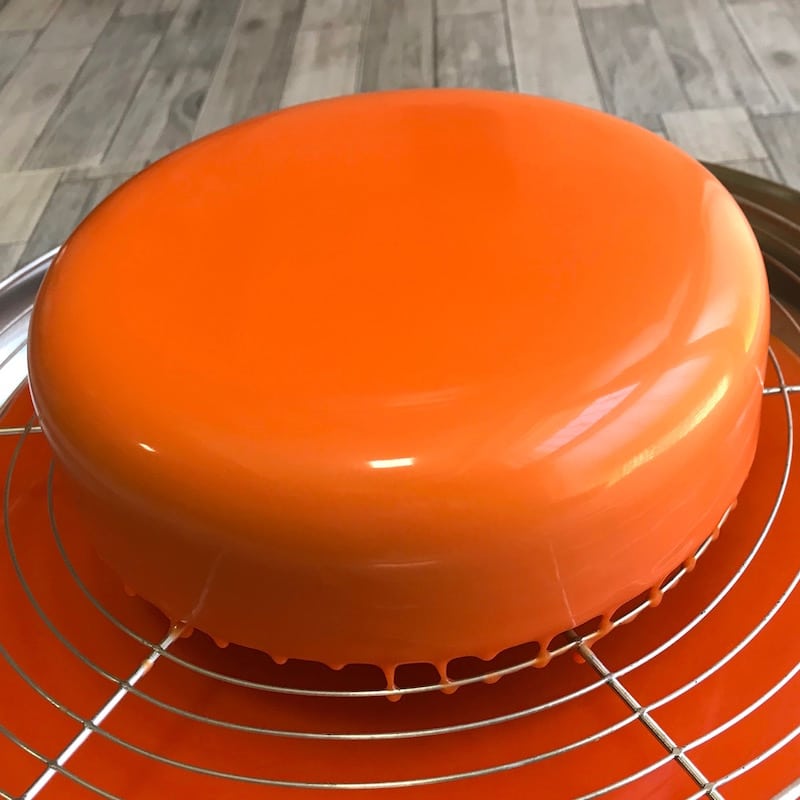
white chocolate colored mirror glaze
When to move the glazed mousse cake ?
Once the mousse cake is glazed and the glaze has stopped dripping, slide one or two large flat spatulas underneath and gently rub it against the wire rack.
This will cut off the excess glaze, and you’ll be able to lift it easily without damaging it. Place it carefully onto a serving platter or a gold cake board.
After decorating, return it to the refrigerator to thaw slowly. This will take about 6 to 8 hours.
If you’re in a hurry, you can leave it at room temperature for about 2 hours.

Mirror glaze without glucose or condensed milk
INGREDIENTS
- 100 g (3.5 oz )water
- 200 g (7 oz )granulated sugar
- 100 g (3.5 oz) heavy cream 30% fat
- 150 g (5.3 oz) white chocolate (milk or dark*)
- 5 sheets of gelatin 150 blooms or 10 g (0.35 oz) of gelatin powder or sheets 200 blooms
- 2 g (0.07 oz) more or less food coloring with white chocolate
- *Use only 4 and 1/2 sheets of gelatin (0.31 oz with dark chocolate.)
PREPARATION
- Soak the gelatin in cold water 10 minutes before starting. If you're using powdered gelatin, soak it in 54 g of water and let it bloom for about 20 minutes in the refrigerator.
- Place the chocolate and food coloring (if you're using white chocolate) in a tall, narrow measuring cup.
- Put the water and sugar in a saucepan.
- Bring to the boil over medium heat, stirring to dissolve the sugar. Keep an eye on the temperature. ⚠️ Remove from the heat as soon as the syrup reaches 103°C (217°F).
- Off the heat, add the cold heavy cream and stir well.
- Then incorporate the well-drained gelatin and mix thoroughly.
- Pour the mixture through a fine sieve over the chocolate. Stir slightly and let it sit for a minute to allow the chocolate to melt.
- Blend with an immersion blender (this step is crucial for a smooth and shiny finish), keeping the blender head fully submerged to avoid creating air bubbles that would make your glaze less visually appealing.
- I use the Swiss brand Bamix immersion blender, which is excellent for blending without creating bubbles.
- Strain the glaze again into a saucepan and cover it with plastic wrap, pressing it directly onto the surface (this is called "film au contact" in French). Refrigerate until the next day.
- The next day, gently reheat the glaze in a double boiler, removing it several times from the heat to stir.
- It should be fully melted around 37°C (98.6°F). Stir constantly with a spatula in a figure-eight motion; this will make the glaze very shiny with zero bubbles.
- You don’t have to reblend it, but I personally prefer to because it makes the glaze even smoother.
- Pour it over your frozen mousse cake when the glaze reaches between 28°C and 32°C (82.4°F-89.6°F) for white chocolate glaze.
- For dark chocolate glaze, pour it between 30°C and 35°C (86°F-95°F).
- Note: The exact temperature may vary depending on your thermometer. Always check the consistency on the back of a frozen ladle: it should flow smoothly while creating a thin, even layer.
When to move the glazed mousse cake ?
- Once the mousse cake is glazed and the glaze has stopped dripping, slide one or two large flat spatulas underneath and gently rub it against the wire rack.
- This will cut off the excess glaze, and you’ll be able to lift it easily without damaging it. Place it carefully onto a serving platter or a gold cake board.
- After decorating, return it to the refrigerator to thaw slowly. This will take about 6 to 8 hours.
- If you're in a hurry, you can leave it at room temperature for about 2 hours.
If you make this glucose-free chocolate mirror glaze, don’t forget to give me some feedback. Enjoy making this mirror glaze!
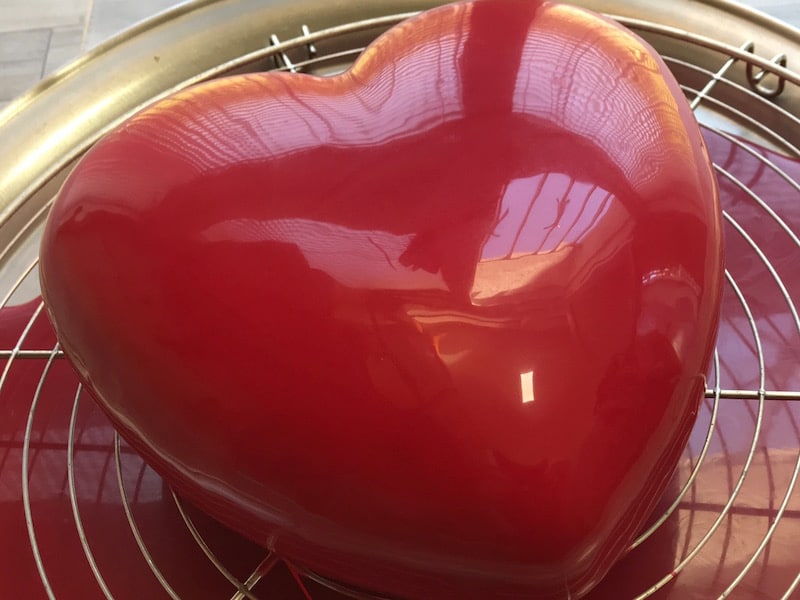
Red heart mirror glaze
Thank you for your visit and your comments.


2 comments
So if i understand your recipe correctly, gelatin mass will be total of 64 gram? 10 gram powder 54 gram water
Hello, to calculate the amount of water needed to obtain the gelatin mass, you need to multiply the weight of the gelatin by 6. This gives: 10 × 6 = 60 g of water + 10 g of gelatin, resulting in 70 g of rehydrated gelatin (gelatin mass). Some people multiply the weight of the gelatin by 5 to determine the amount of water needed for rehydration.